| Step |
Photo |
Description |
| 1 |
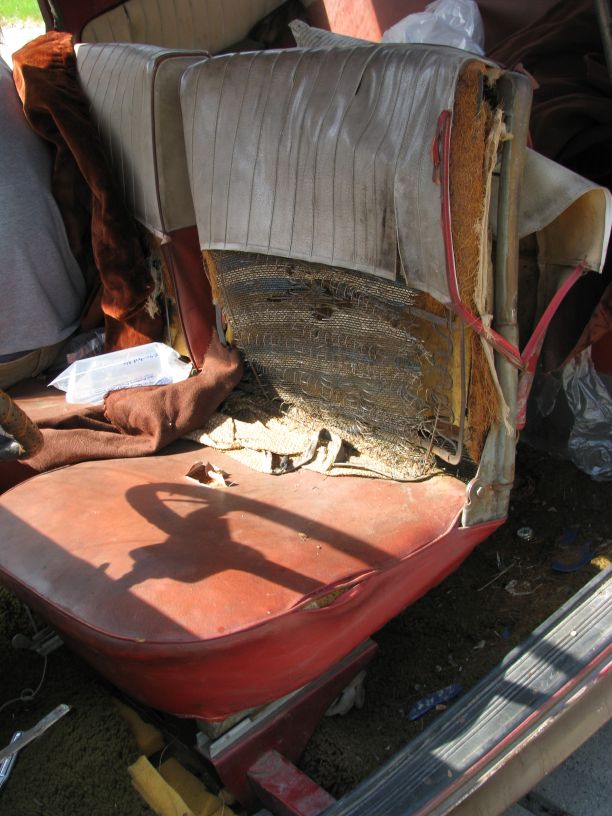 |
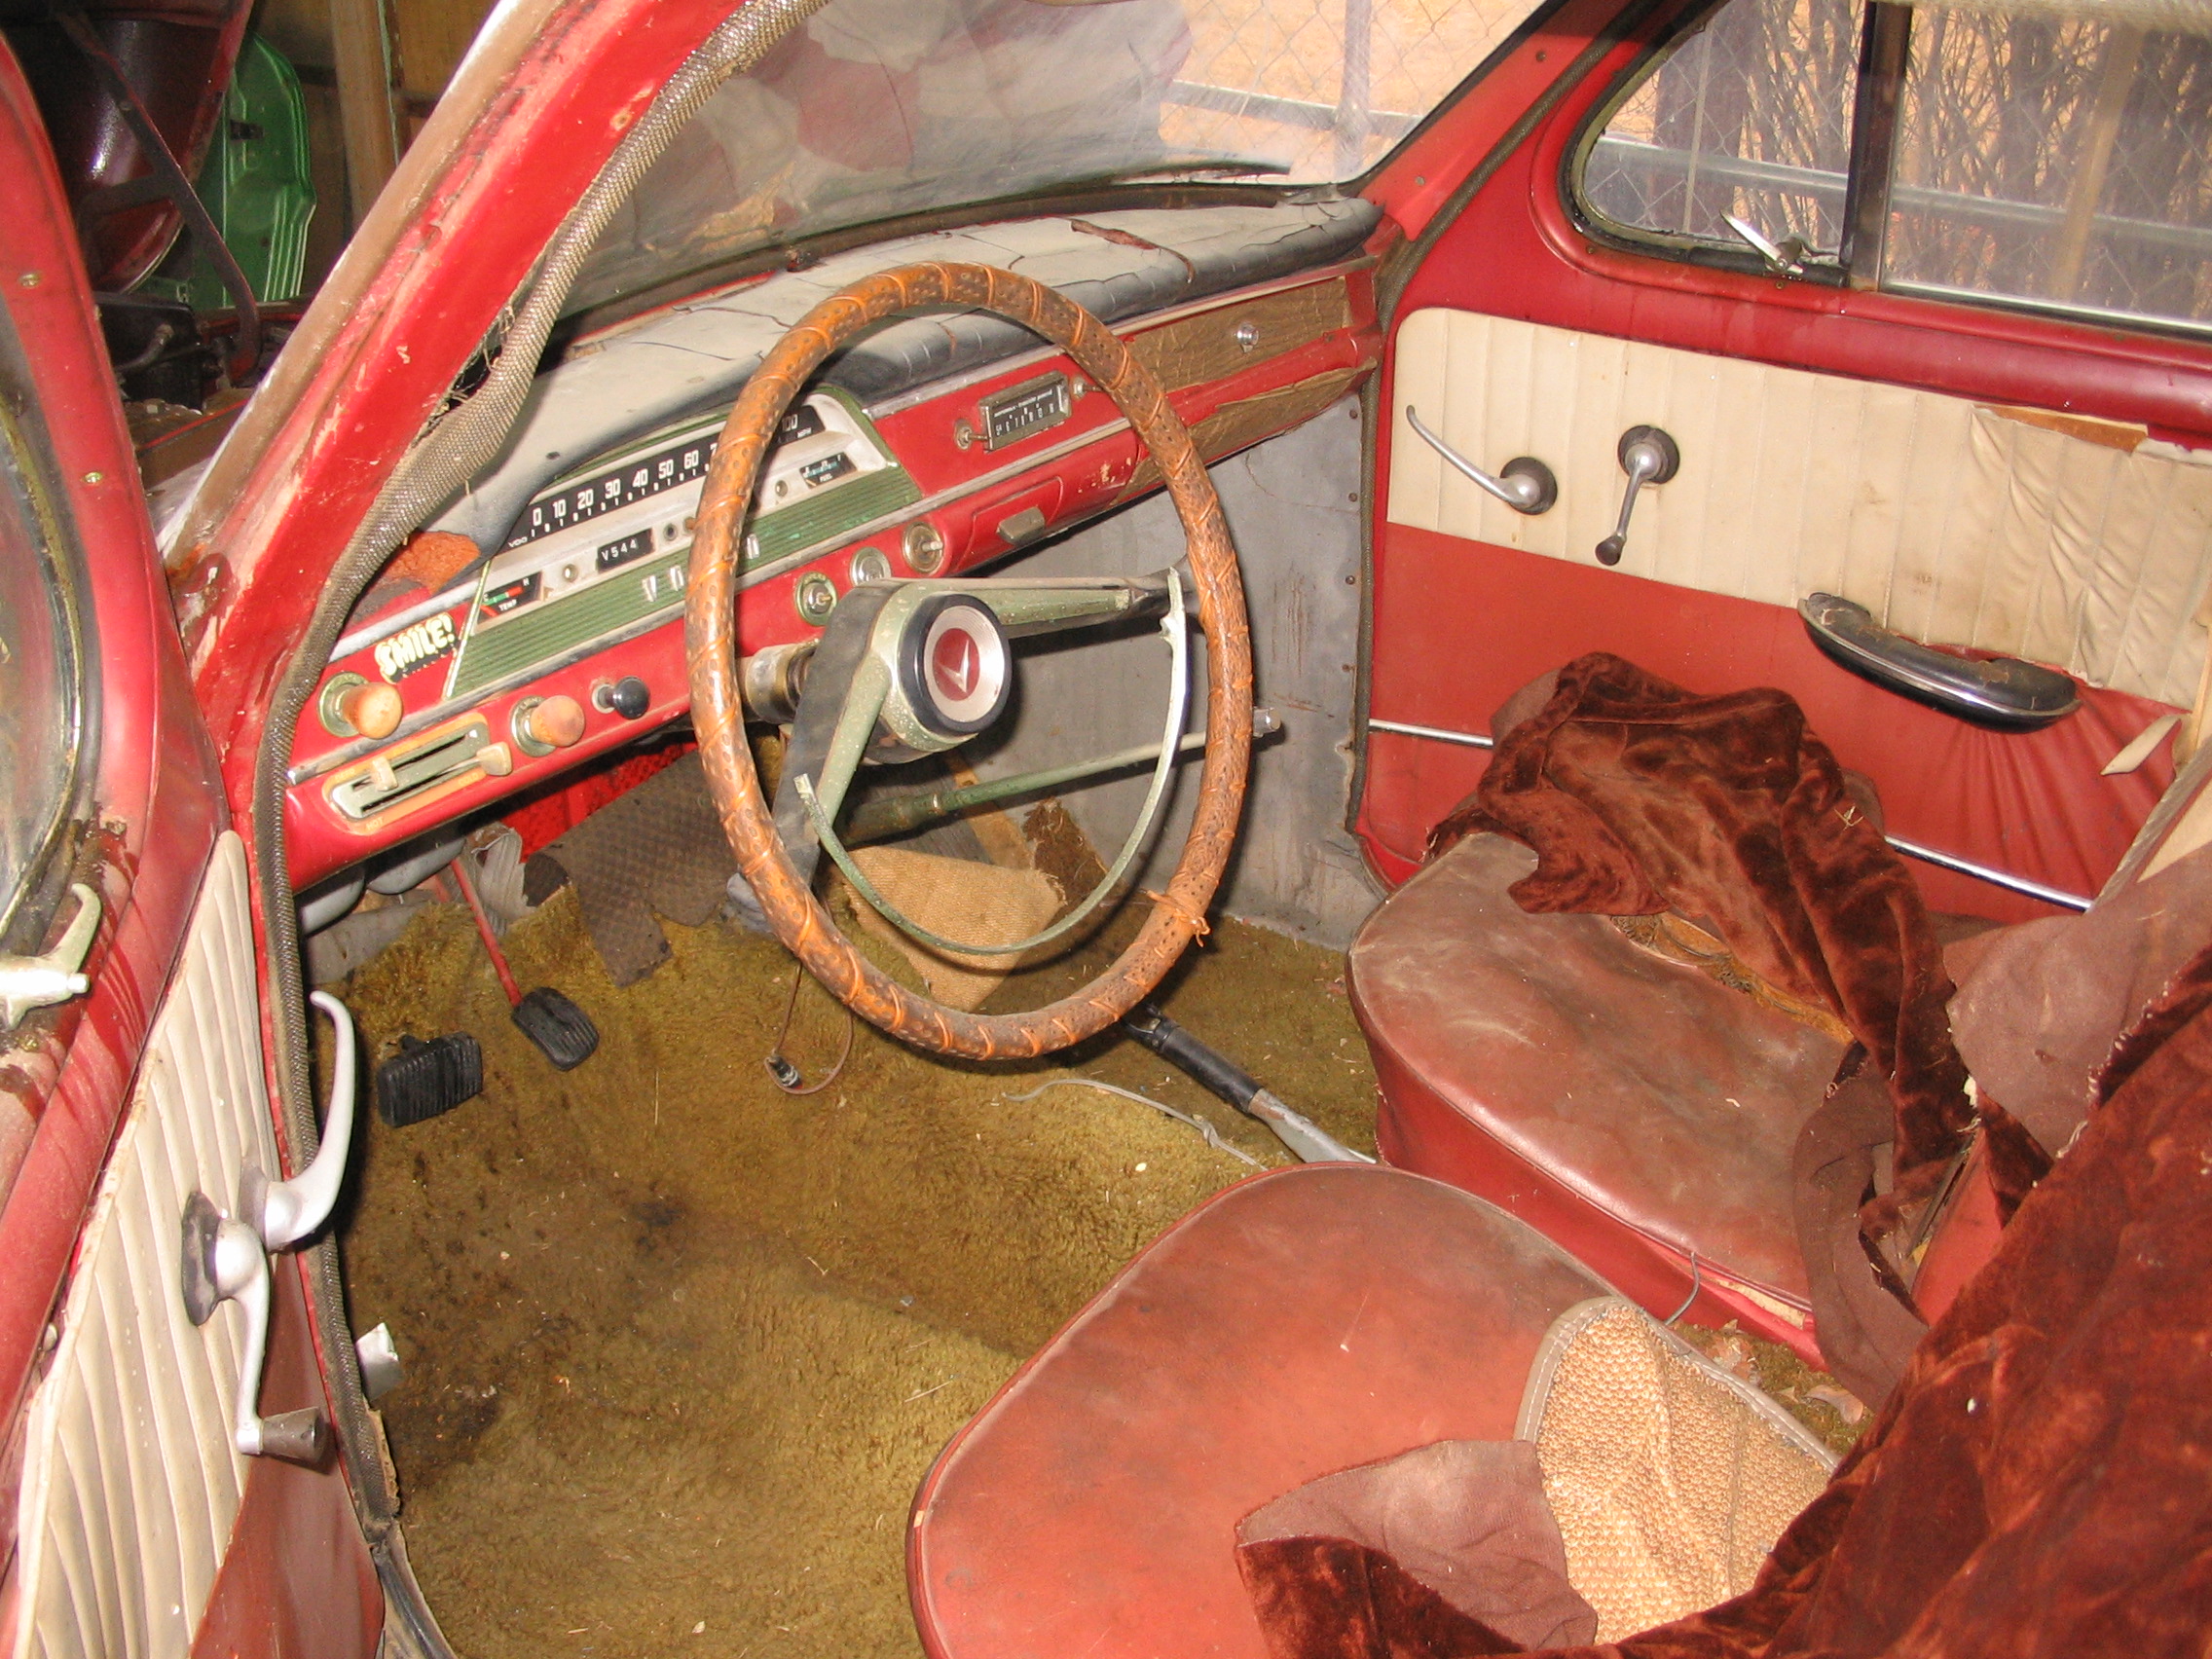
Identify the seat you want to start on. For me, this was pretty obvious because the driver's seat was such a mess. Unbolt the seat from the floor and remove it to a work area. Be sure to take pictures along the way in case you forget what it looked like or want to make a web site showing what you did. |
| 2 |
 |
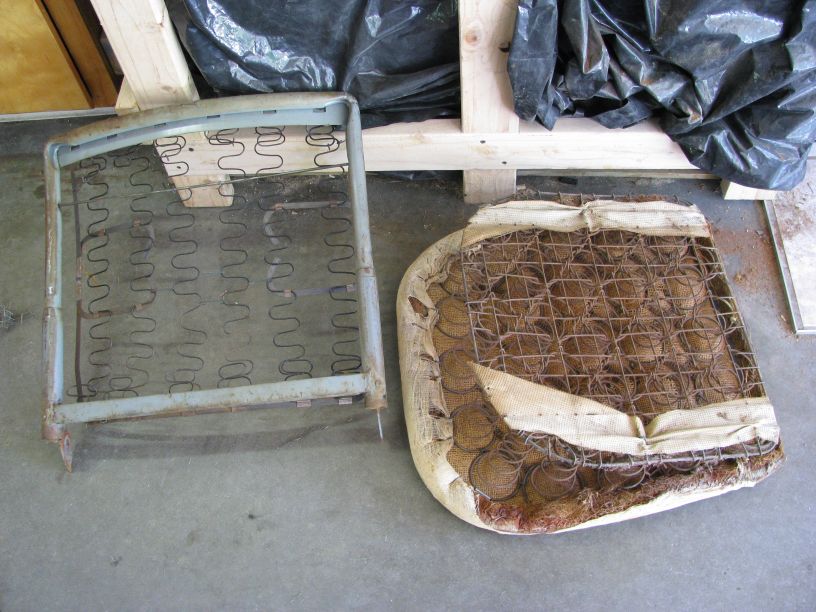
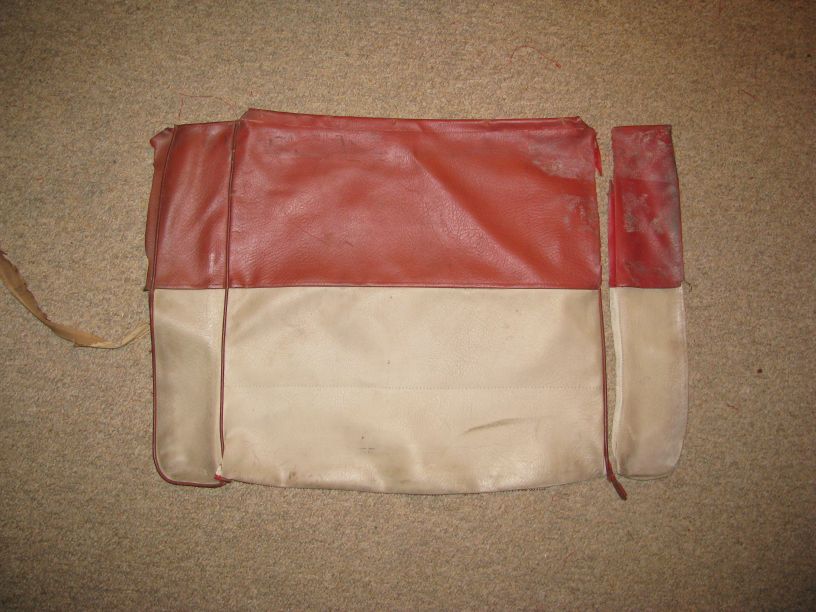
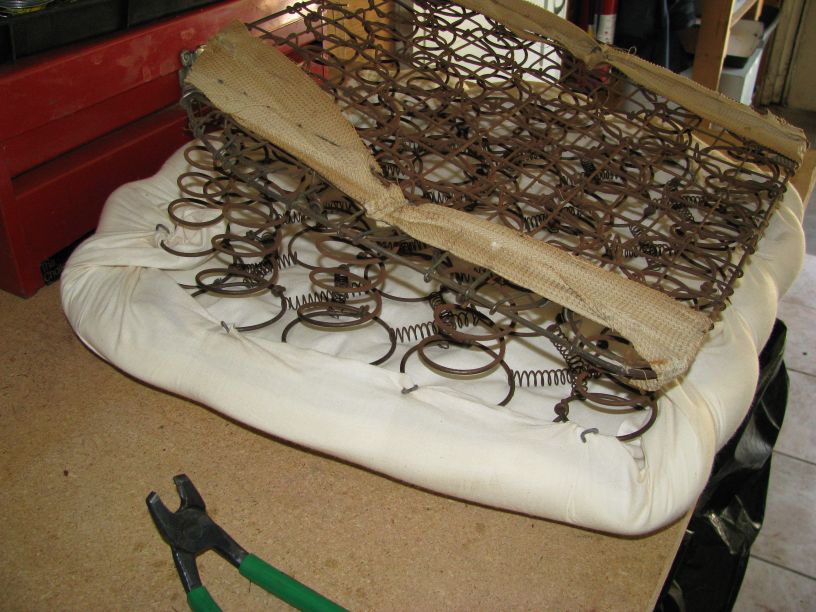
Seperate the frame from the cushion. Examine and document how the upholstery was constructed. |
| 3 |
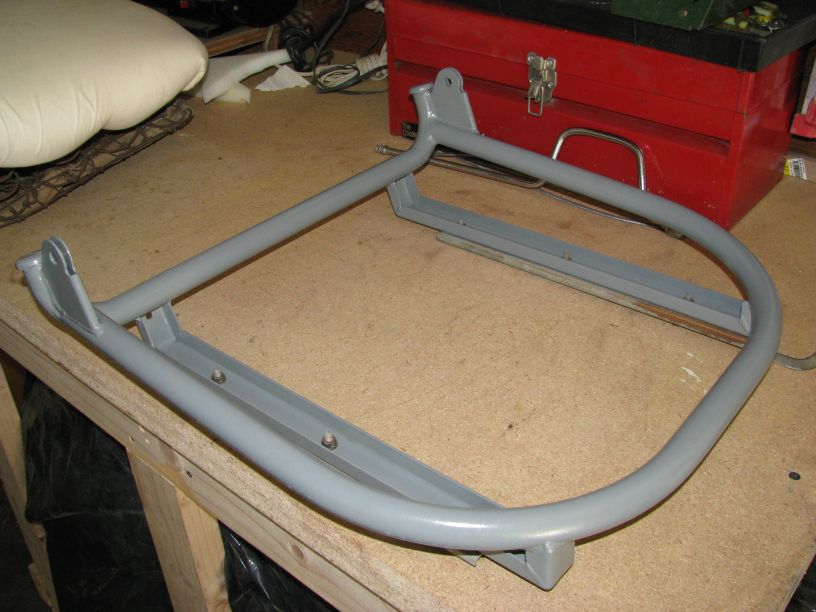 |
Sand the frame and apply a good coat or two of spray paint. |
| 4 |
 |
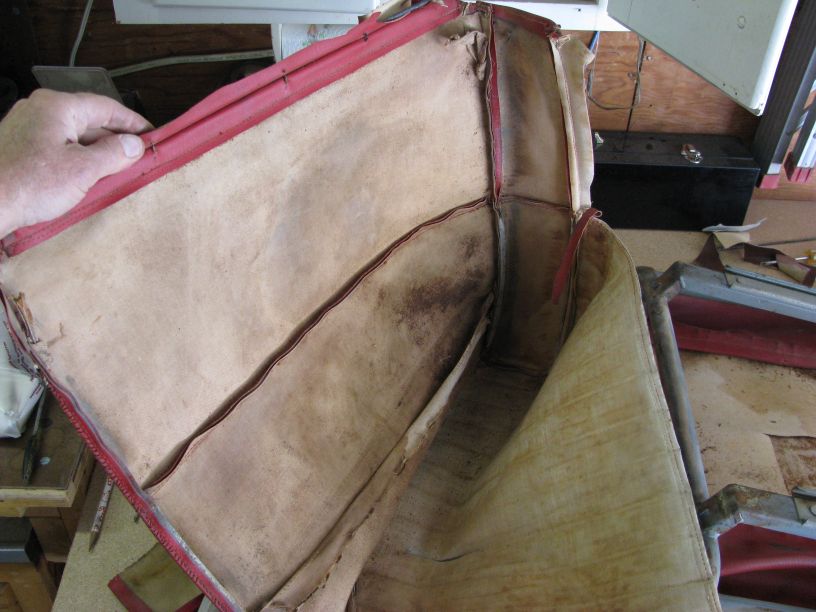
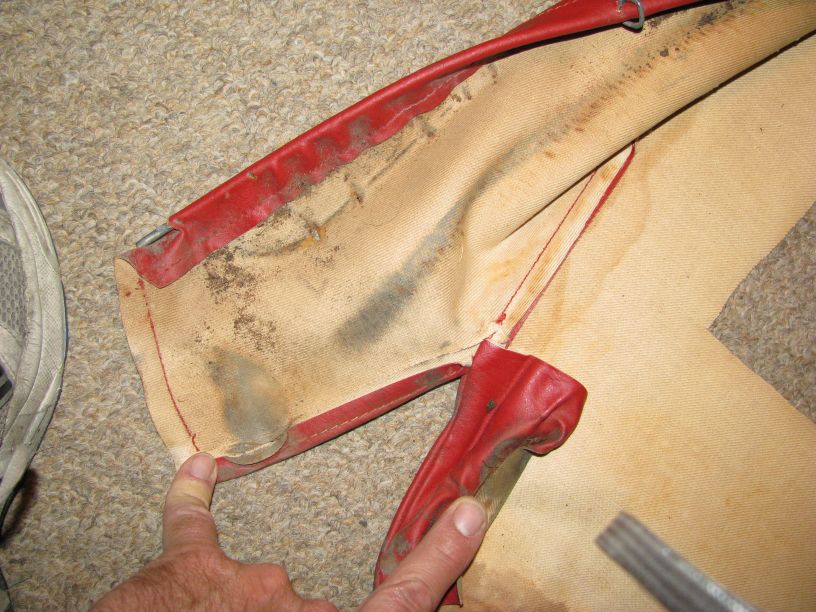
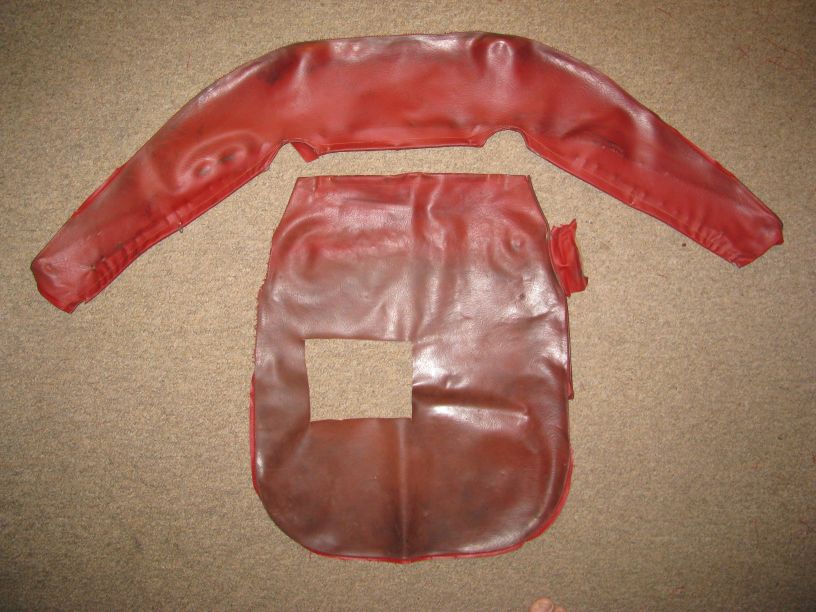
Using your seam ripper, carefully cut through the threads holding the original seams together. If you nick the original material, that's not a problem, but we want to keep it as whole as possible because it will serve as our pattern. |
| 5 |
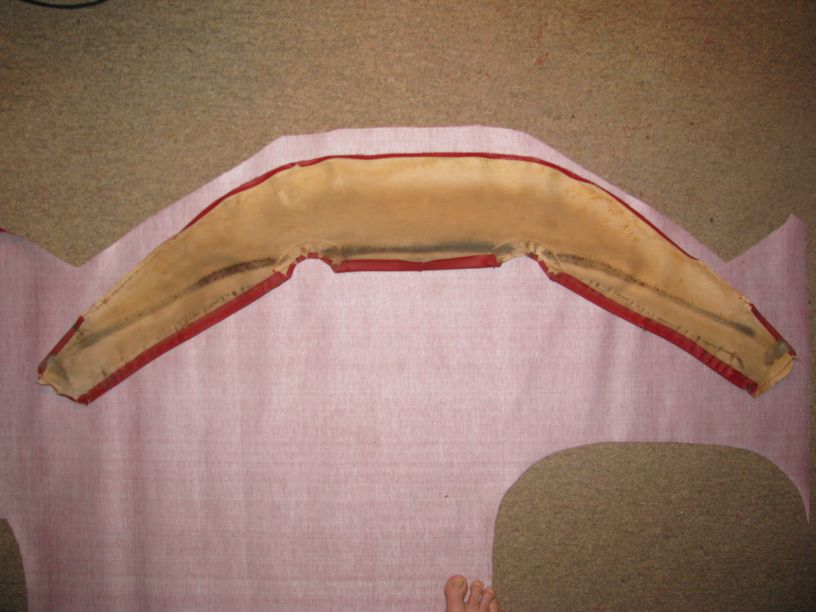 |
Place your new vinyl material face down on a suitable work surface. Lay each of your original pieces face down on the the new vinyl and arrange them in a way to make the best use of the new material, that is, the least amount of waste. |
| 6 |
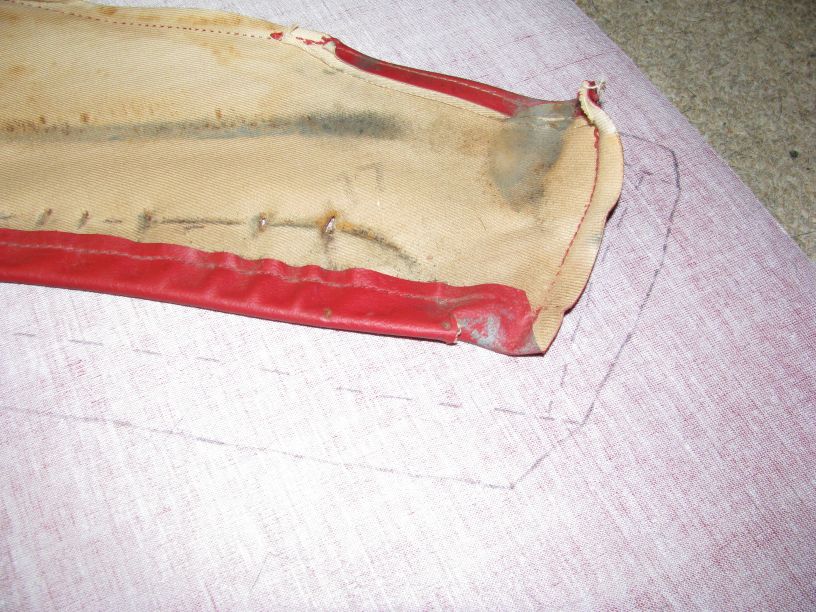 |
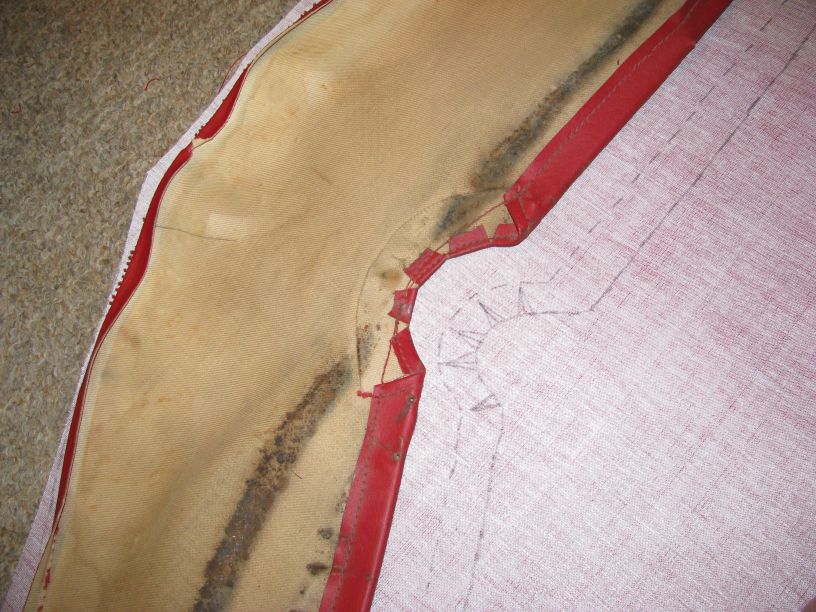
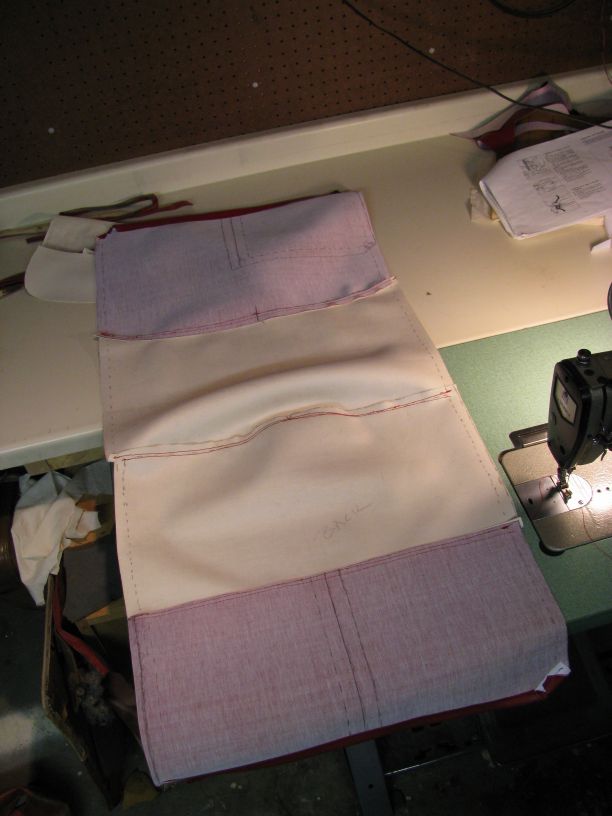
Use a pencil to draw an outline of the old material onto the new material. You might want to make the new piece a bit larger than the old one or smaller if you think it might have stretched. Also, sketch a line where the seam needs to be giving yourself a reasonable seam allowance. |
| 7 |
|
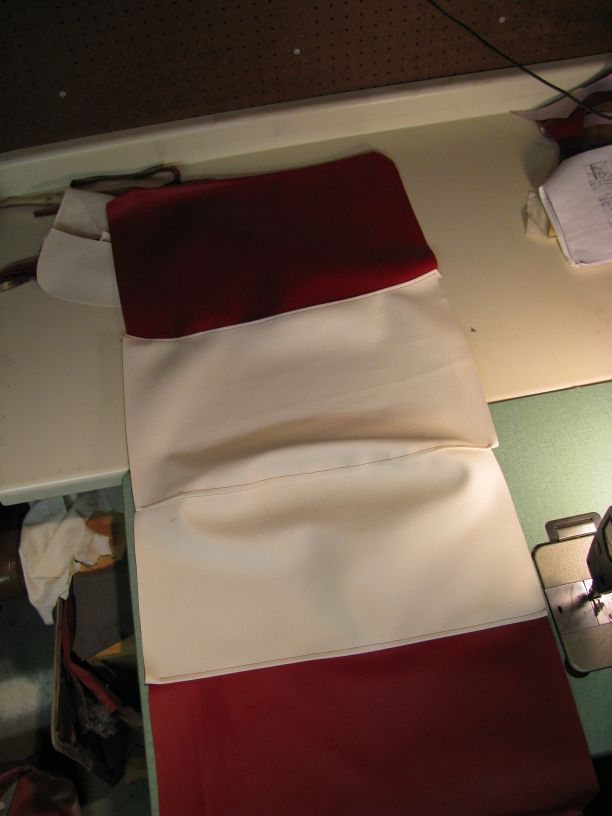
Place the vinyl pieces together, face to face, and sew along the line you made in the preceding step. Lay the pieces open, fold the flap against one side, and stitch along the fold to form a "flat fell" seam. |
| 8 |
 |
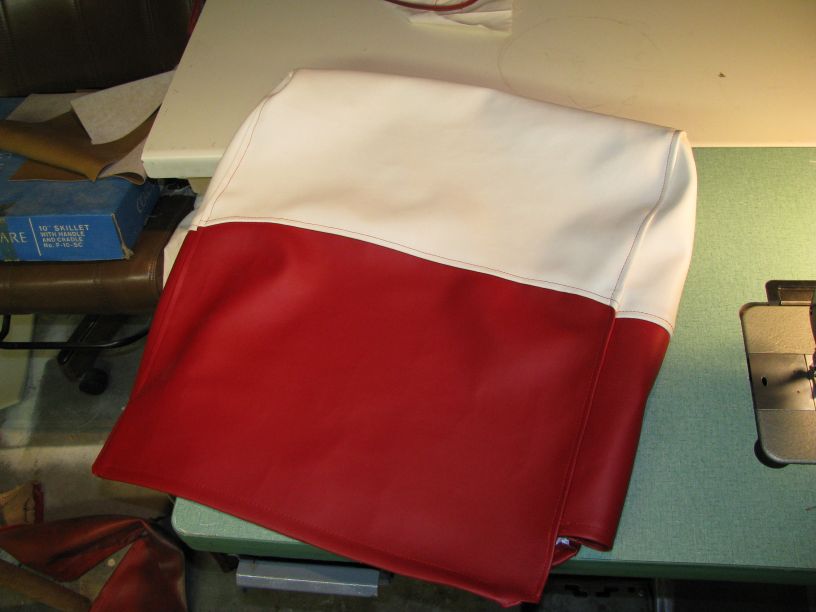
Continue stitching the piece together until you have replicated the original construction. |
| 9 |
 |
Insert the stretcher bars into the pocket if used on your design. |
| 10 |
 |
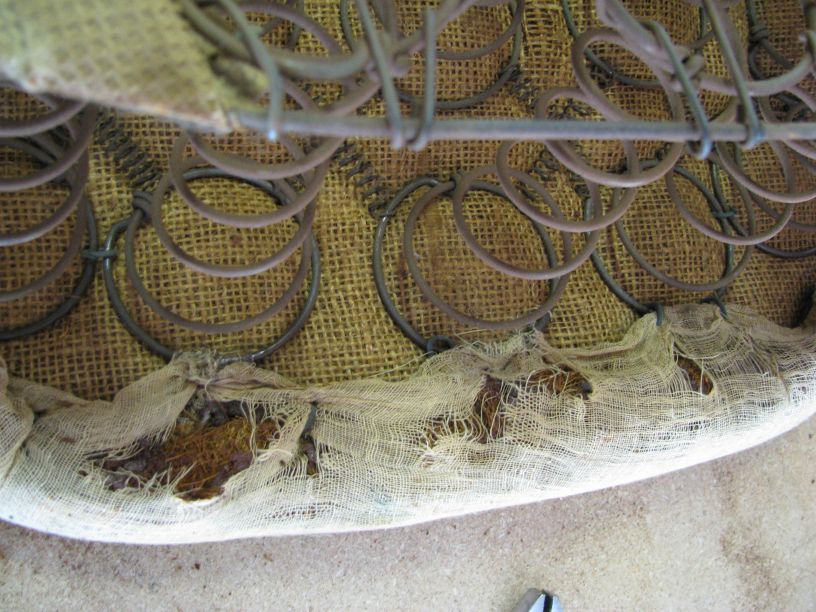
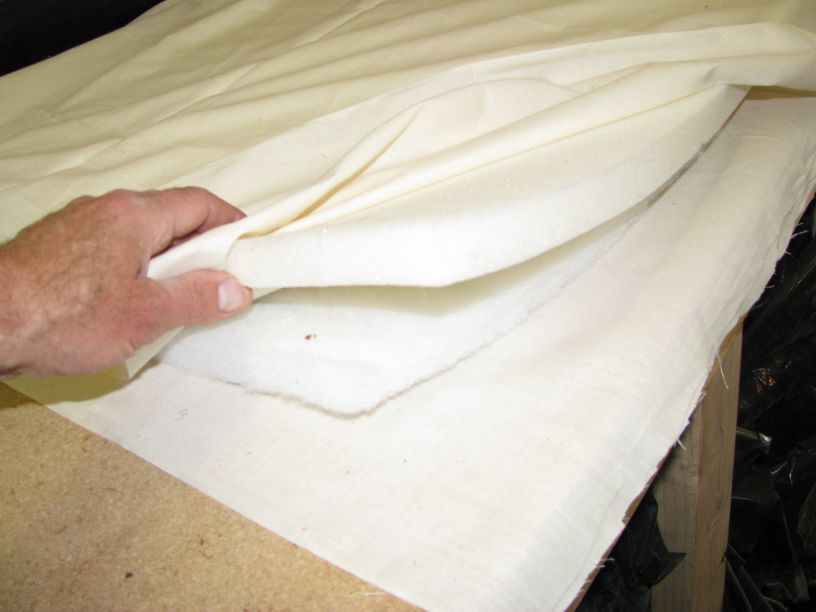
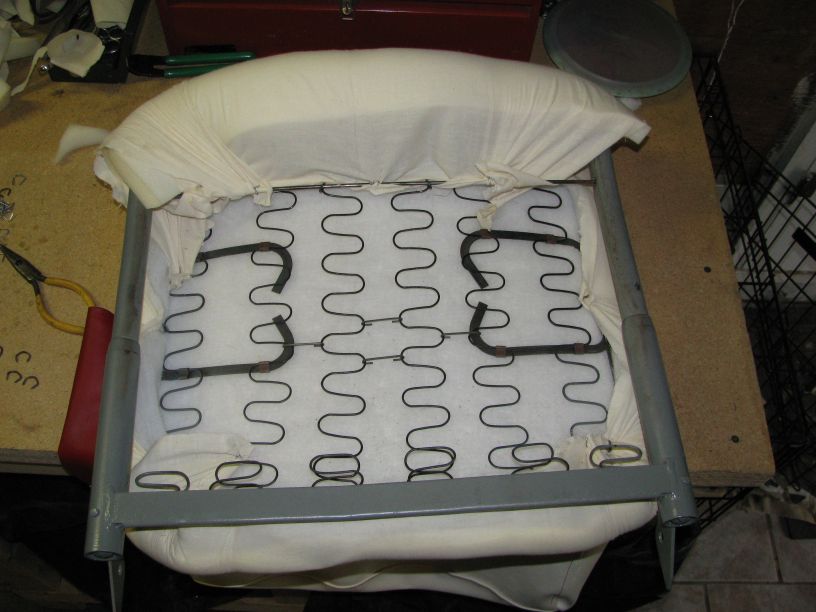
Build up the new cushioning on your seat by layering up the materials shown. I started with burlap to cover the coil springs on the bench assembly. For the back I covered the springs with the batting. Next came a layer or two of foam. I topped this with the muslin which I stretched over the whole assembled and attached to the frame or springs with the hog rings. |
| 11 |
|
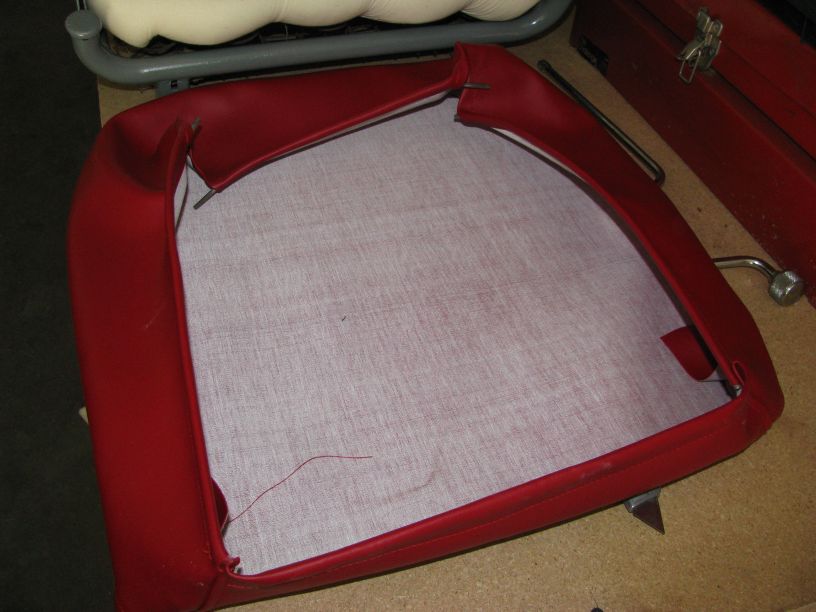
Slide the new upholstery onto the seat and back. Pull on tight and attach to the frames with the hog rings. |
| 12 |
 |
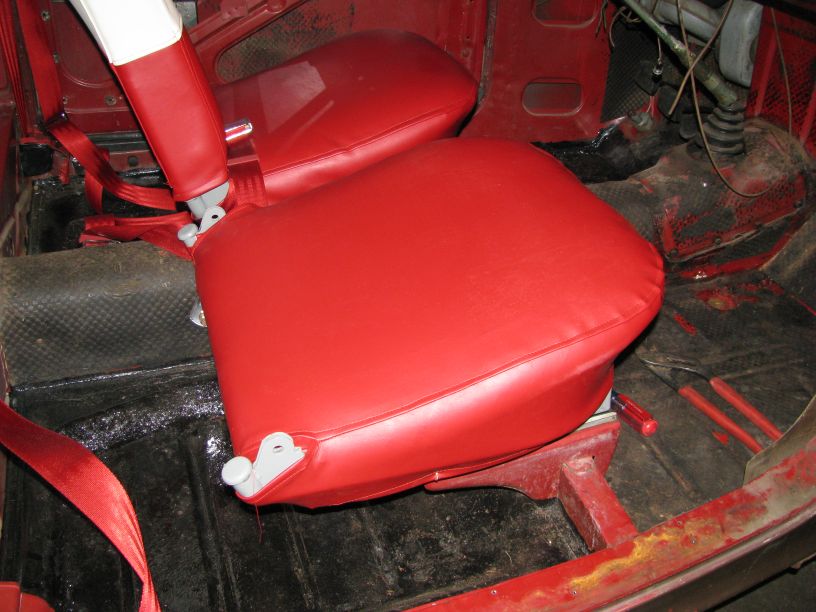
Reassemble the seat back in the car. |
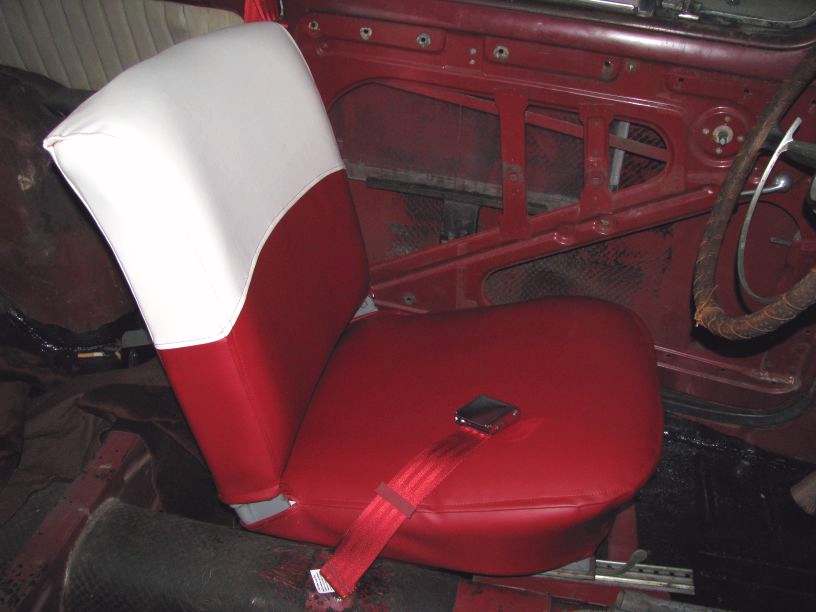
| 13 |
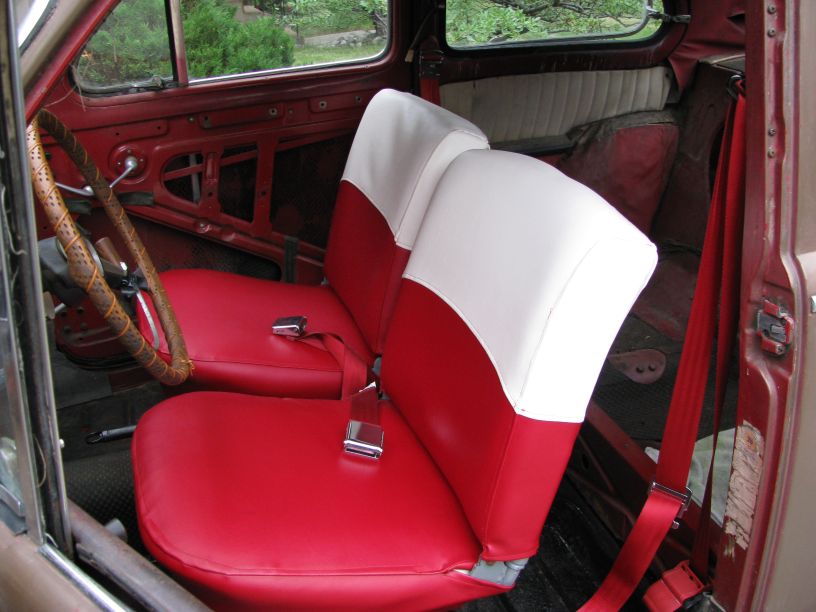 |
Enjoy that you've gone from the upper photo on the left to the one below it. |