How to
Build a
Mousetrap-Powered
Car

Site Links
CodeCooker Main Page - CodeCooker How to Do Stuff - Introduction the the Mousetrap-Powered Car - The Quiz

The Instructions


Parts List

While the parts you use in your design might vary, this list provides a good starting point.

Quantity Size Description Note
1 3 inches by 19 inches by 1/4-inch thick foam core used for the body
4 1 inches by 1 inch by 1/4 inch thick foam core used as wheel retainers
4
compact disks or DVDs used as wheels
1 18 inches long by 1/8 inch diameter gas welding rod used as extension arm, available at a welding supply or some hardware stores, similar rod can be substituted such as allthread
2 6 inches long by 1/8 inch diameter gas welding rod used as axles, available at a welding supply or some hardware stores, similar rod can be substituted such as allthread
2
inexpensive pen barrels used as axle guides, you could substitute a stiff plastic soda straw
4
popsicle sticks used to mount axles to body
1 6 inches tie wire used to fasten extension are to mousetrap
1 random length string used to connect extension arm to axle
1
round thing used create a larger diameter on axle, could be tape
1
standard mousetrap used to power the vehicle


Tools List

Item Description Note
Utility knife any type will do follow proper safety precautions
hot glue gun low or high temp follow proper safety precautions
hot glue low or high temp follow proper safety precautions
measuring tape any type will do
pliers any type will do to bend the axles and tie the wire
hacksaw any type will do to cut the rod if your pliers cannot


The Procedure

Photo Description
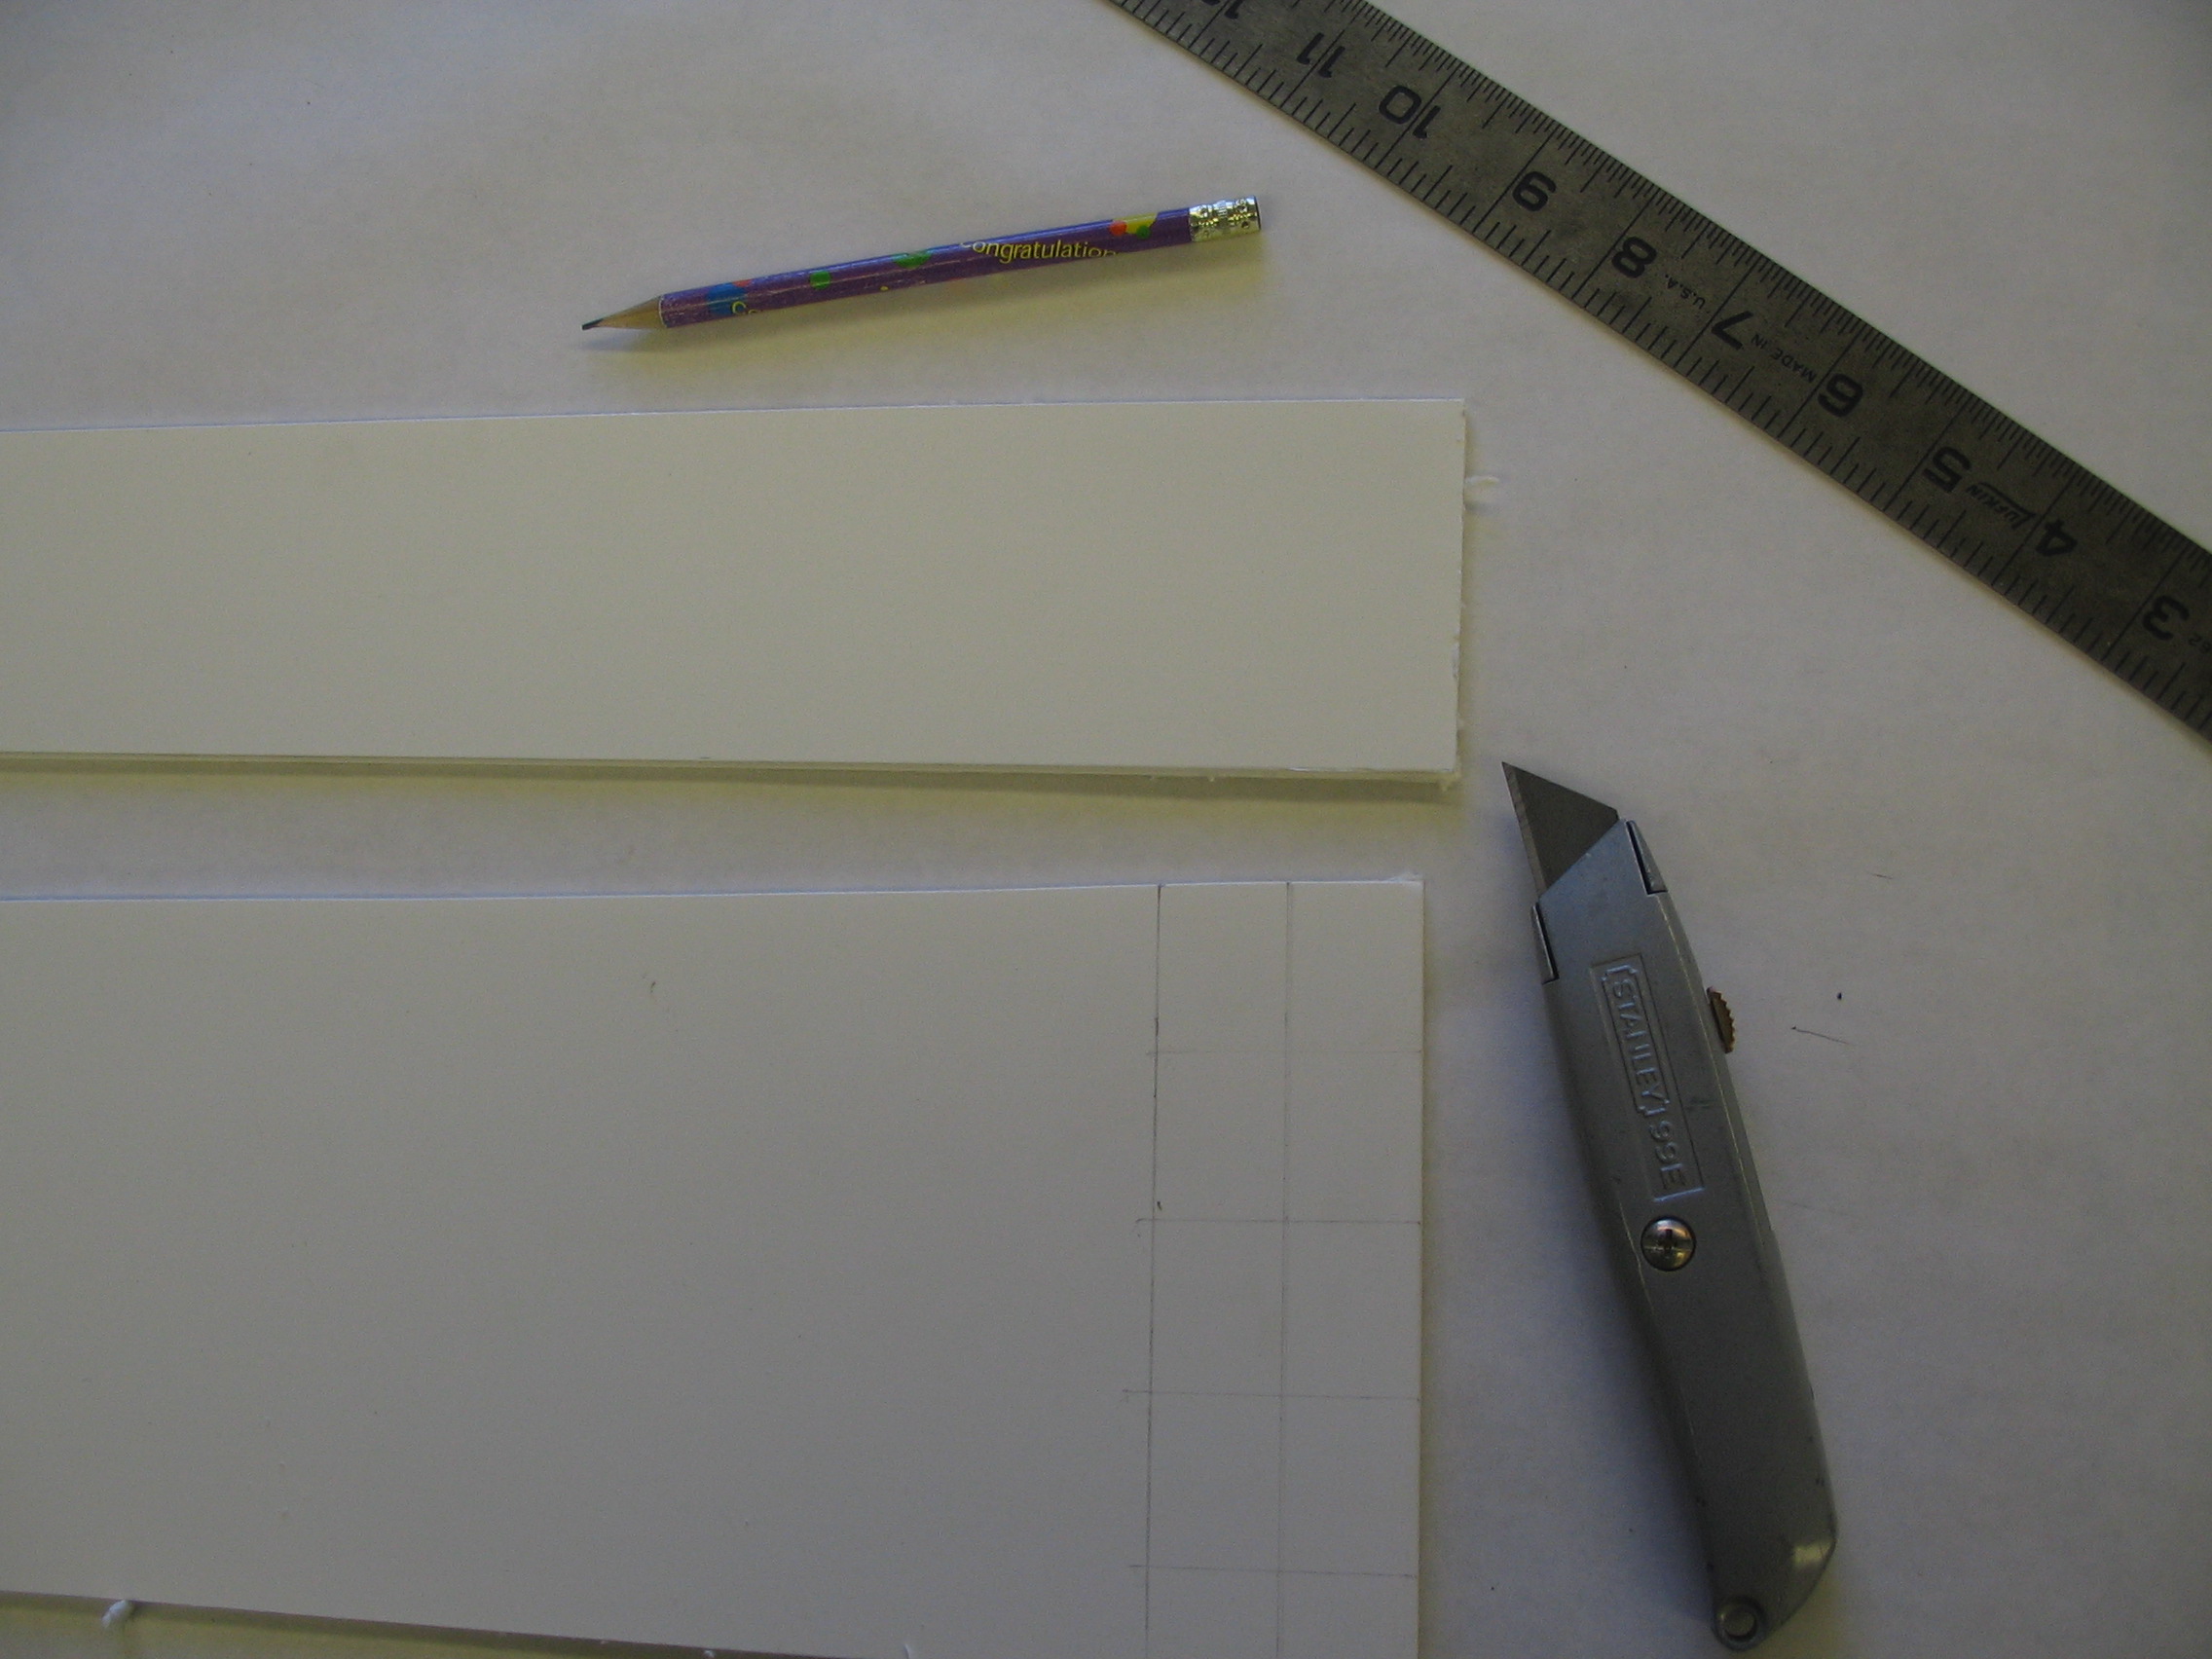
Measure and cut the foamcore to the required sizes.
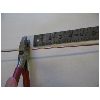
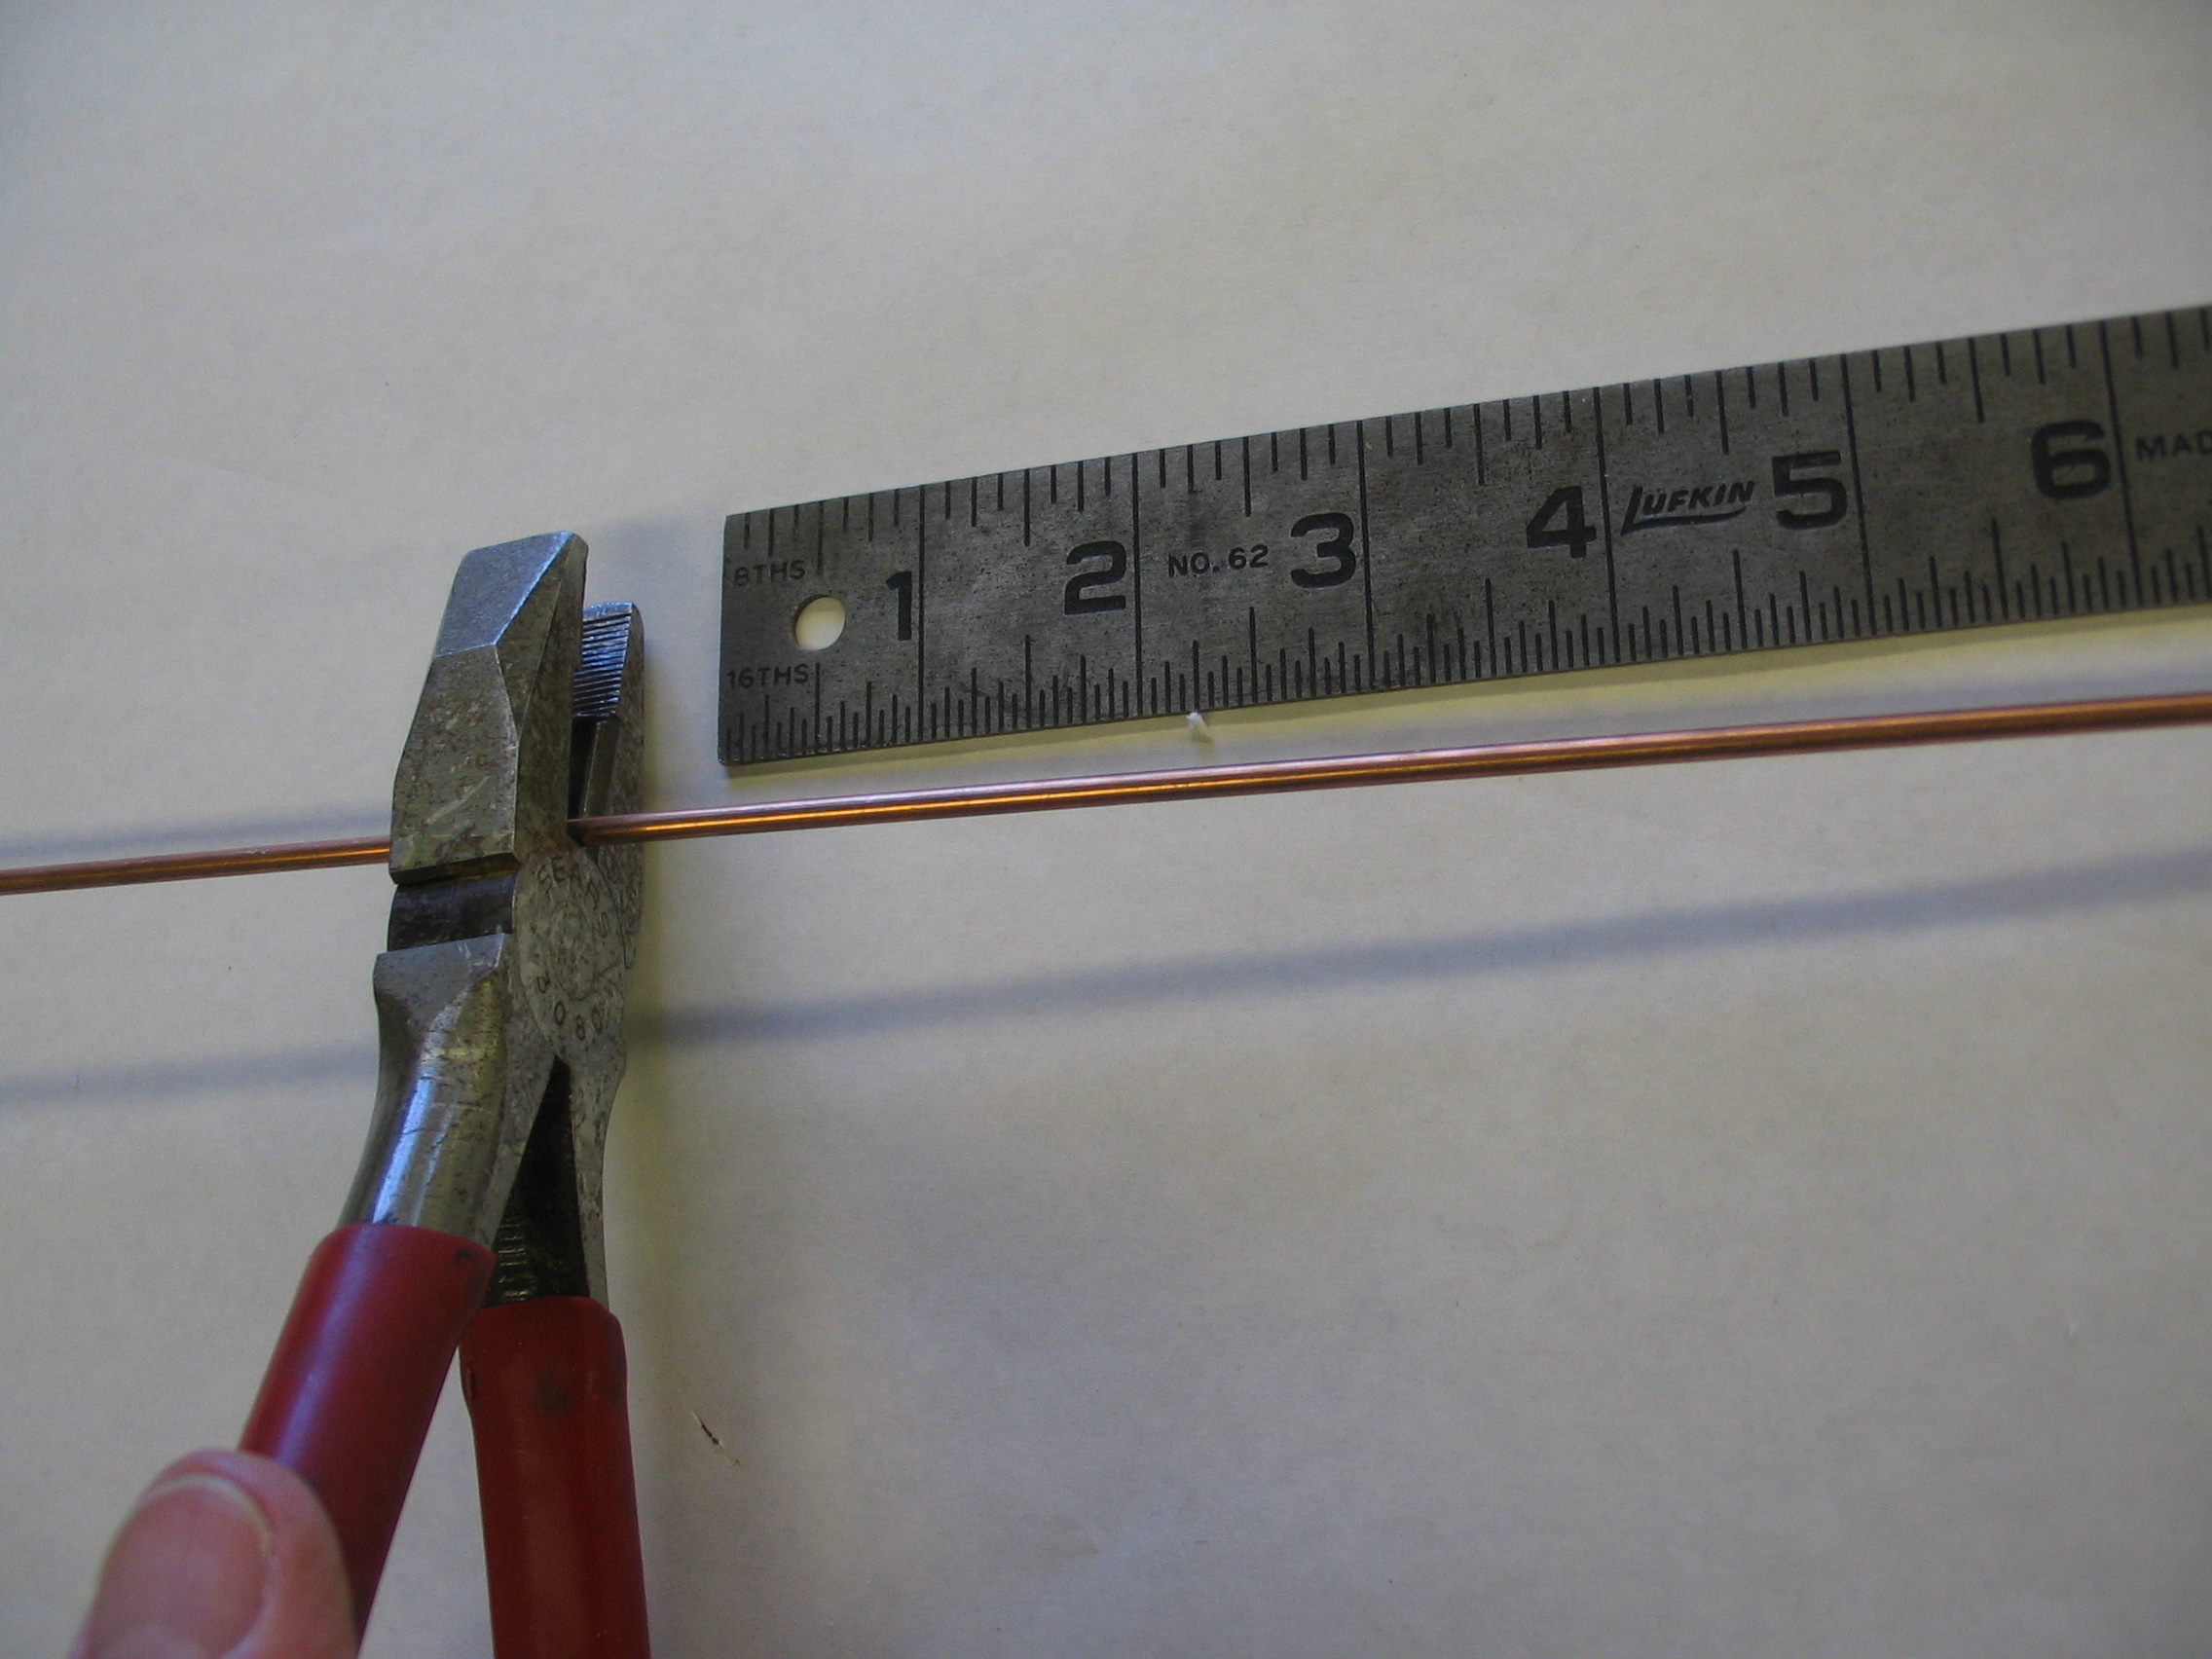
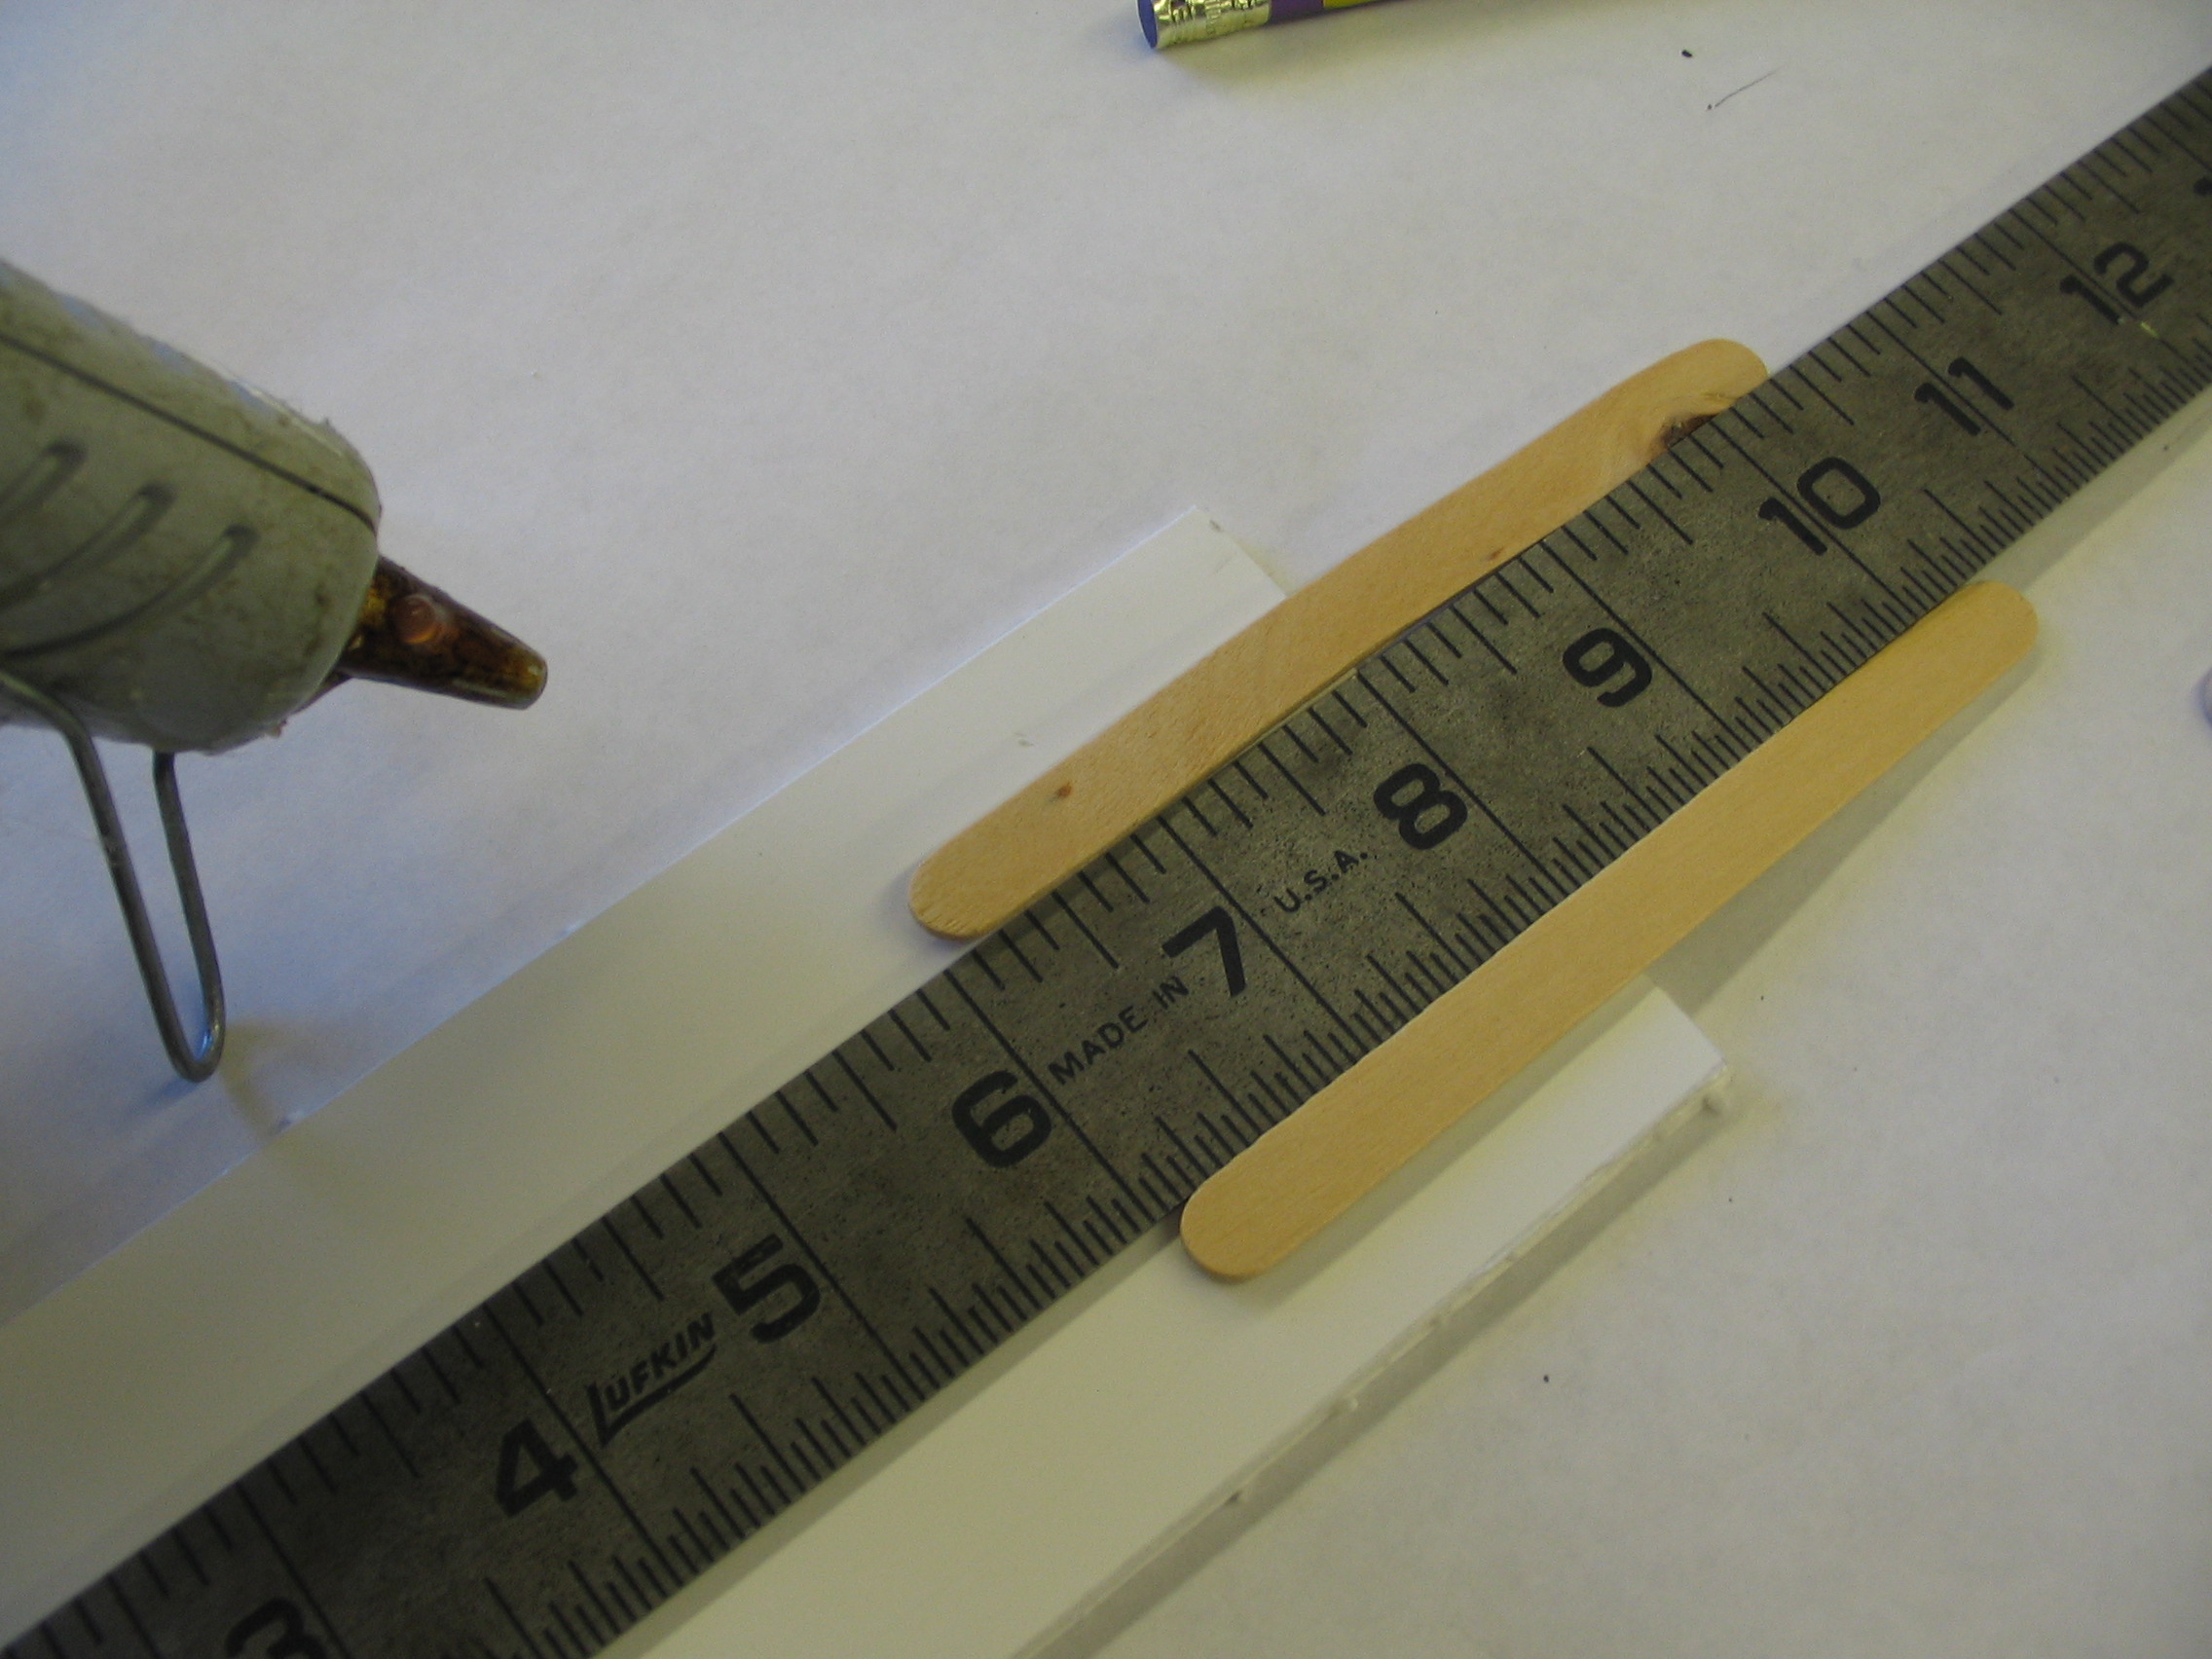
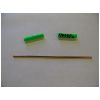
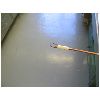
Measure and cut the rod.
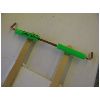
Attach the popsicle sticks to the body with hot glue
Position carefully
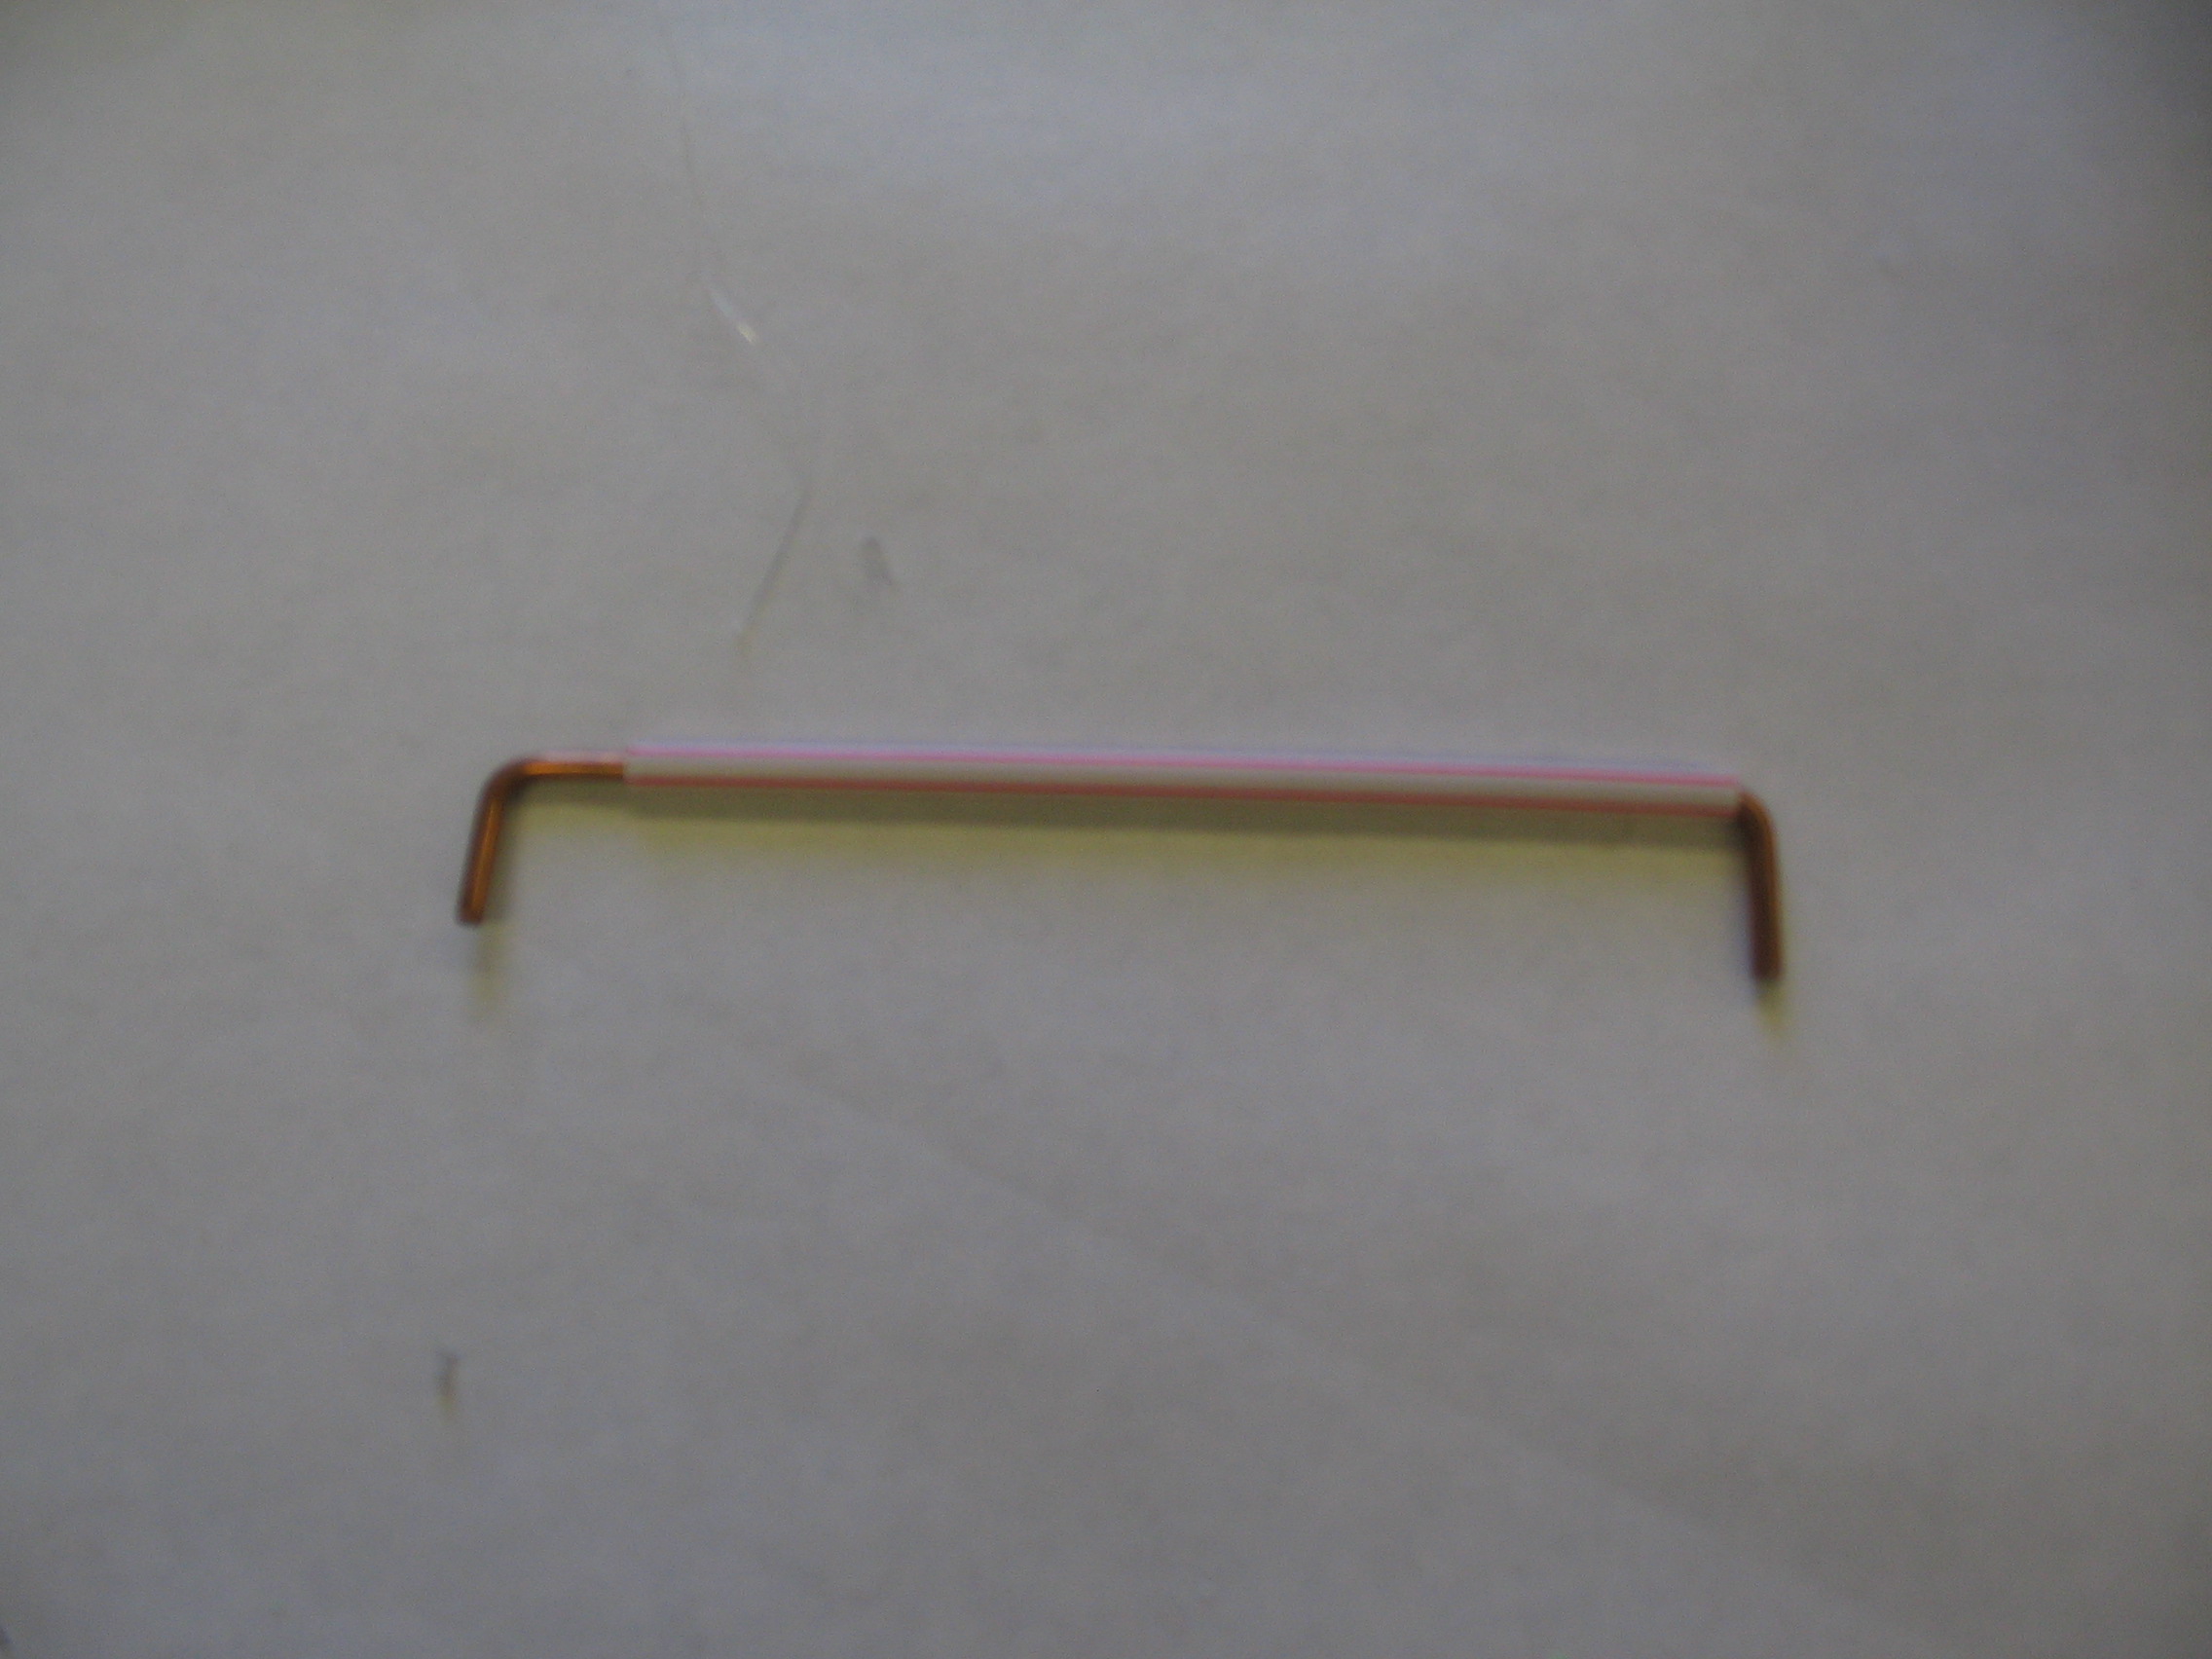
Slide the front axle through one of the pen barrels.
Bend the ends of the axle at 90 degrees. Keep the bend about 1/2 inch from the end of the barrel.
Glue the front axle assembly to the front popsicle sticks.
Keep the barrel parallel to the front of the body.


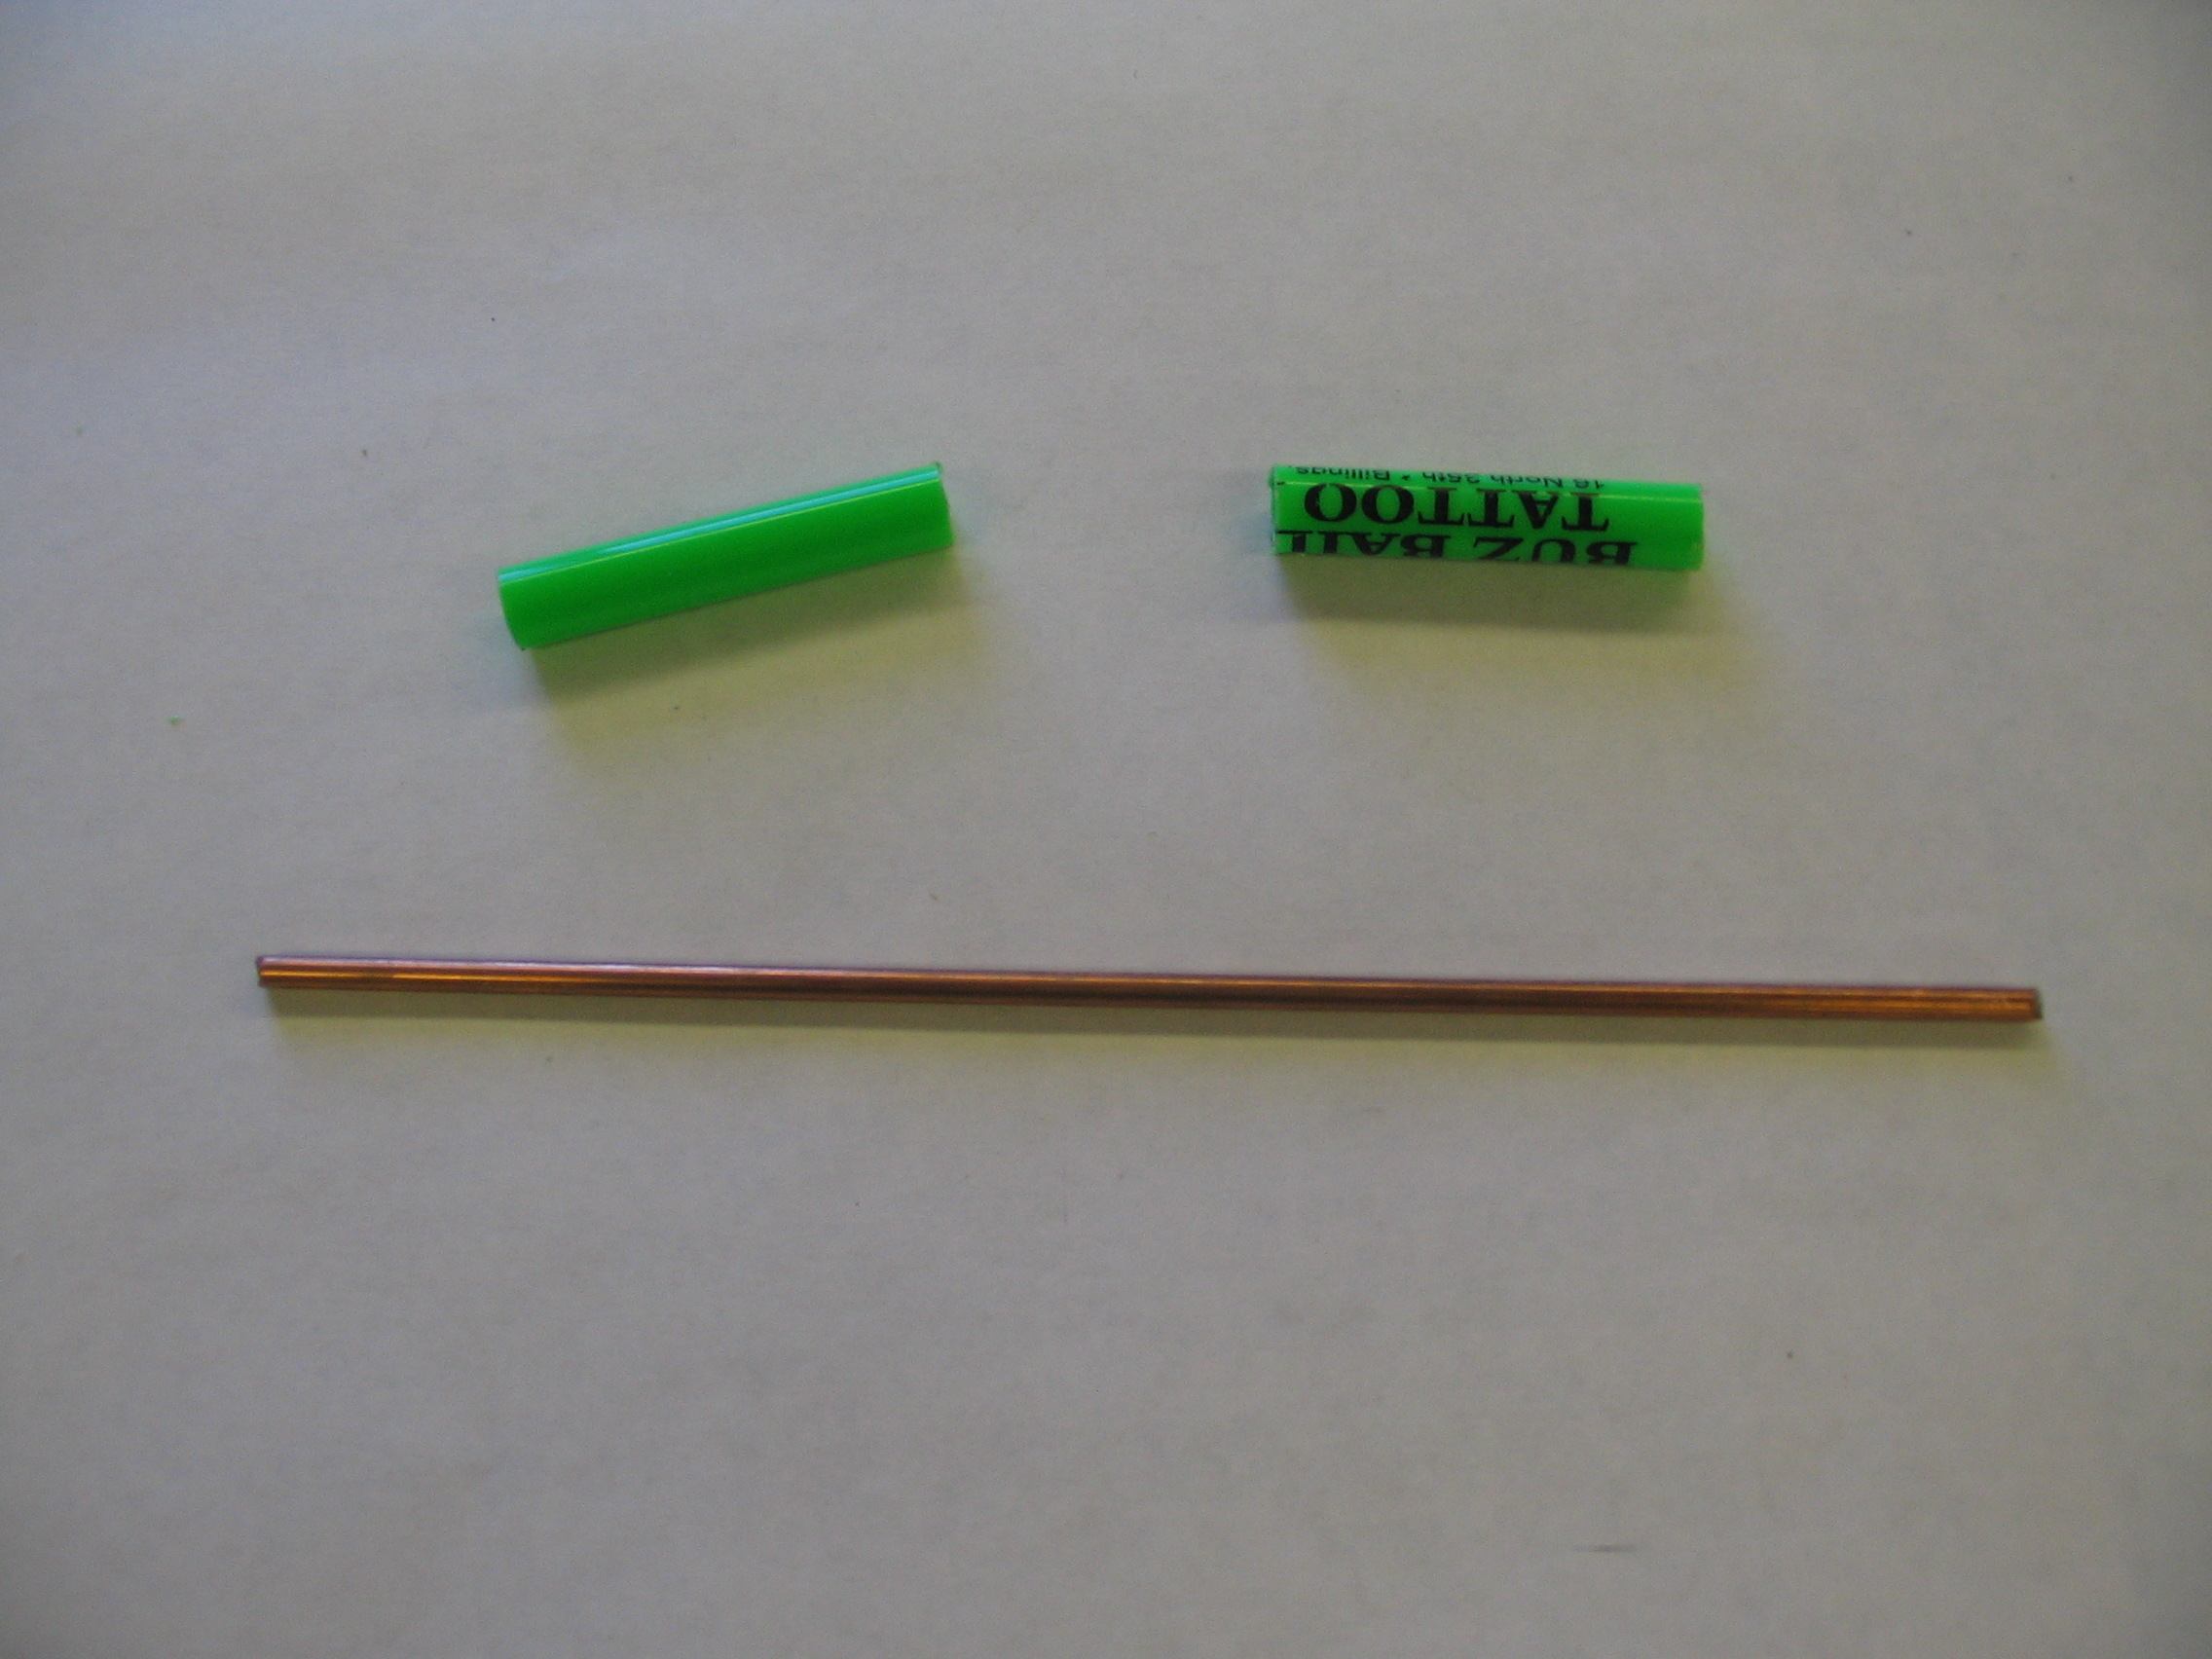
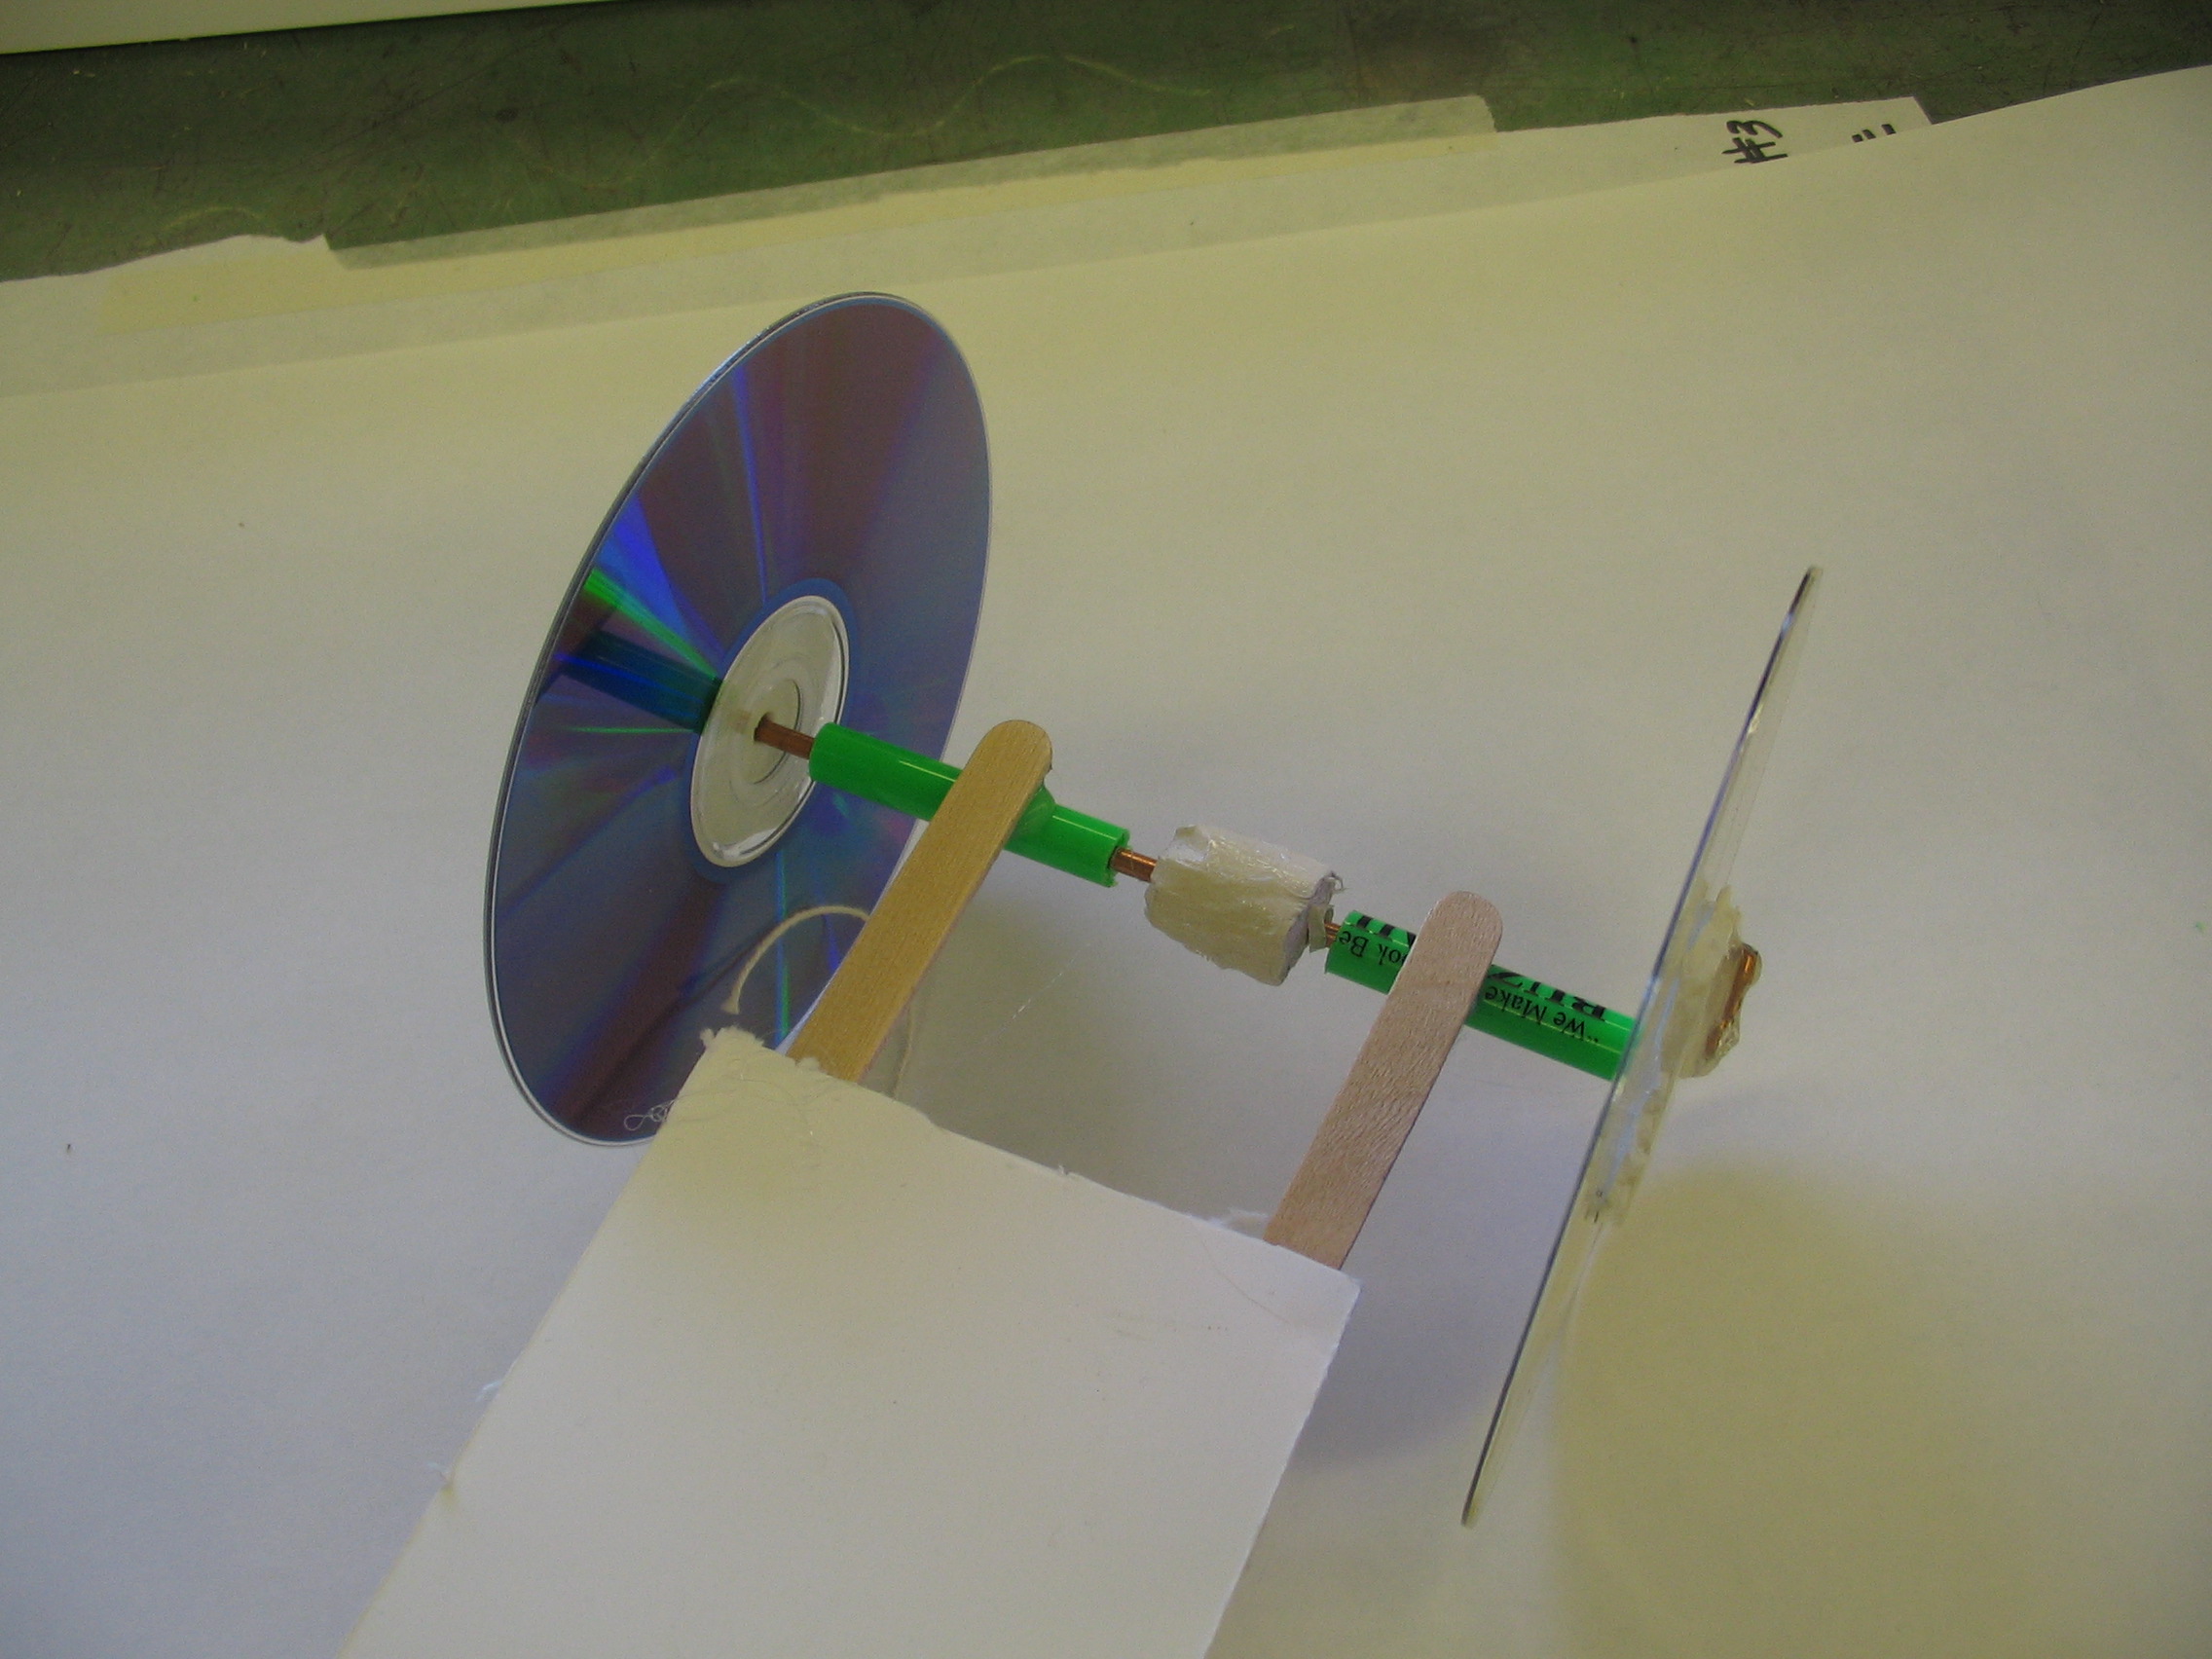
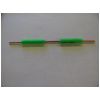
Cut the rear pen barrel into two pieces about 1-1/2 inches long.
Slide the two pen barrel pieces onto one of the 6 inch axles.
Bend the ends of the axle at 90 degrees just like you did for the front axle.
Glue this rear axle assembly to the rear popsicle sticks leaving about 1-1/2 inch of the axle showing between them.
Make sure the axles are parallel to each other before the glue cools.
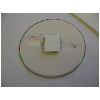
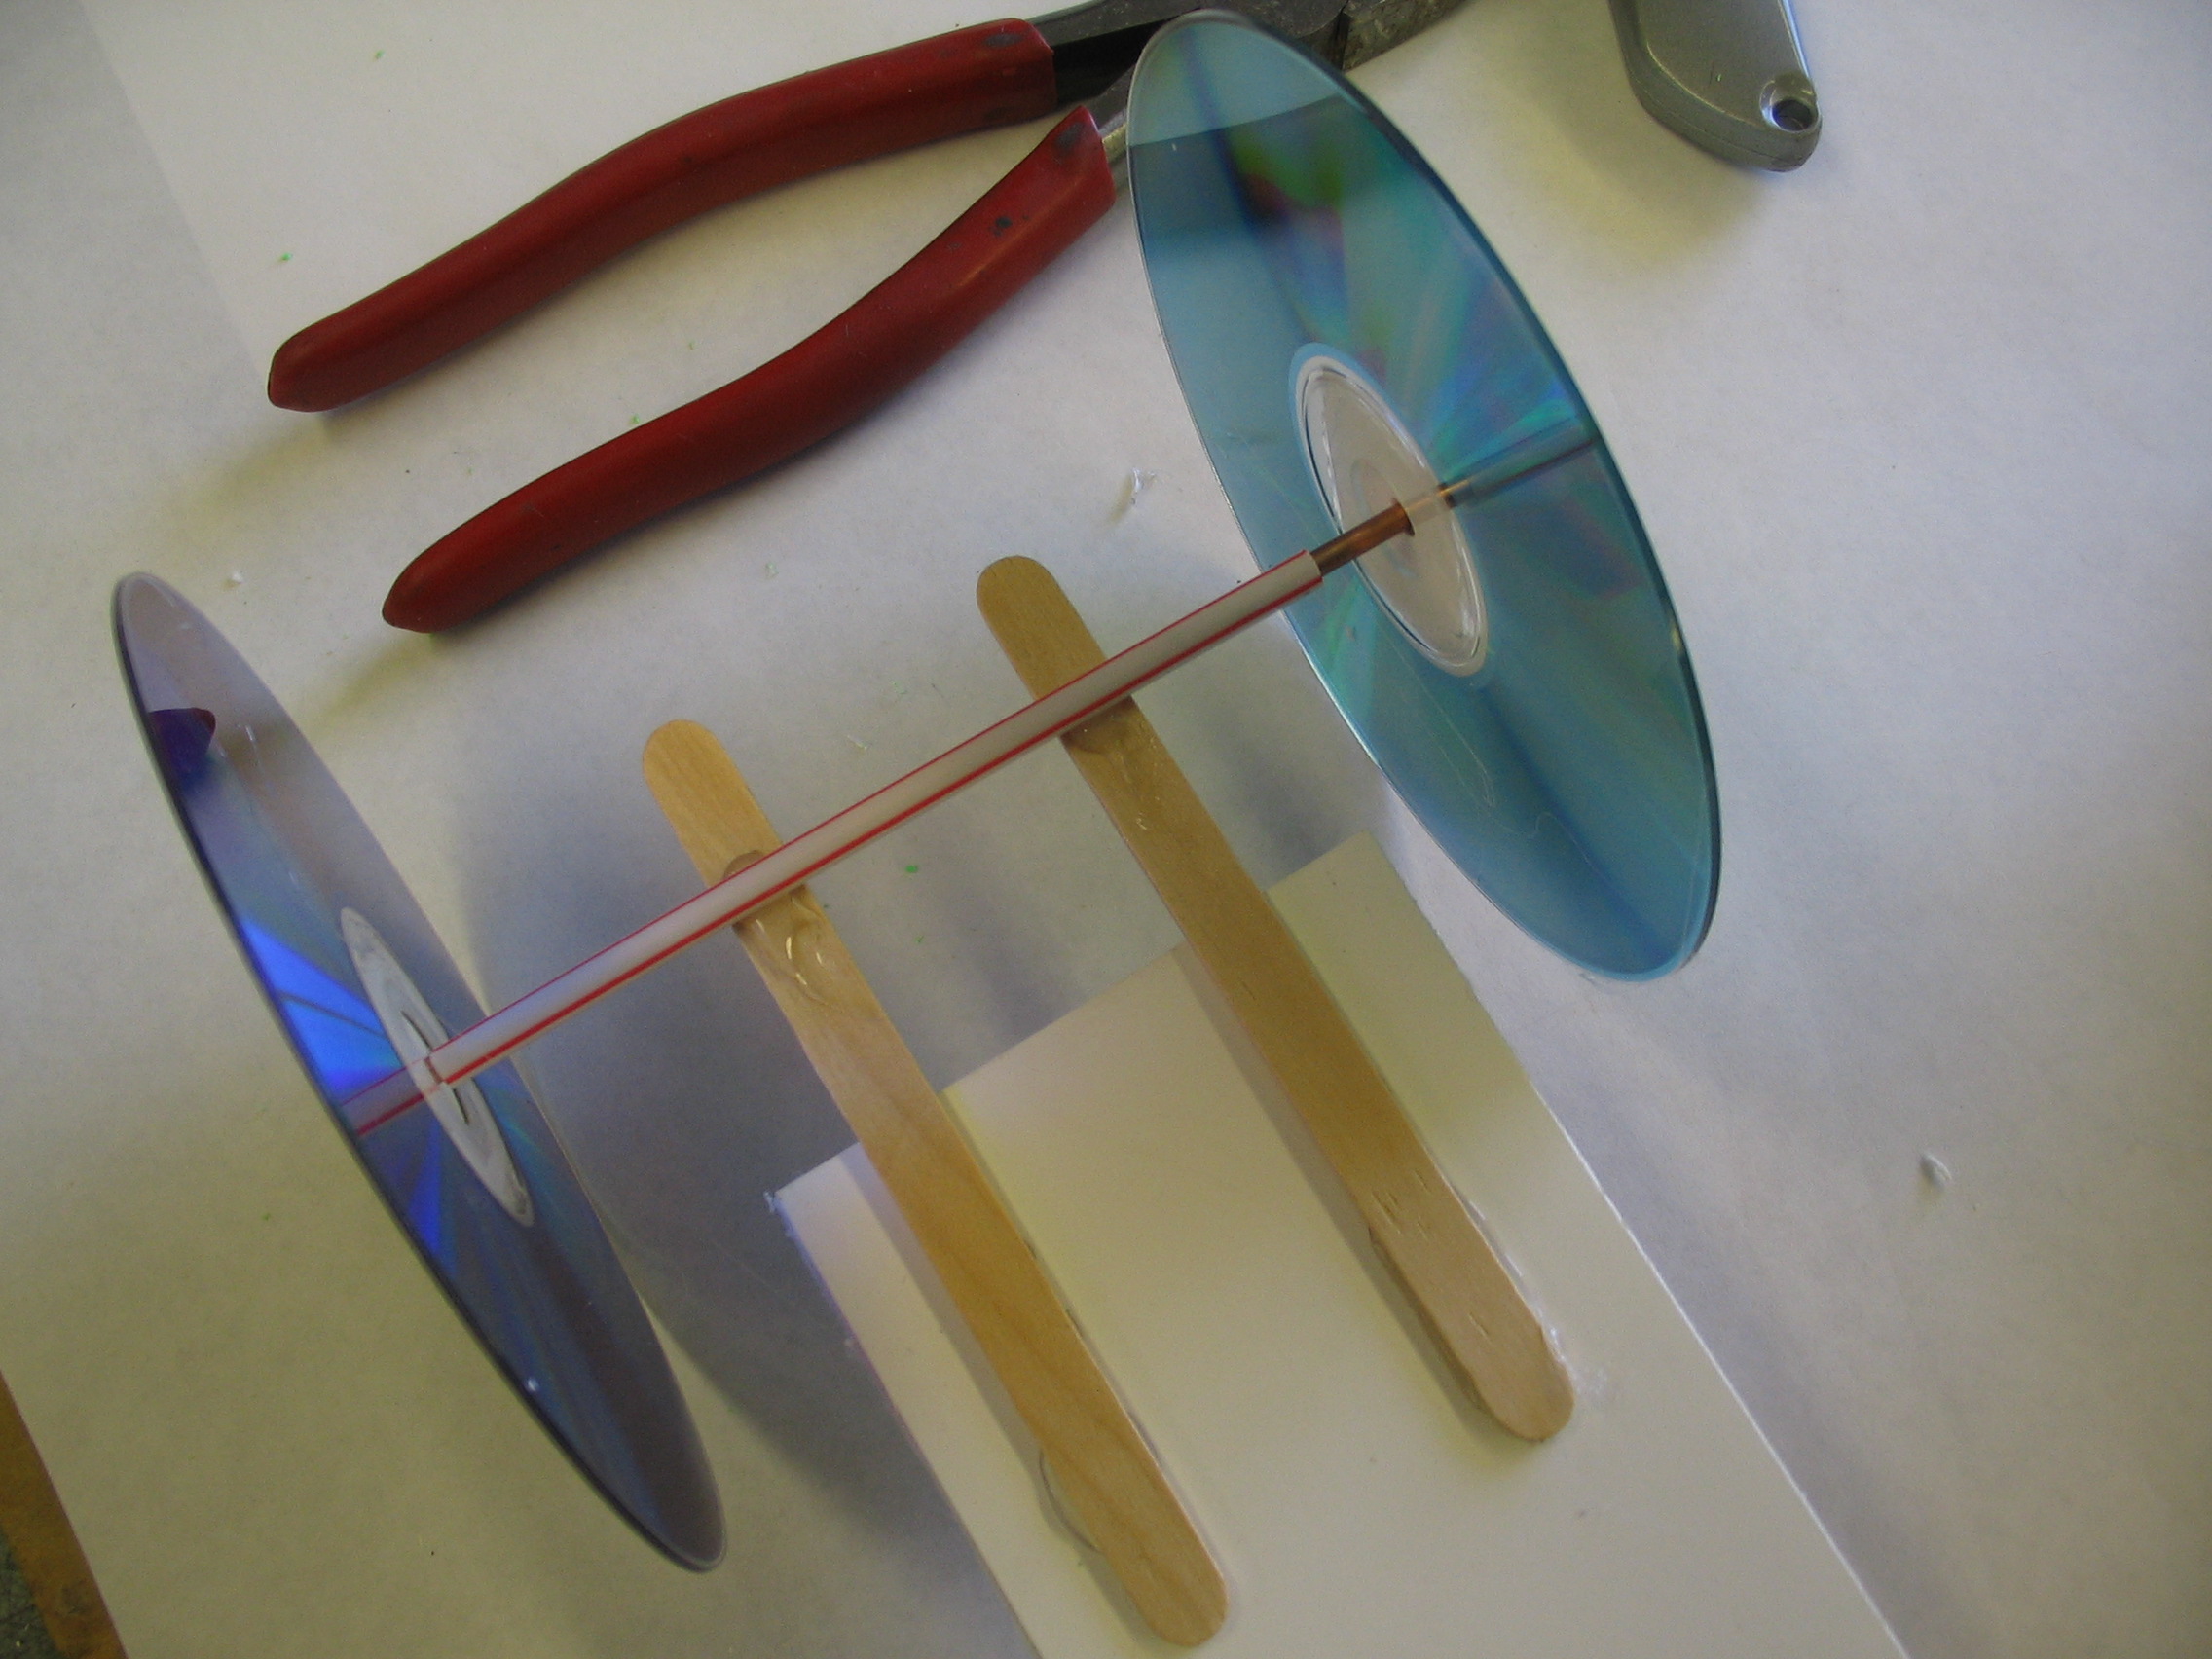
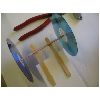
Glue small pieces of foam core to the compact disks.
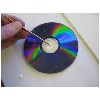
Poke a small hole, about 1/8 inch diameter, through the middle of the foam on each compact disk. You can use your extension rod for this.

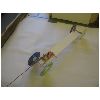
Mount the wheel assemblies on the axles and secure with hot glue. Only apply glue to the outside of the assembly.
Before the glue cools, make sure the wheel rotates without a wobble.
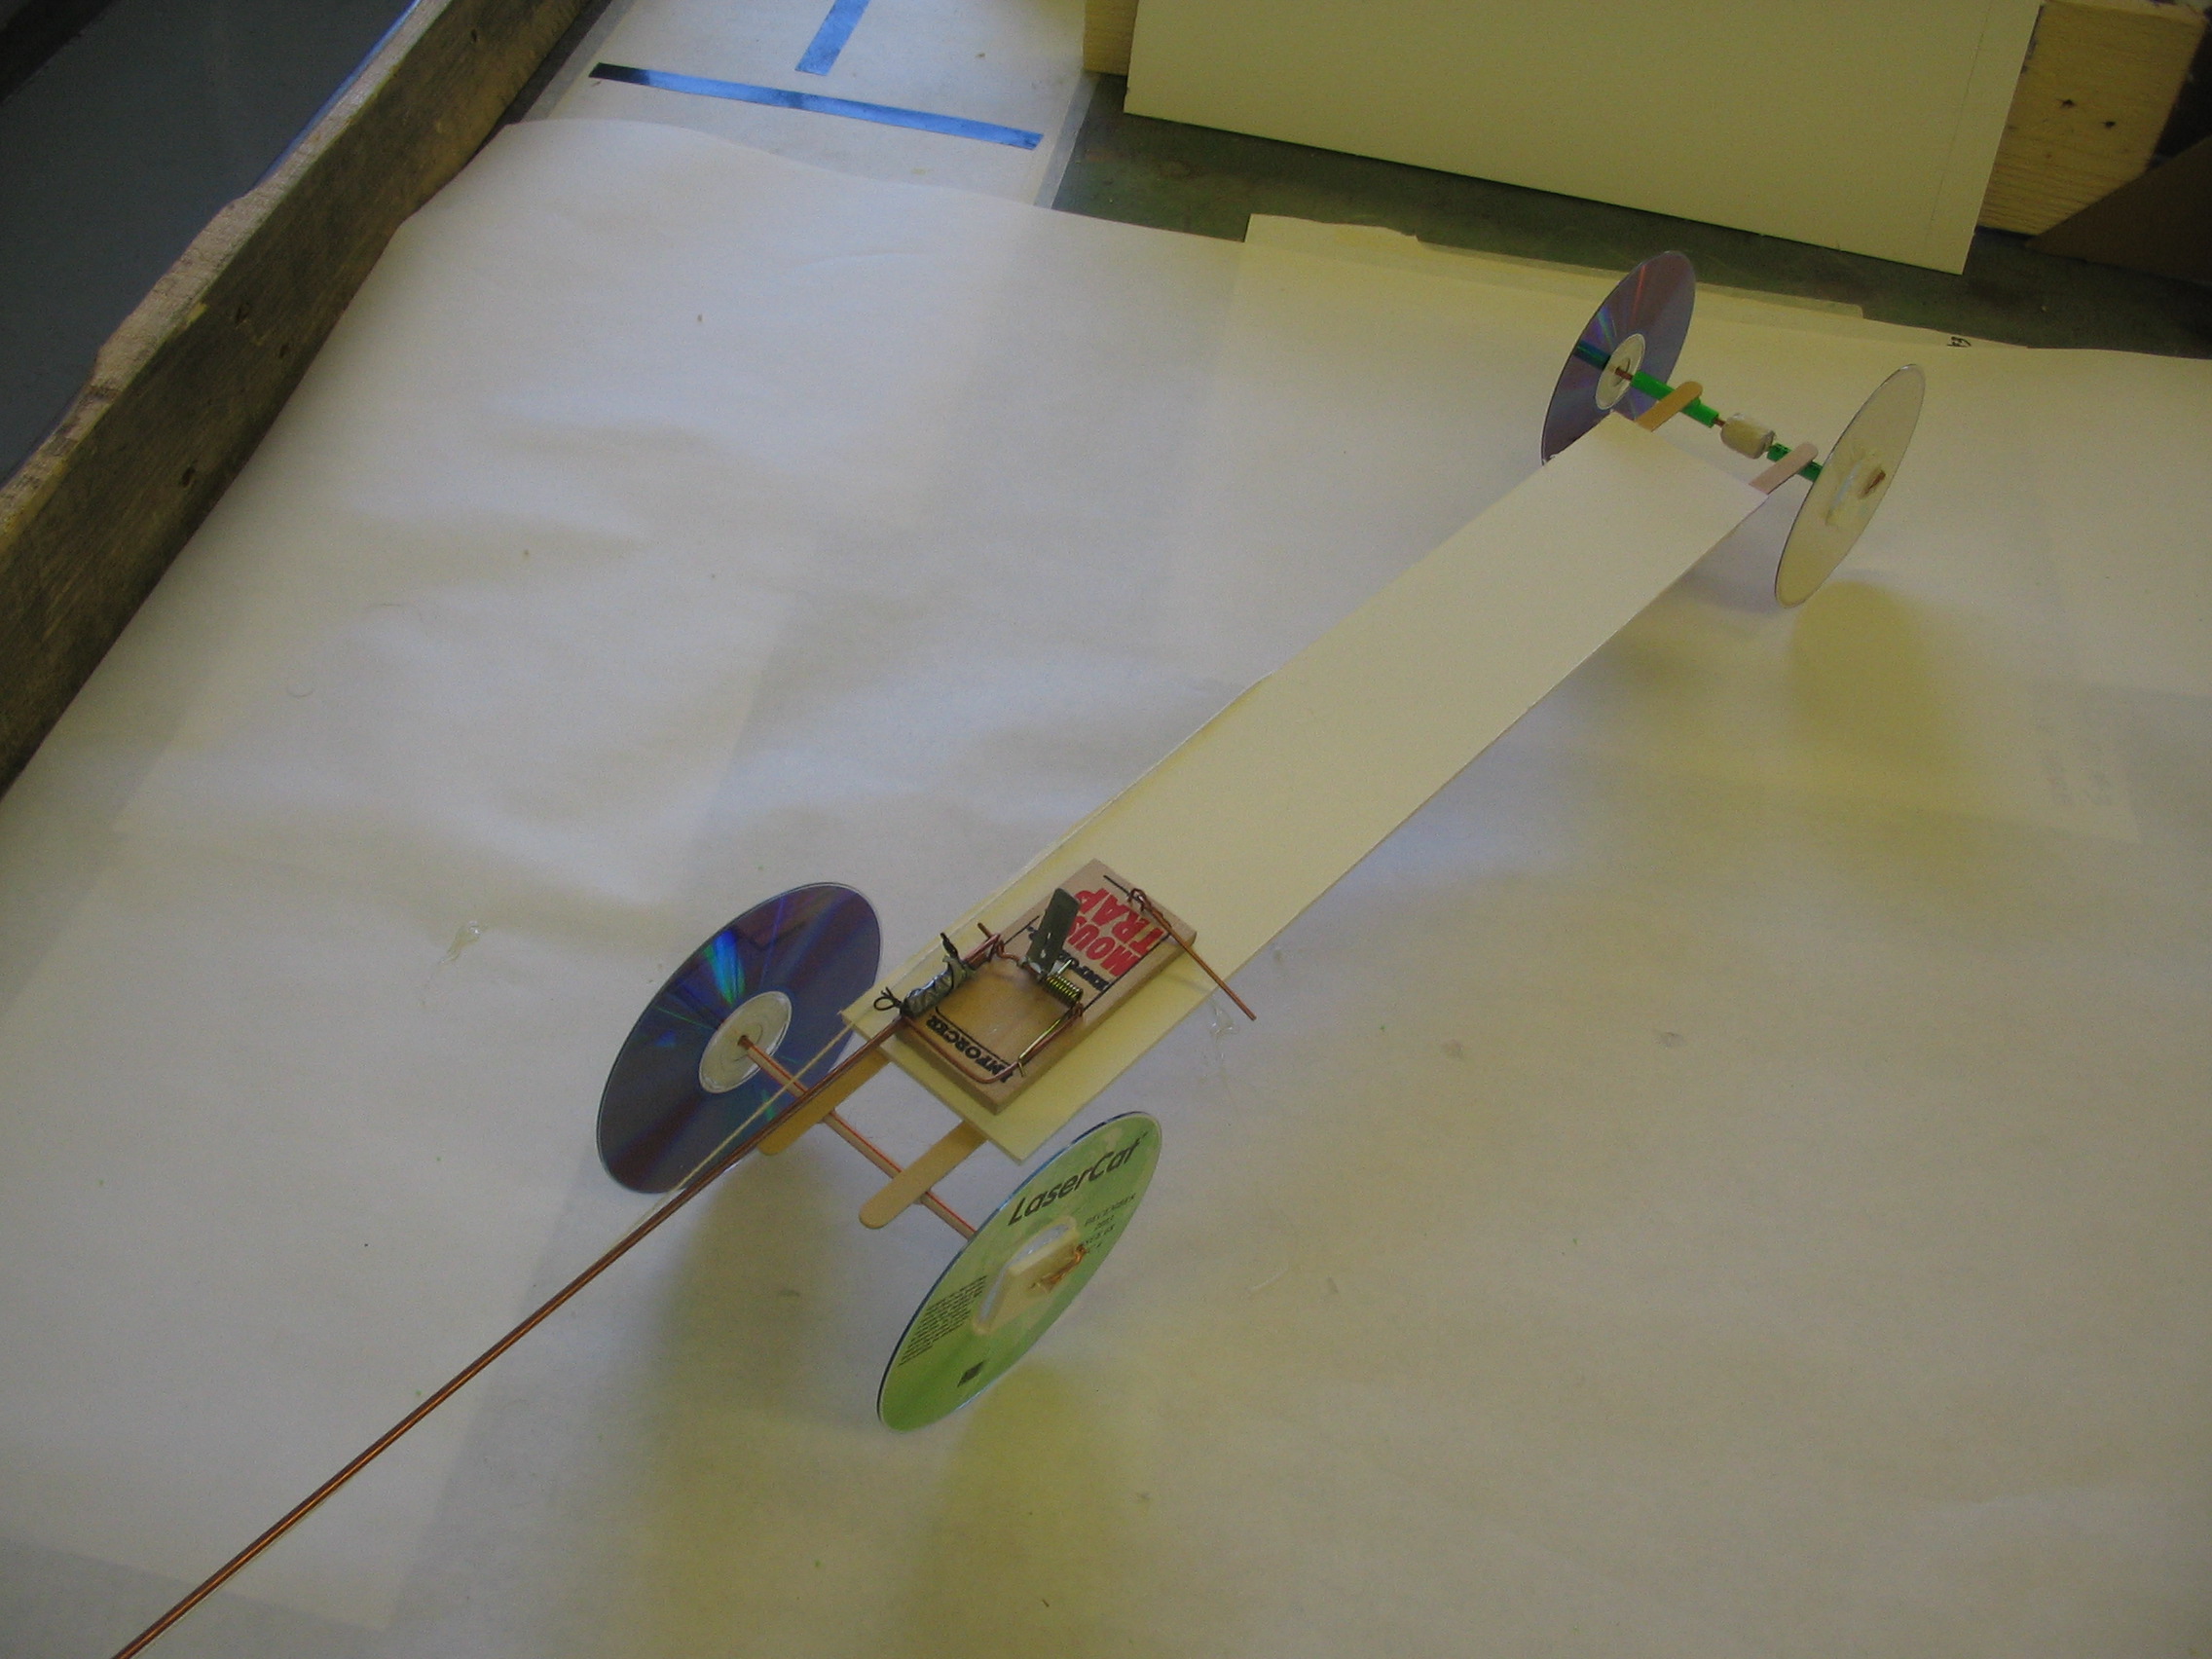
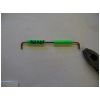
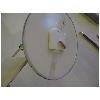
Attach the extension rod to the mousetrap using the tie wire.
Hot glue the mousetrap to the body.
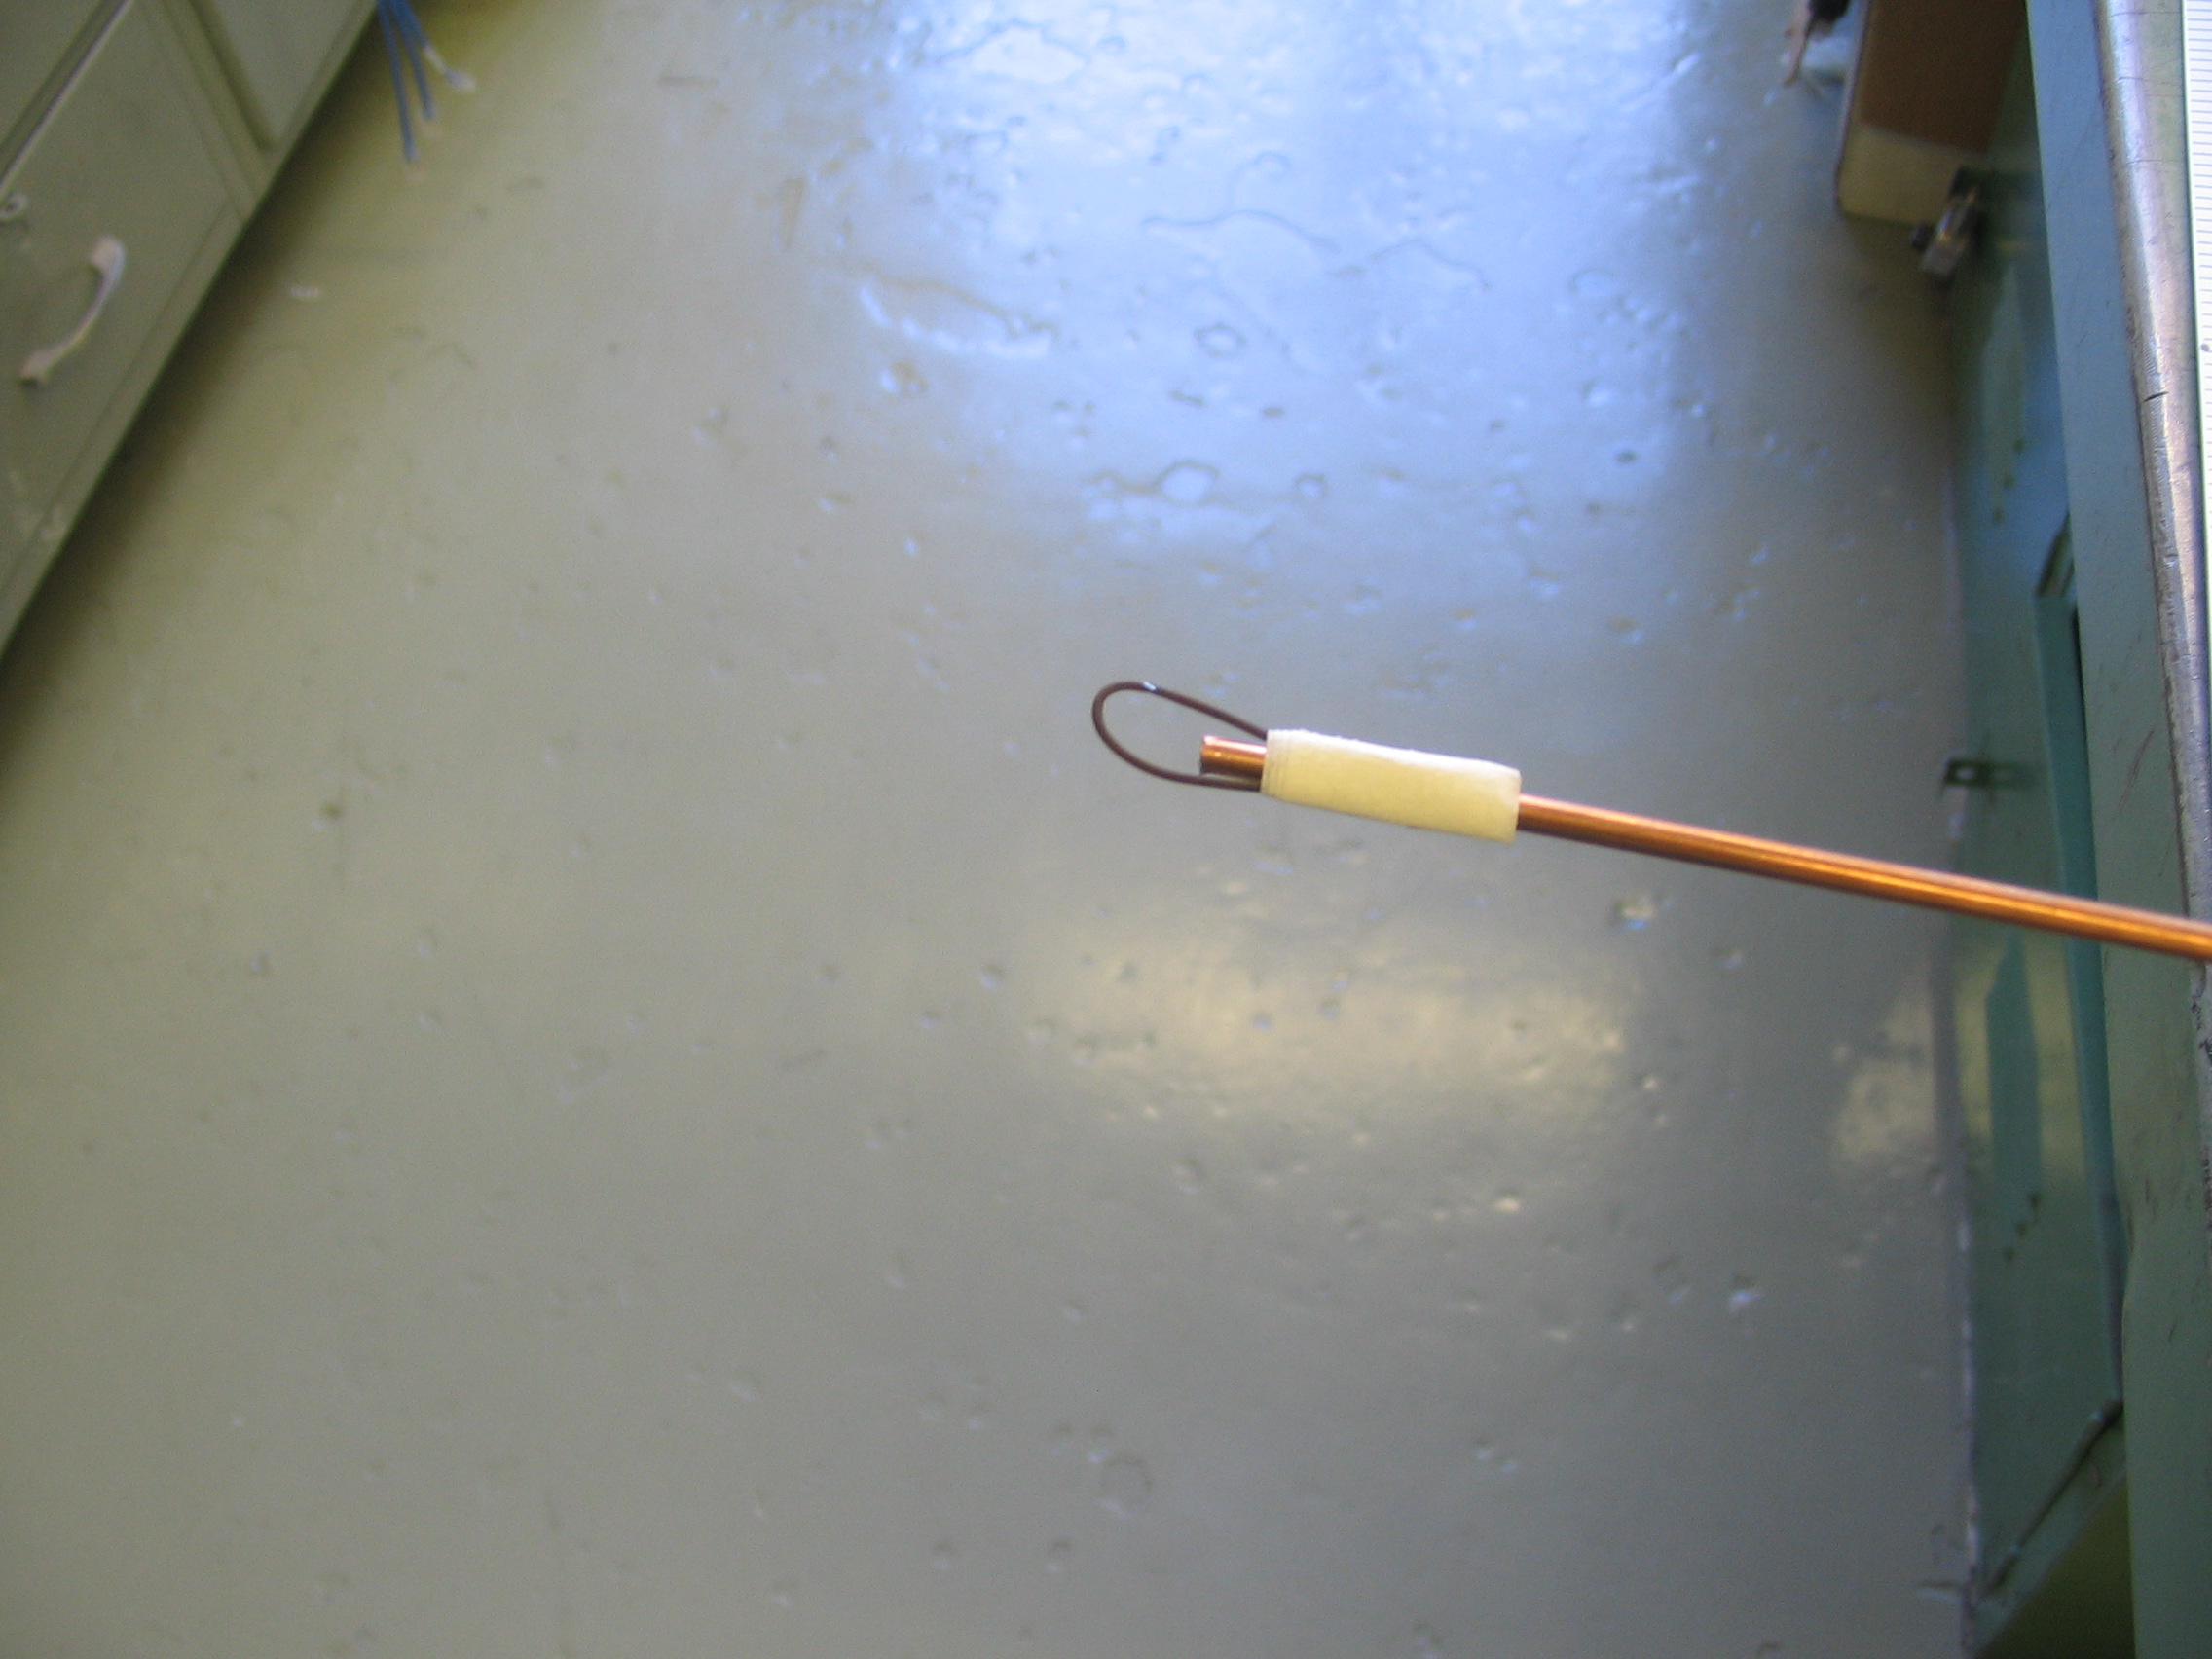
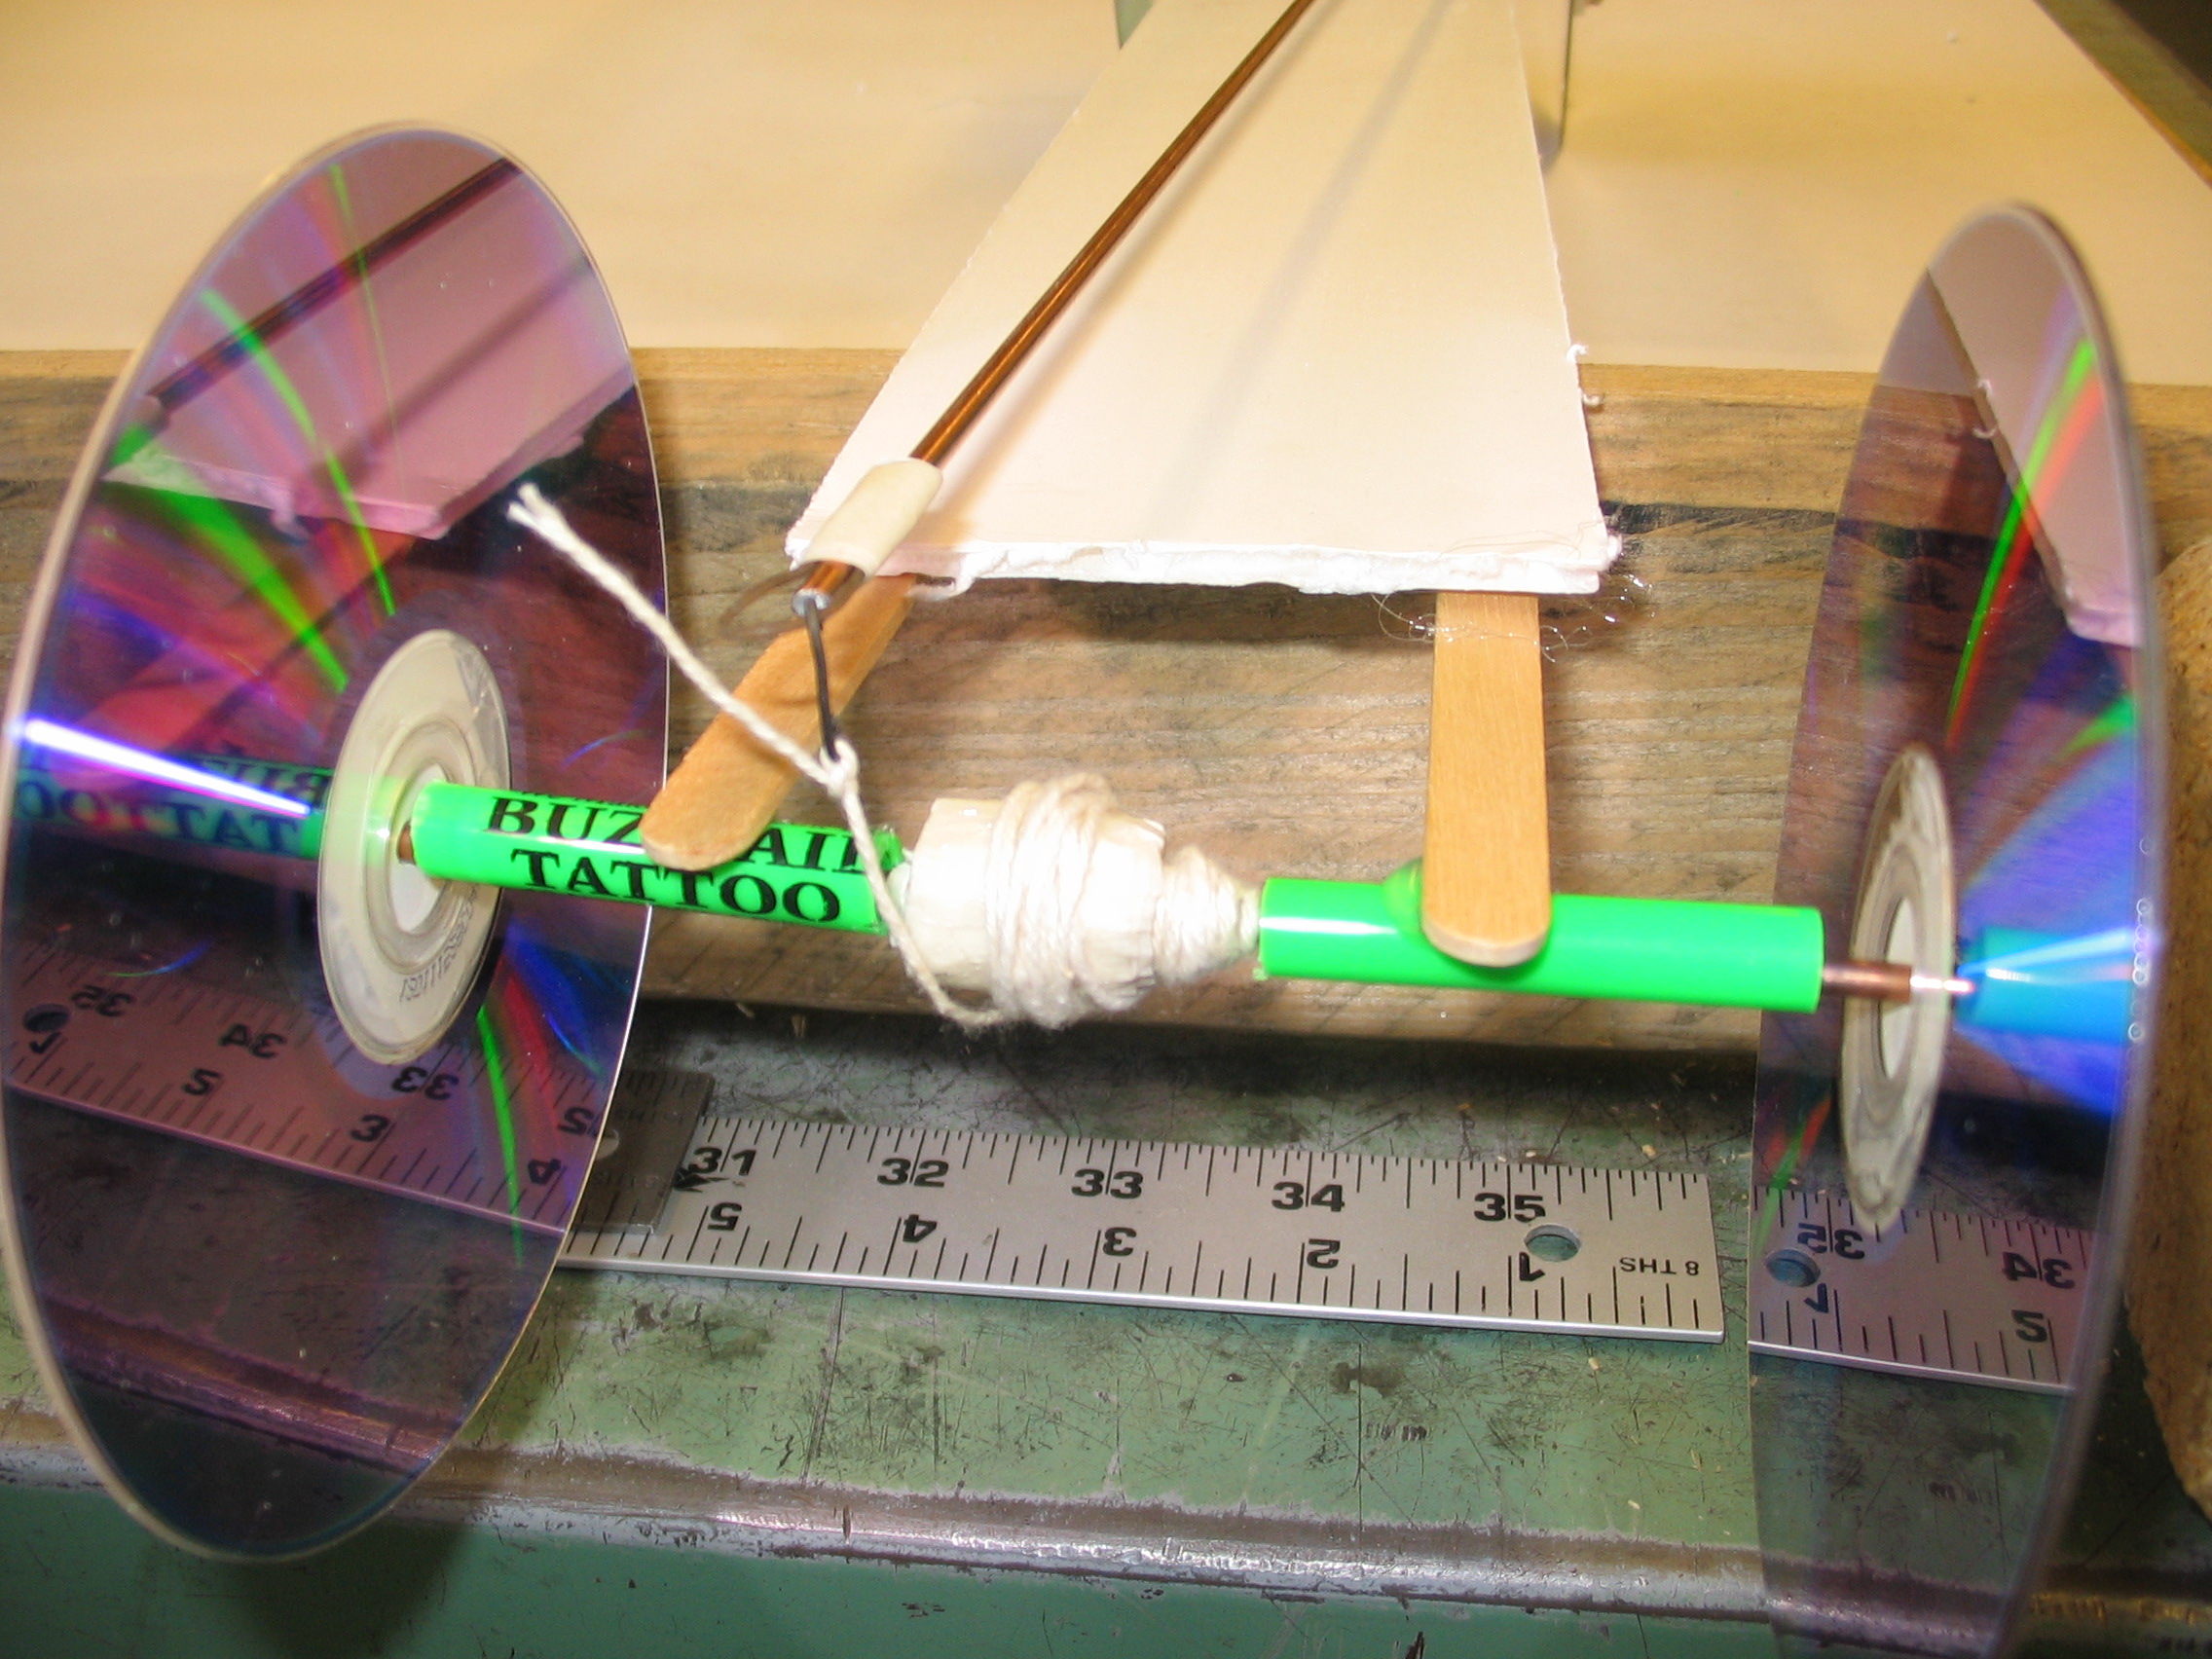
Attach the string to the end of the extension rod.
In practice it is helpful if you put a small wire hook (a half of a paper clip works) on the end of the string and a small wire loop (the other half of the paper clip) on the end of the extension rod.
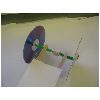
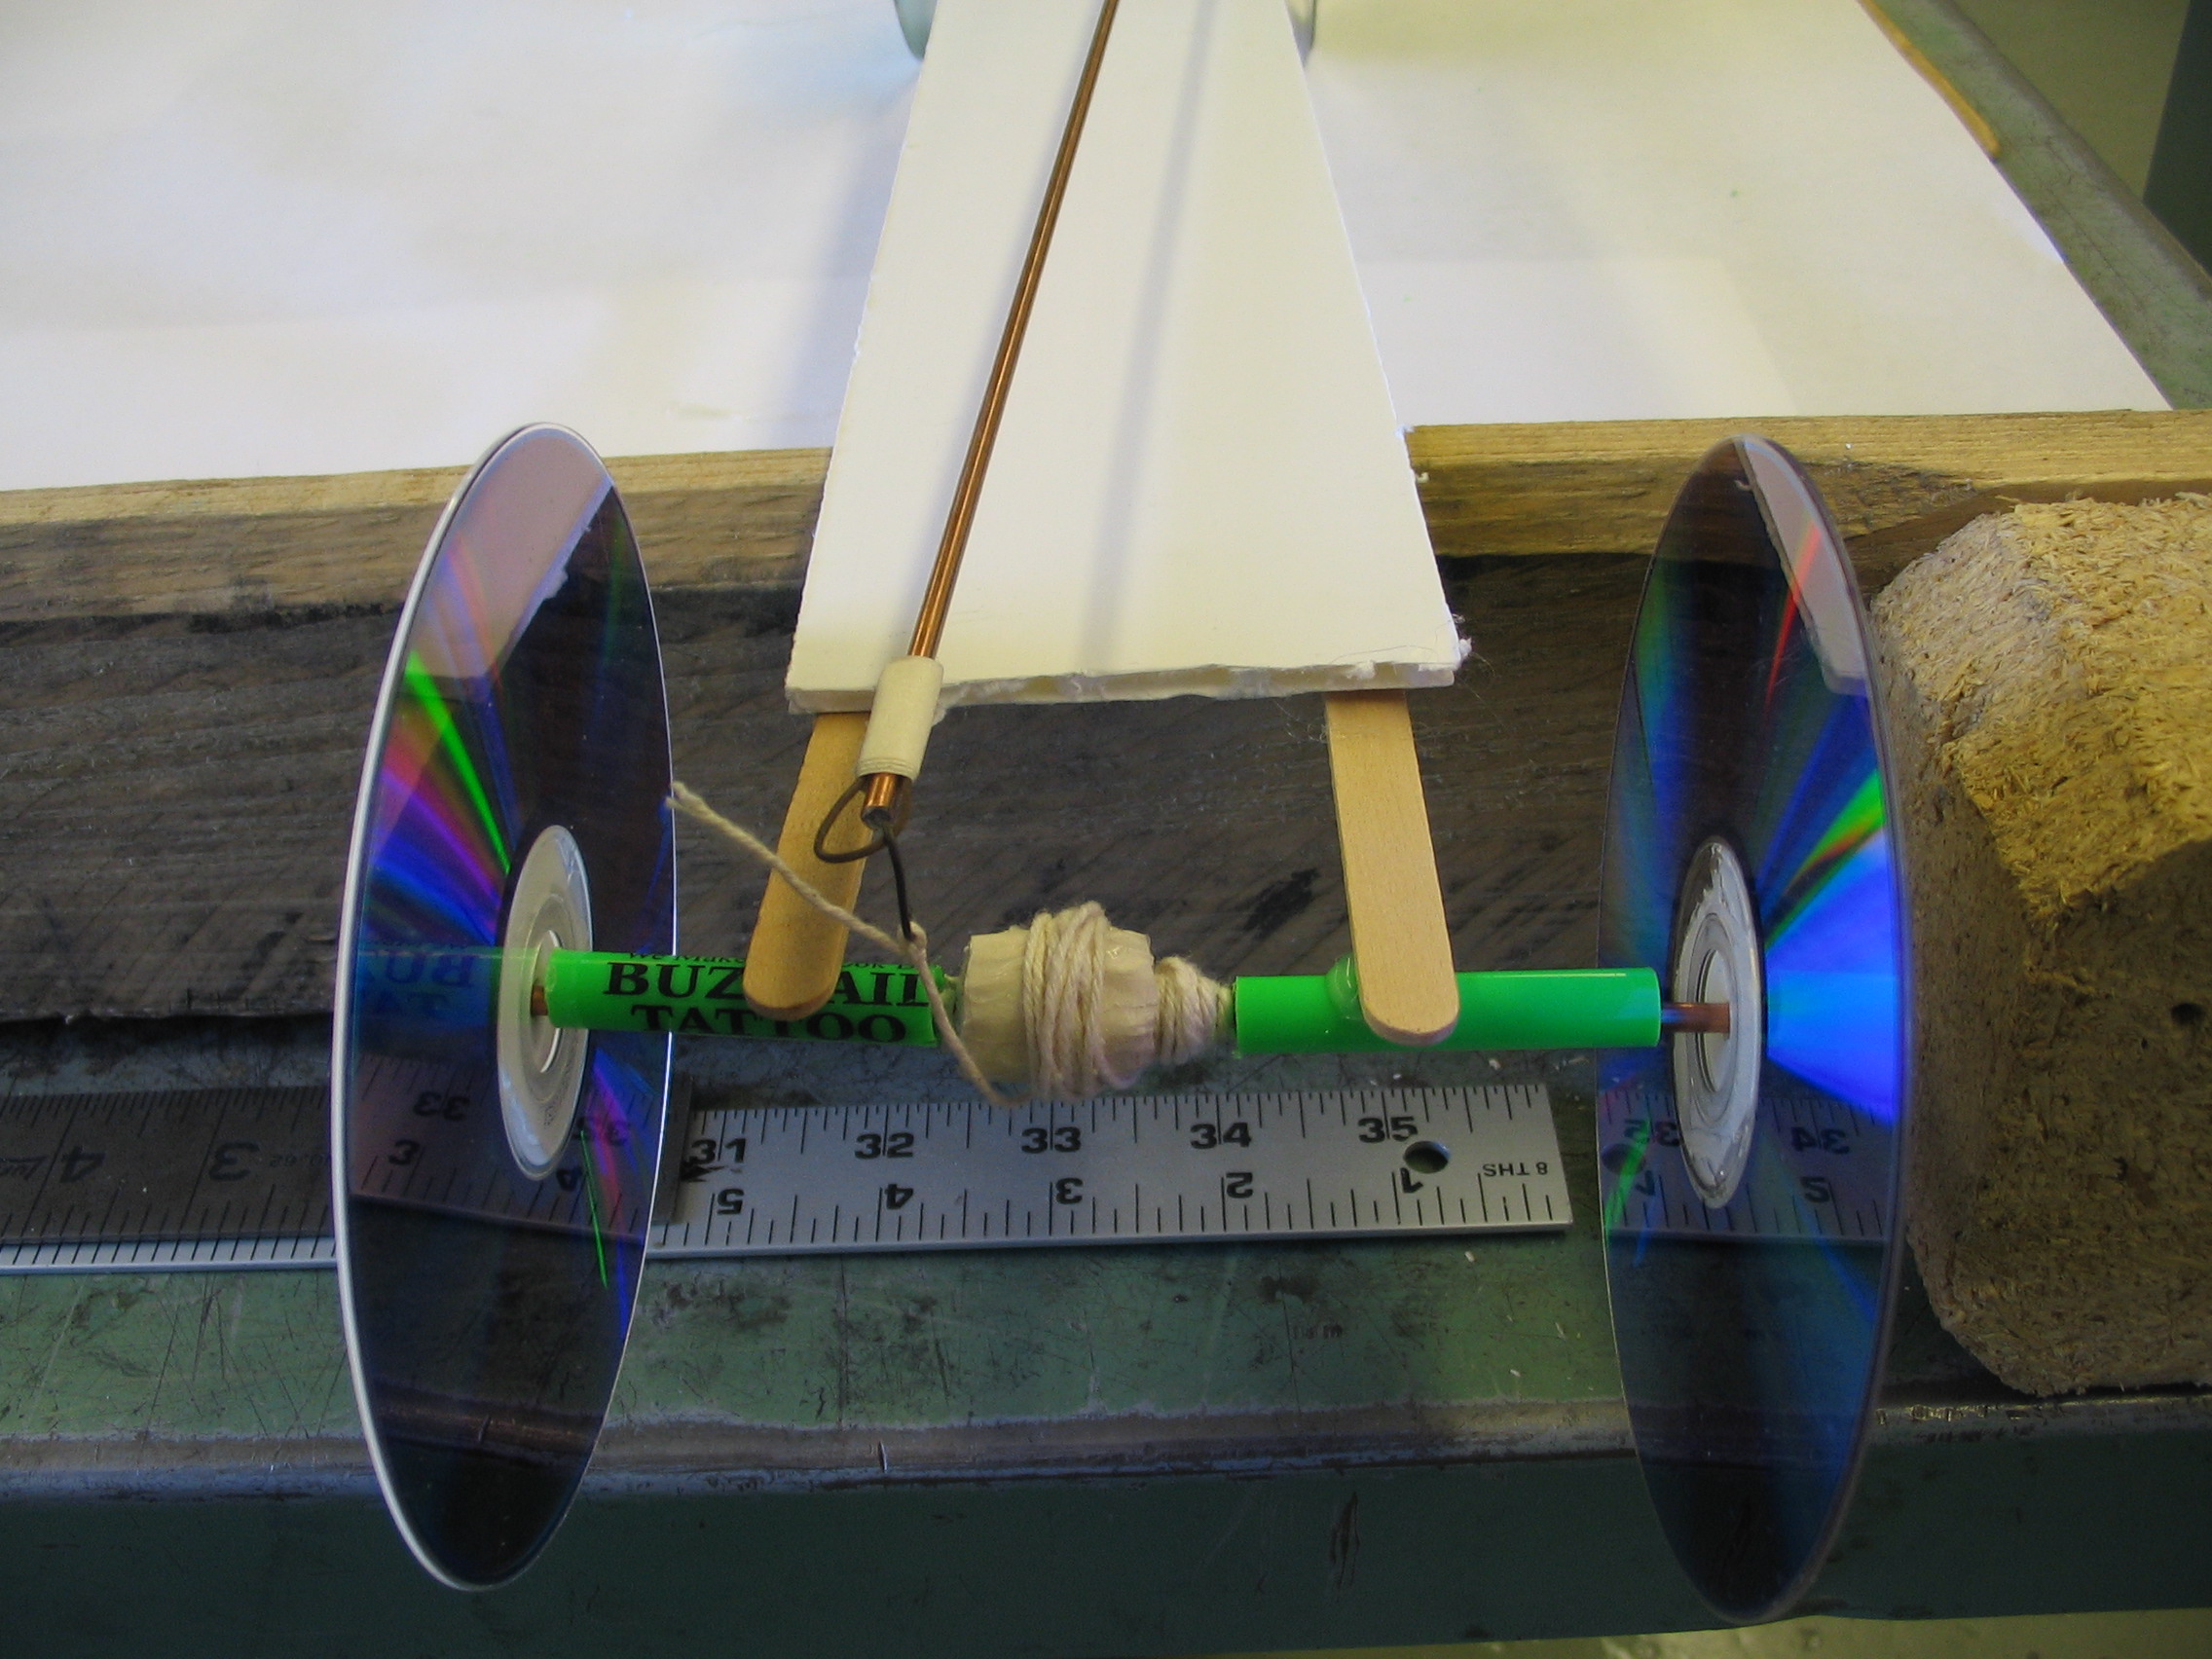
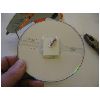
Attach the circular thingy to the rear axle
This is just something to make a portion of the rear axle a larger diameter.
This gives the car a lower gear for starting. You might wind several (many) layers of tape on the axle.
The car is now complete and ready for testing.


The Test

Photo Description
Wind the string around the axle.
Start around the small part of the axle first and finish with a couple wraps around the larger diameter.
Set the trap and attach the string to the rod.
Click here to go to the video page Place the car on the floor and release the trap. In the video you will see it run about 20 feet on its first run before it hits an obstacle. In a subsequent run it ran 40 feet.


Site Links Links
Main Page - Introduction to Building the Mousetrap-Powered Car - Take Our Quiz

www.codecooker.com
Copyright © 2012, Vince Long