Through the Years
- The Brownie
- The 126
- The 110
- Army Years - Part 1
- Army Years - Part 2
- Army Years - Part 3
- Army Years - Part 4
- Army Years - Part 5
- Army Years - Part 6
- Working in a Photofinishing Lab
- Industrial Era - Part 1
- Industrial Era - Part 2
- The 2nd Career
- Into the Fine Arts - Part 1
- Into the Fine Arts - Part 2
Photography Hardware
Processes and Projects
- Main workshop page
- Camera Building
- Pinhole camera
- Camera obscura
- Cyanotype project
- Sabattier effect
- Posterization
- Time Shifting
Photography Galleries
Photography Class Galleries
Links
Posterization
posterization: a process in photograph development which converts normal photographs into an image consisting of distinct, but flat, areas of different tones or colors. - Wikipedia
On this page I will demonstrate the method I use to create posterized images using analog methods.
Introduction
Somewhere back in the early- to mid-1970s, I read an article about a way to create posterized images in the darkroom using lithographic film and a pin registration sysem. Being someone who likes process-heavy endeavors, as well as alternative images, I filed the idea away until a few years later when I had my own established darkroom and the time to pursue this challenge. When I did give it a try I had to acquire some materials, modify my equipment, and do quite a bit of expiremantion but I did produce some satisfactory results. Many years went by, as in over 40, and I decided to go through the process again and to document it here.
I have produced final prints from the process in several ways: traditional black and white prints, color prints using both negative a nd positive types, silk screened prints, and cyanotype and Van Dyke prints. I will cover each of those as we look at the possibilities that exist.
What is a Posterization?
As we examine this, we'll look at just black and white images. These images are made up of a continuous range, or gradient, of tones from white to black with an infinite set of gray tones between them. On a scale, it might look like this:

With posterization, we want to break that continuous scale into steps like this:

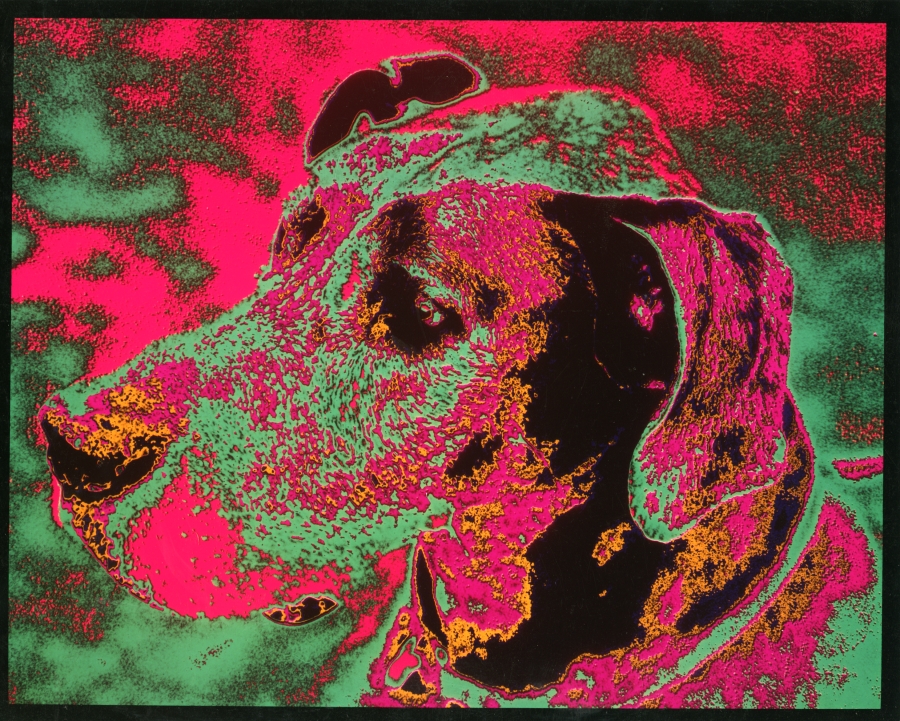
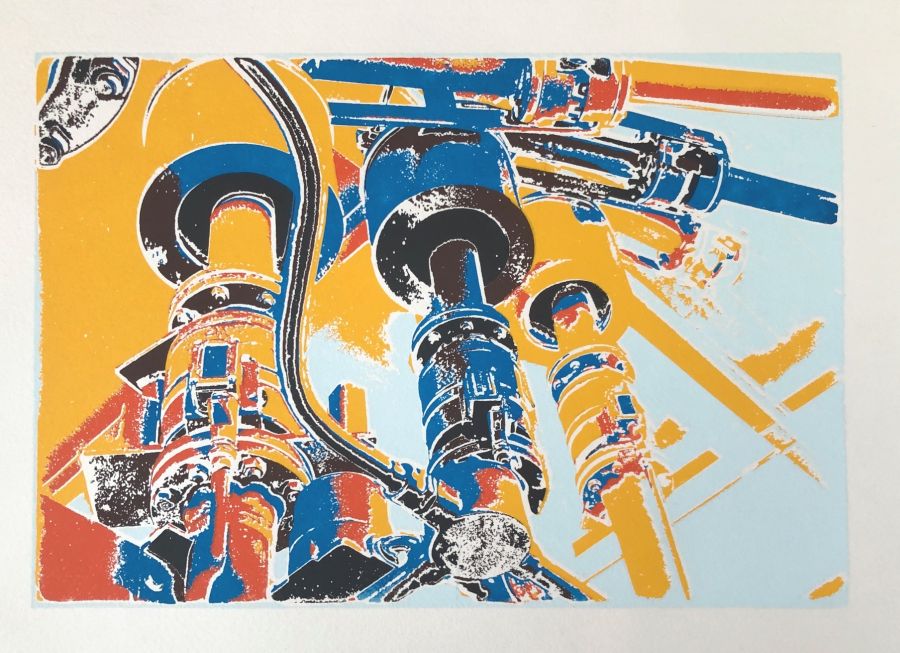
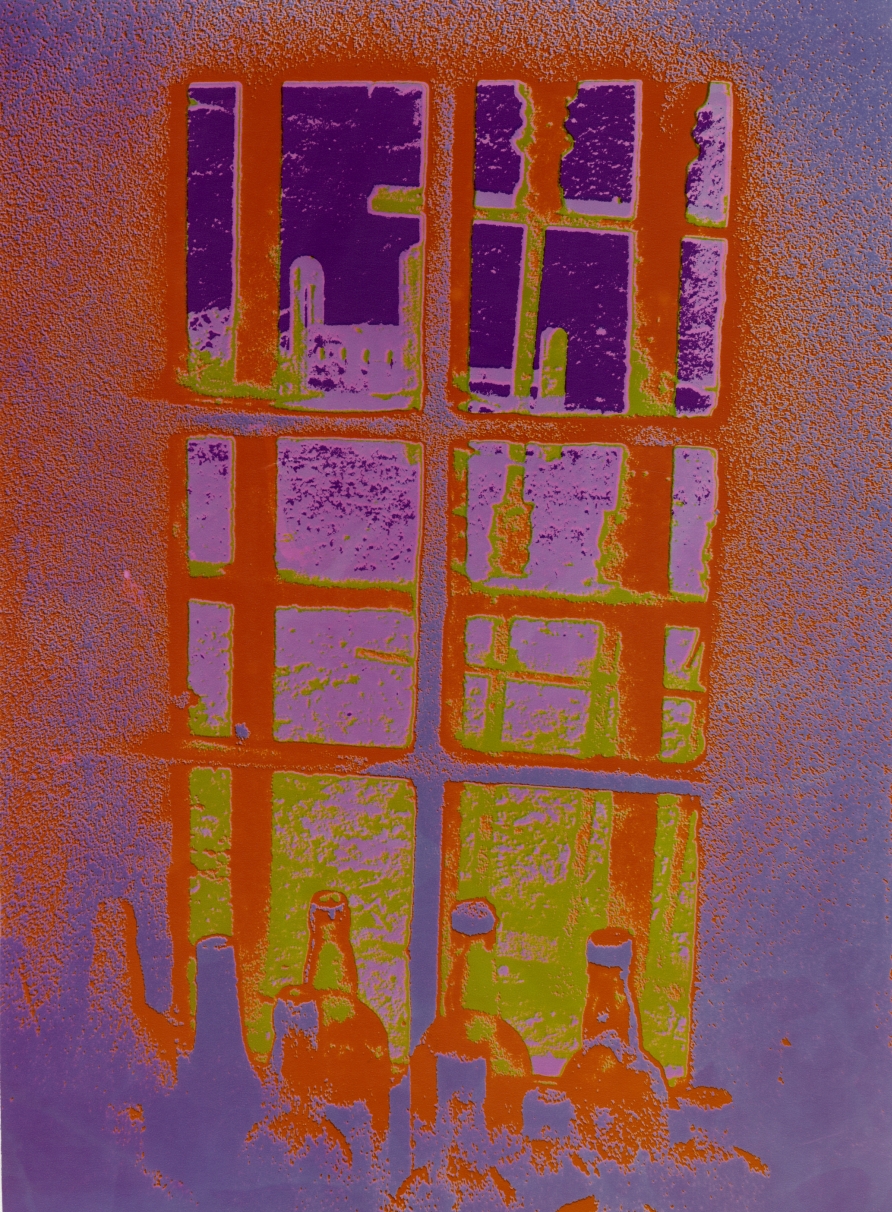
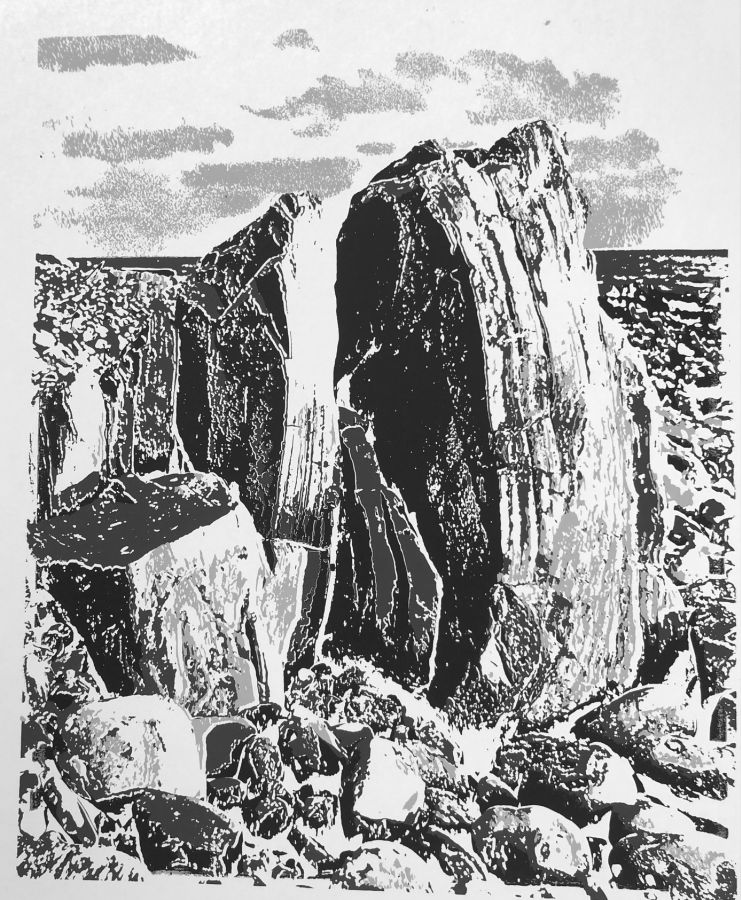
Once we have these steps, we can reconstruct the image by printing them as discrete and different tones of gray or colors. Here are some sample images:
Click on an image to enlarge it.
 |
 |
 |
 |
Overview of the Process
- Select original negative and place in the enlarger
- make series of 2-1/4" positives on litho film using short to longer exposures
- contact print these positives to yield a set of negatives
- arrange and label the positives and negatives in rows
- move the positives one position to the right
- combine a negative with a positive above it to create a tonal filter
From there, it depends on what the final product will be. These tonal filters can be enlarged for contact printing in the making of silk-screen prints, cyanotypes, etc., or they can be printed successively on photo paper.
Tools and Equipment Modifications
Registration Pins
As we will be working with multiple layers of film, we need some way to keep them aligned with one another and a pin registration method is the easiest way.
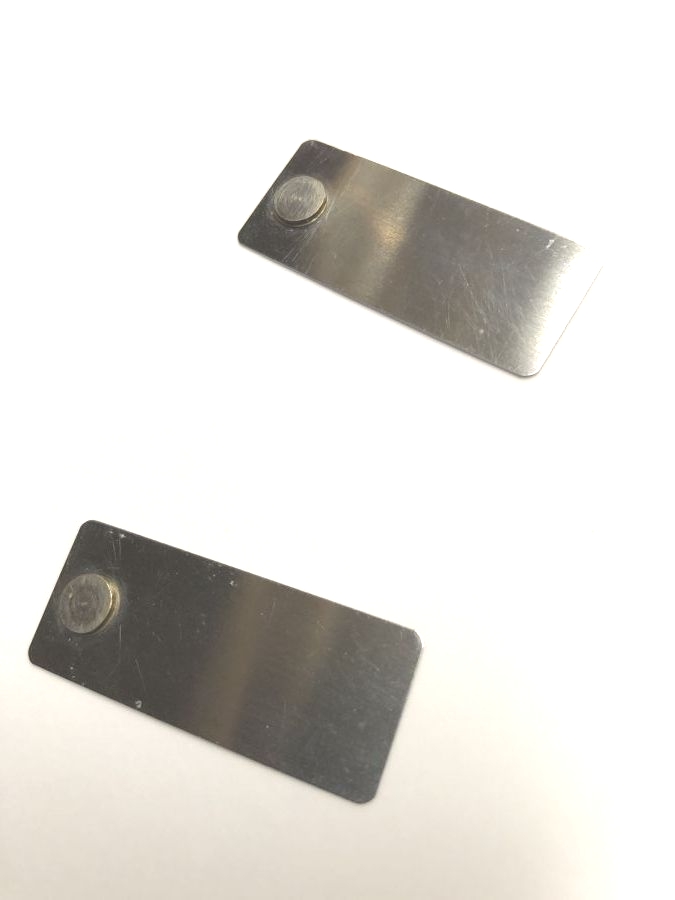
Registration pins are available from many art supply stores and come in several styles. They consist of a pad of some sort in plastic or metal with a raised button on one end. When I bought mine, I made sure that they were the same size as the hole punch I would be using. (I actually ended up filing mine down a little get them to fit perfectly.) I use 4 pins for this project.
 Hole Punch
You will need a hole puch of some sort that punches two holes at the same time. I recommend finding one that not only makes holes that are the same size as your registration pins but allows you adjust the distance between the holes.
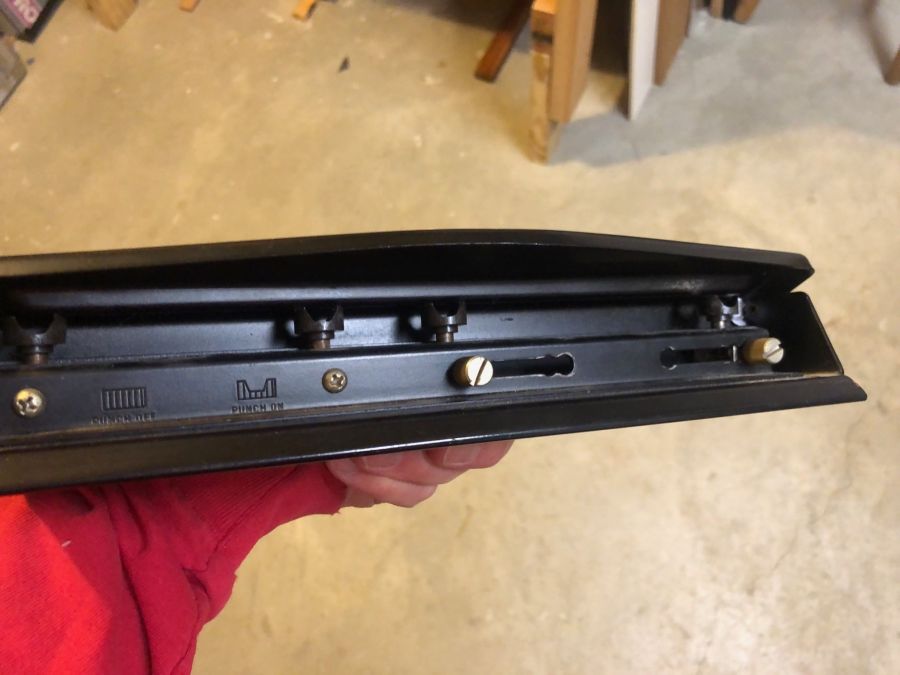
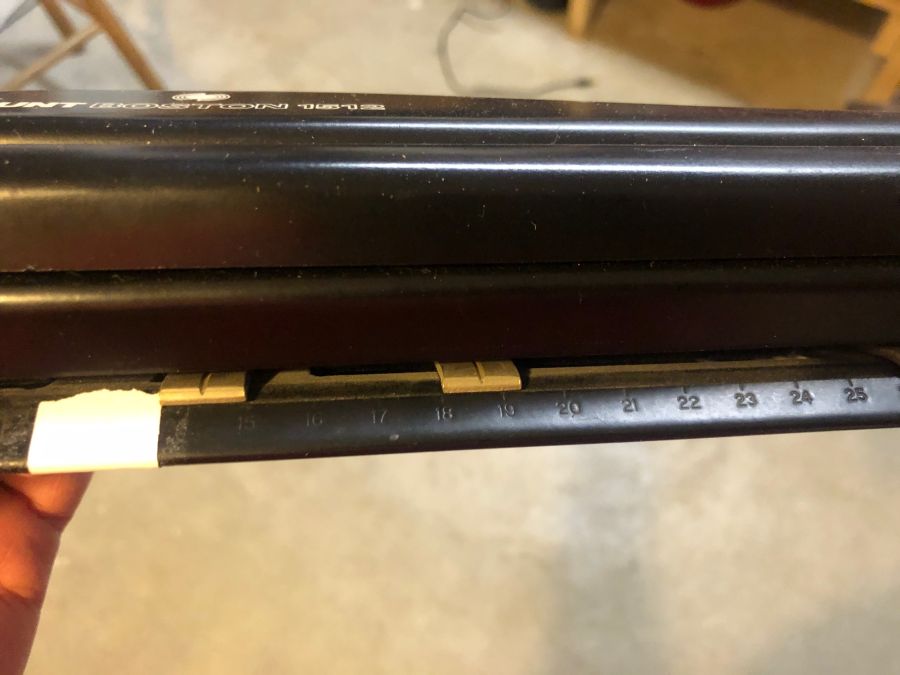 The hole punch I am using is a 4-hole model, a Hunt-Boston 1512. In the photo to the left, you can see the adjustments on the back. For my project, I am working with medium format-size film so I needed the holes to be fairly close together so, with this punch, I adjusted the middle holes to have a center-to-center spacing of 1-3/4" apart.
Ideally you will set the distance and just leave it there. I also found it handy to place a piece of tape on the punch, shown in the photo on the right, that I can use to align the film when I insert it for punching.
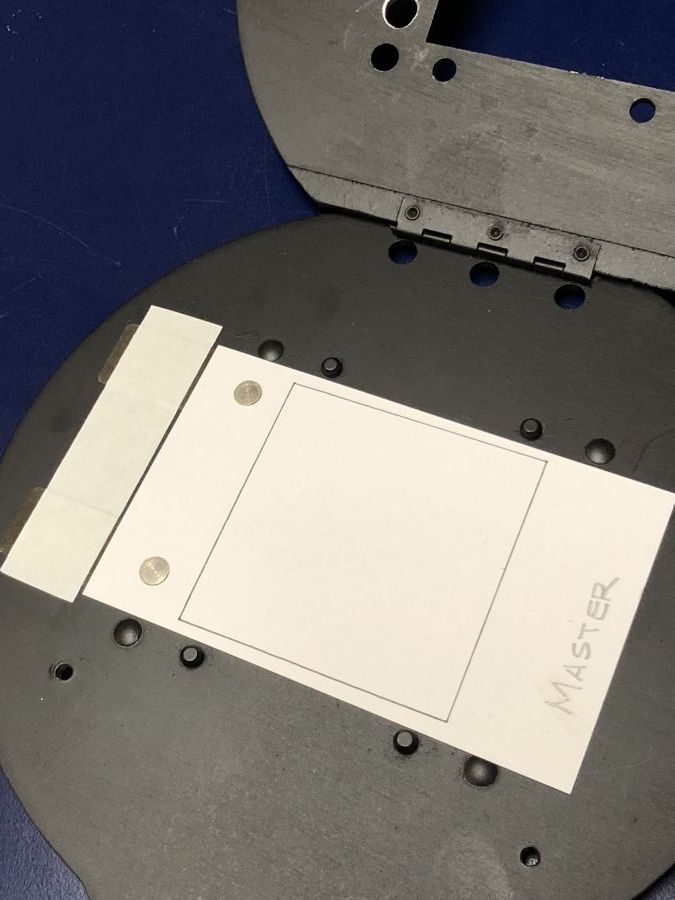
 Once you have the hole punch adjusted, cut a piece of paper (card stock preferred) to 2-3/8" x 4". Put it in the hole punch, short side first, and align the left edge with the piece of tape. Make sure that the paper hits the inside of the punch evenly, that is, is not crooked. Punch it. Now check to see if the holes are correctly spaced. The hole of the left should be 1/4" from the edge of the paper. Make any adjustments necessary and repunch another piece of paper, repeating this until you get things lined up just right. This piece of paper will become your Master Template.
Making an Easel
Now that we have our Master Template, we will make an easel that we will use for exposing our litho film from our original negative. I am using a piece of black matte board but any flat material should work.
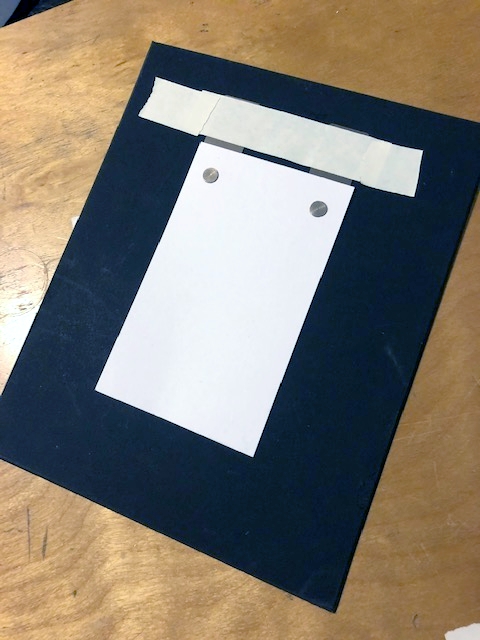 | Place the Master Template over two of the registration pins, letting the tabbed portions of the pins stick out. Position the pins and template on your piece of matte board and tape the tabs down as shown. |
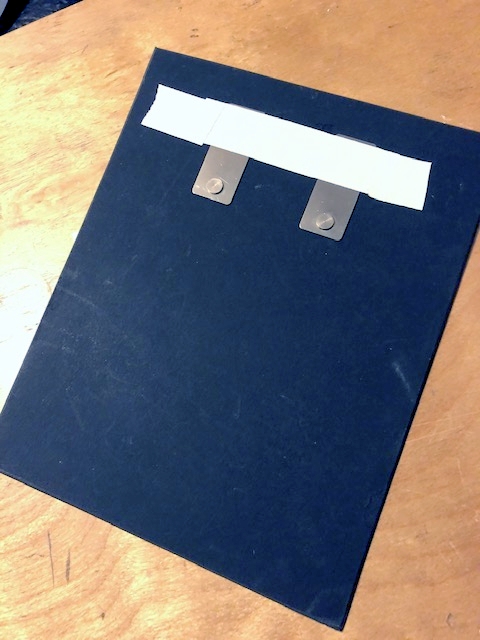 | This is what it should look like with the Master Template removed. |
Enlarger Modifications
Since I will be putting layers of film in the enlarger and need these to be in repeatable positions, I had to add registration system here as well. I am using a Beseler 23C enlarger. A different enlarger will have similar requirements. Let's look at what I did to the negative carrier first.
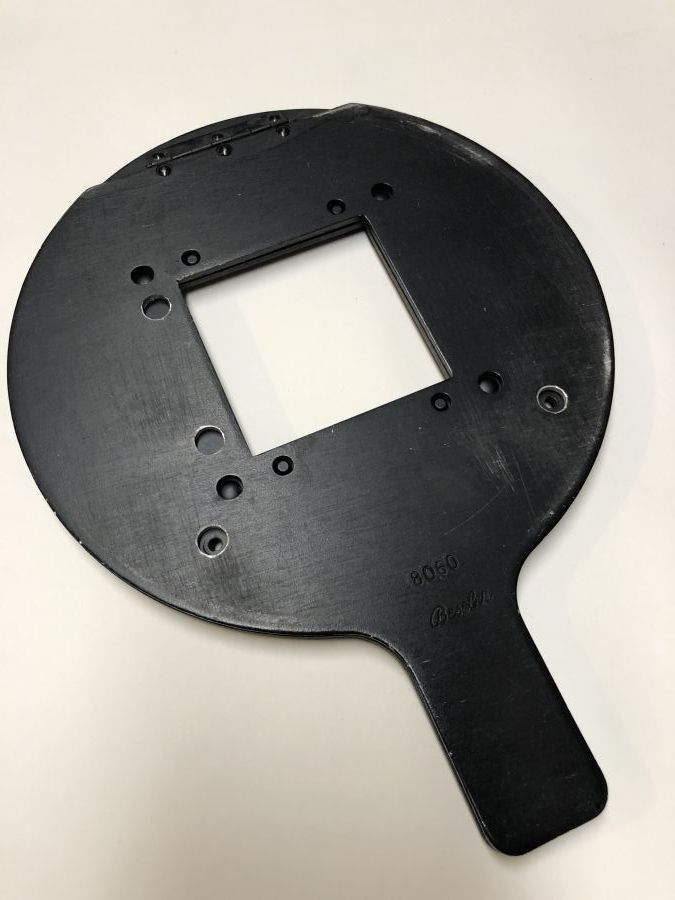 | This is the medium format negative carrier shown in the closed position. |
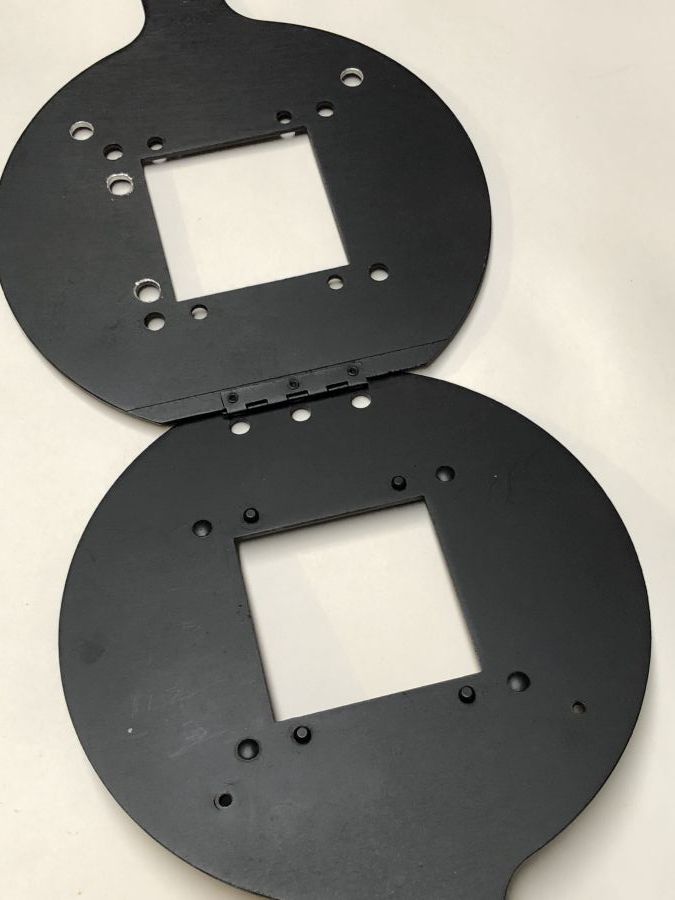 | This is the carrier shown in the open position. It shows some holes that need to be drilled. We will go though how to determine where they go. |
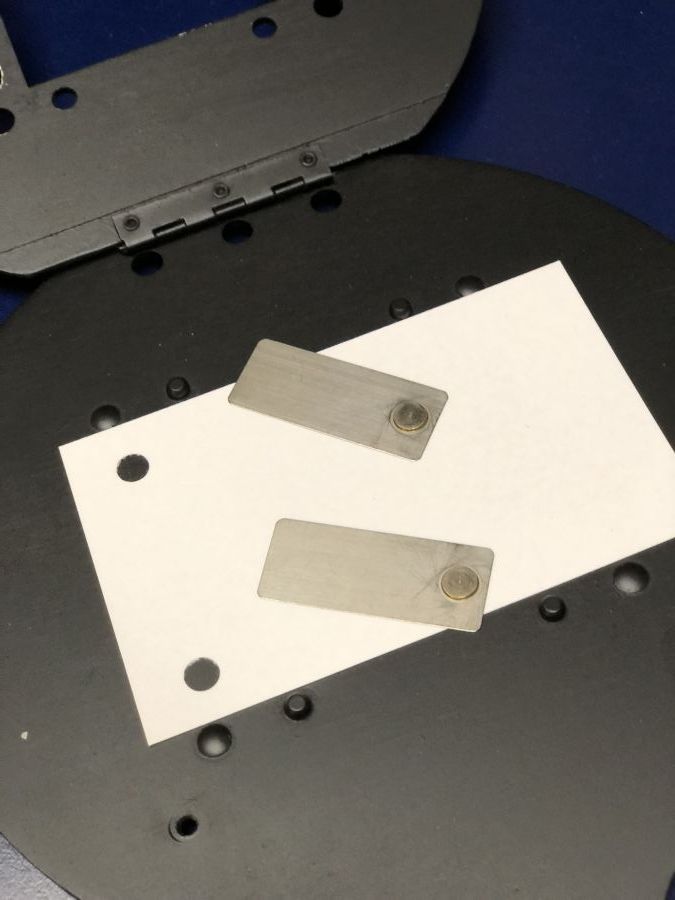 | Place your master template in the carrier with two more registration pins. Adjust the position of the template so that the holes clear the open area for the negative. Slide the pins under the template and leave the tabs sticking out, in this photo, to the left. |
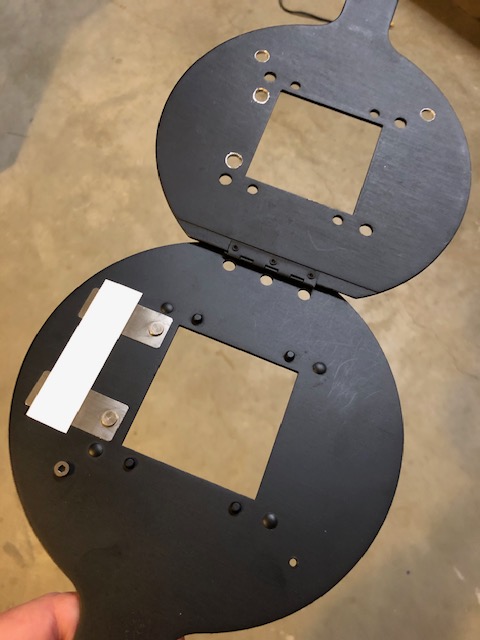 | Tape the tabs down. |
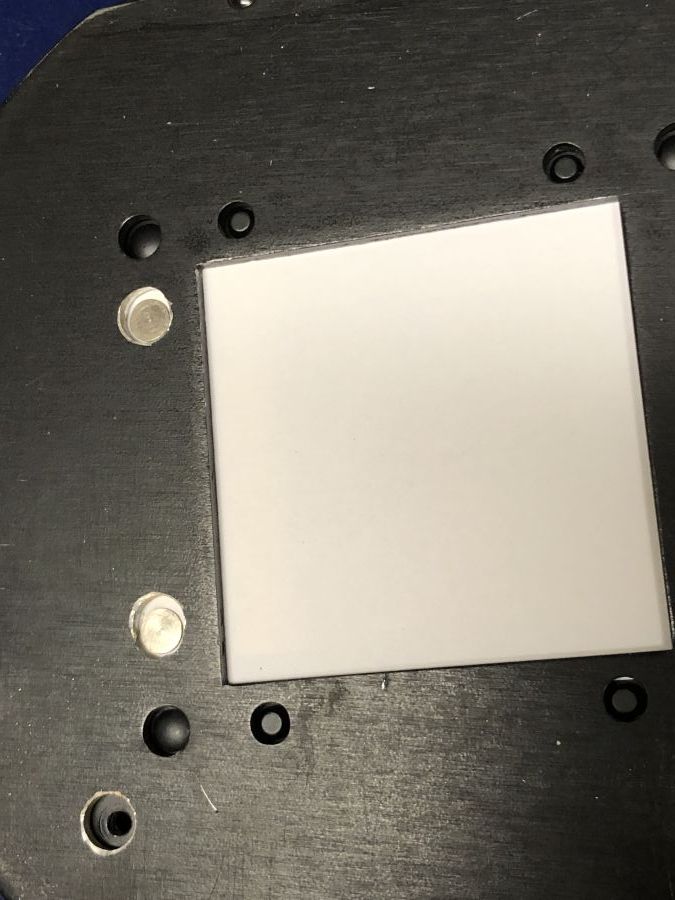 | Since the buttons on the pins stick up and prevent the carrier from closing all the way, I marked where the buttons pressed against the carrier top and drilled holes to provide reliefs for them. How you go about marking these positions depends on your carrier. You could measure their location and transfer those measurements to the top of the carrier. You could also put a bit of something like lipstick on the buttons, close the lid and let the lipstick transfer to the carrier top. Drill the holes a little larger than the pin buttons. |
 | Once the holes are drilled, put the Master Template back in, close the top of the carrier, and mark the opening on the template. Here is mine with the carrier shown open. |
Now we need a way to ensure that the carrier can be removed and reinsterted into the enlarger in the same position every time. To do this, I used a pin method by installing a pin in the carrier and drilling a hole in the enlarger's negative stage.
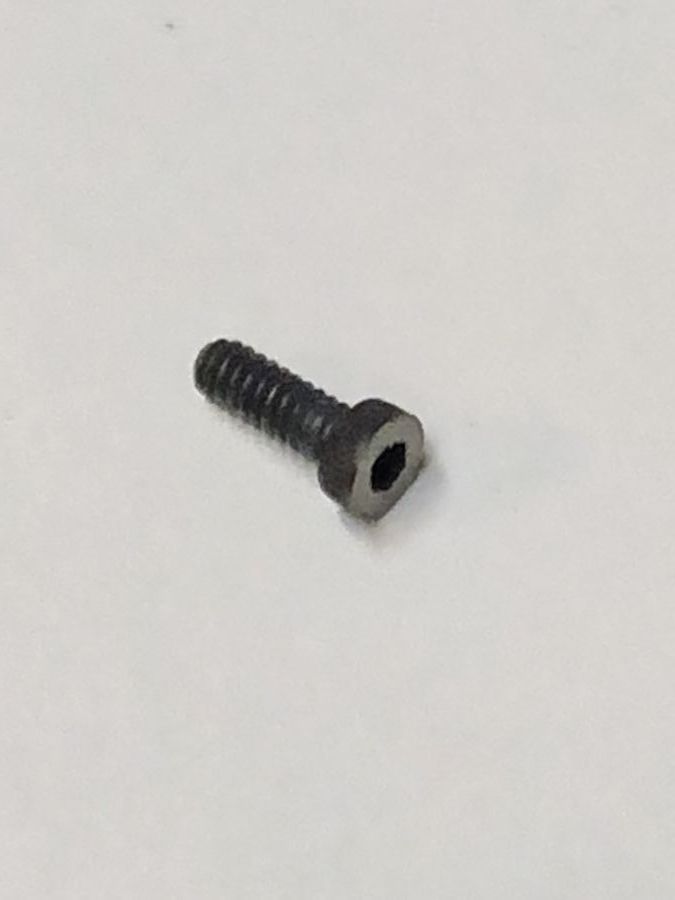 | For a pin I used a small machine screw. I ground the head down a bit. |
 | Here is a view of the bottom of my carrier. I put two holes in mine but really only needed one since the raised ring and a single pin does keep the carrier in the same place every time. |
 | I had to partially disassemble my enlarger to do the next part, that is, to gain access to the negative stage. Once I did, I placed the carrier on the stage and marked through the pin hole(s), made in the previous step, where to drill the holes in the negative stage. Drill the holes in the stage the same size as the outside diameter of the threads on the screw. This will ensure a tight fit. |
  | Here are two views of the pin installed in the carrier. Note that is is necessary to drill another hole(s) in the carrier for the head of the screw to fit through the top of the carrier. Use the method as before when creating the holes for the rigistration buttons. |
This takes care of the equipment part of the process. Now we have a registration system set for both making the initial positives and negatives as well as projecting the tonal filters onto larger media, be it film or paper.
On the next page, we will walk through the next part of the process.
Go to Page 2 - Making the Tonal Filters
Go to Page 3 - Other Processes
Go to Gallery Page
Updated March 2023.