The Art of Vince Long
Series
Sculpture
Drawing
Photography
Mosaics
BFA Exhibition
About
Other
Mosaics
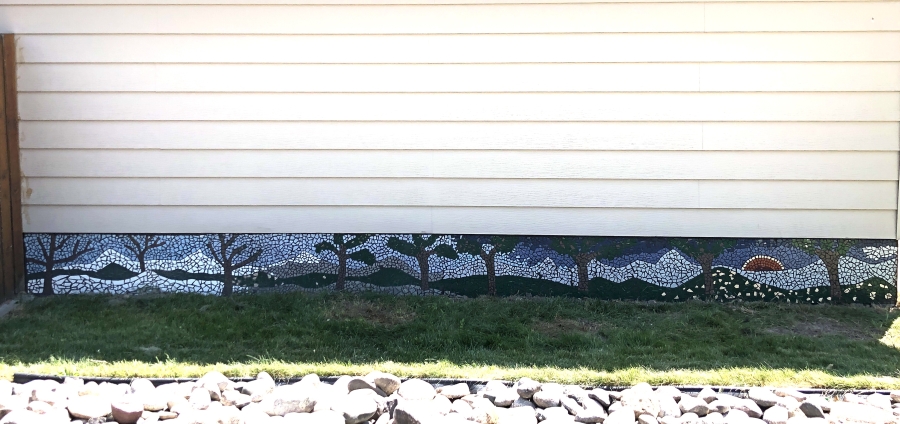
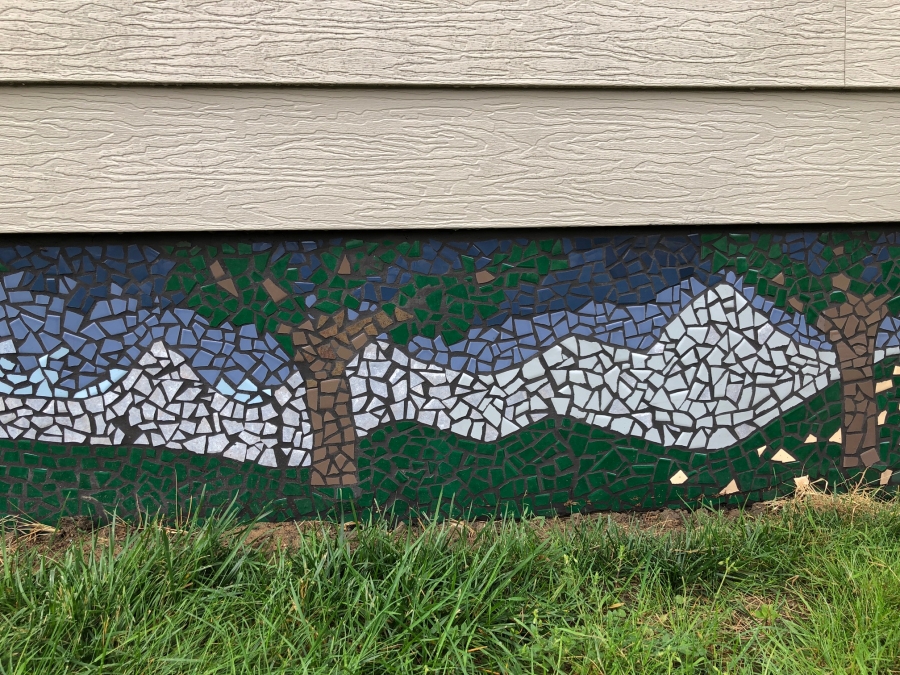
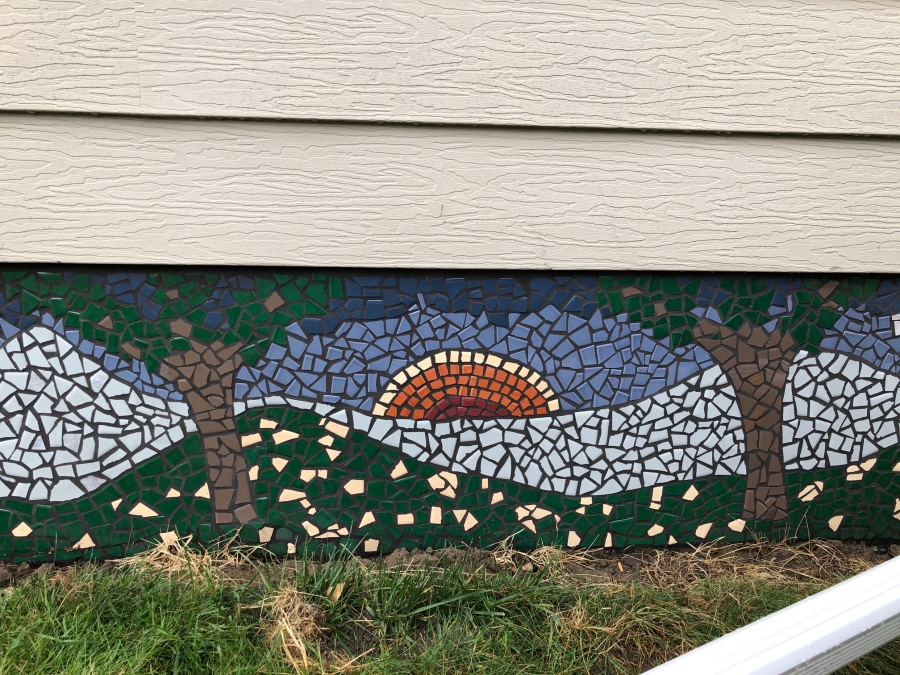
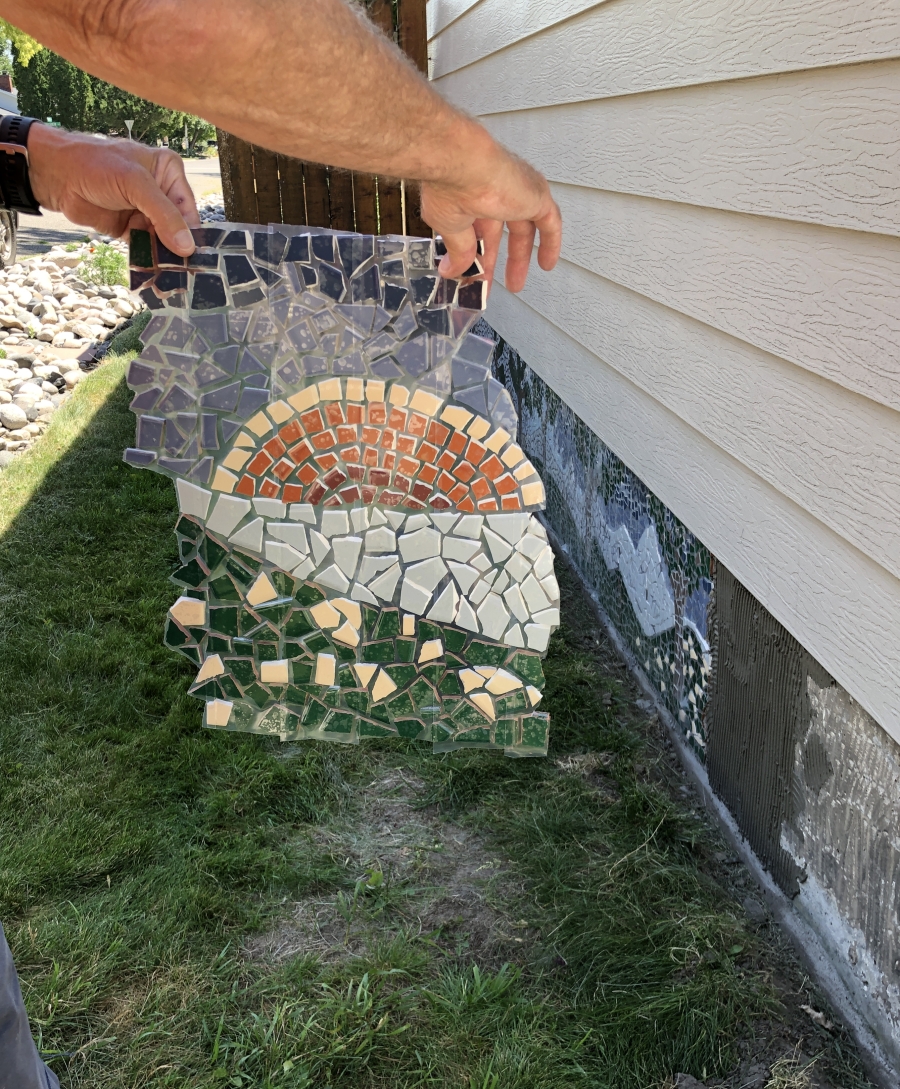
Seasons, 2023, ceramic tile and grout on concrete, 36-1/2" x 24-1/2".
I installed this mosaic on the north foundation wall of my garage and continues the style I used on the mosaic on my porch.
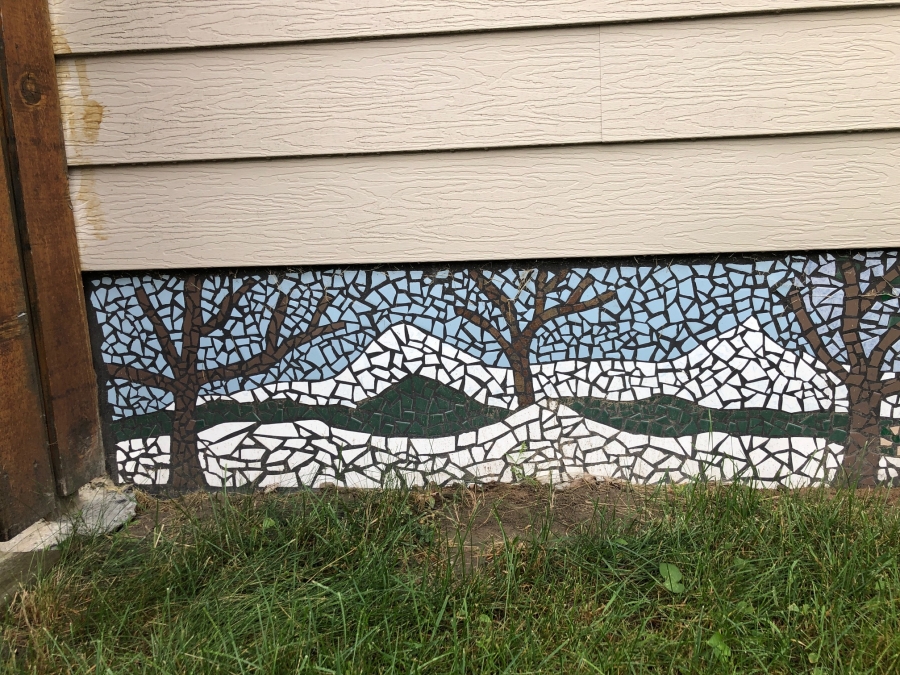
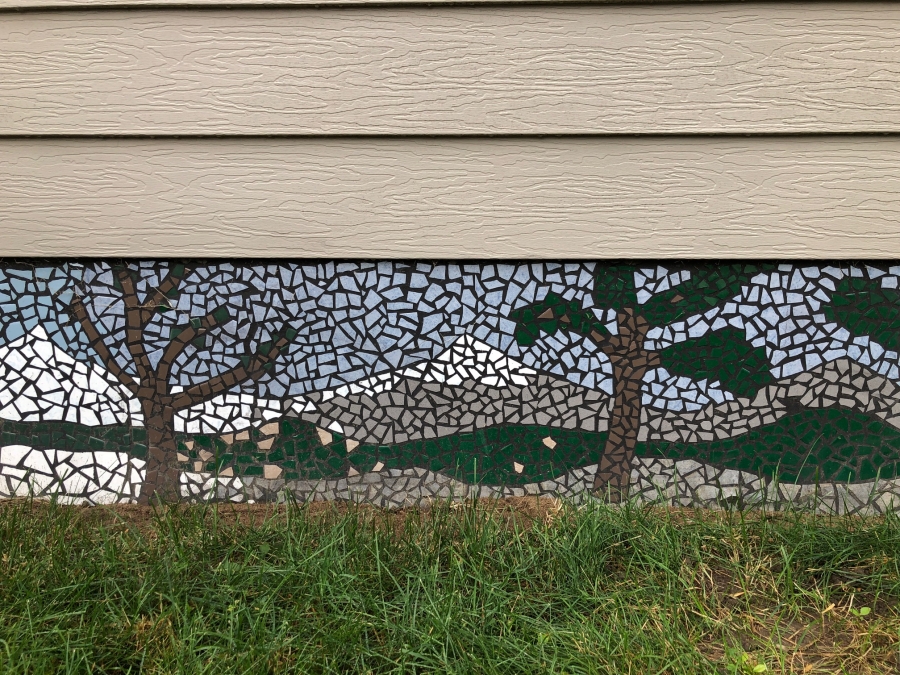
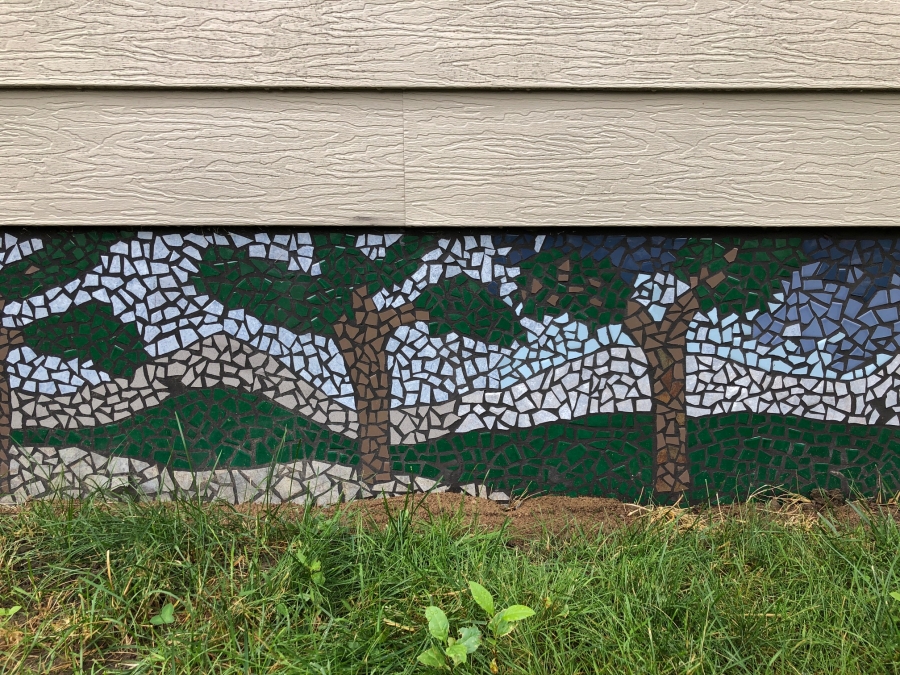
Some details:
|
|
|
|
|
|
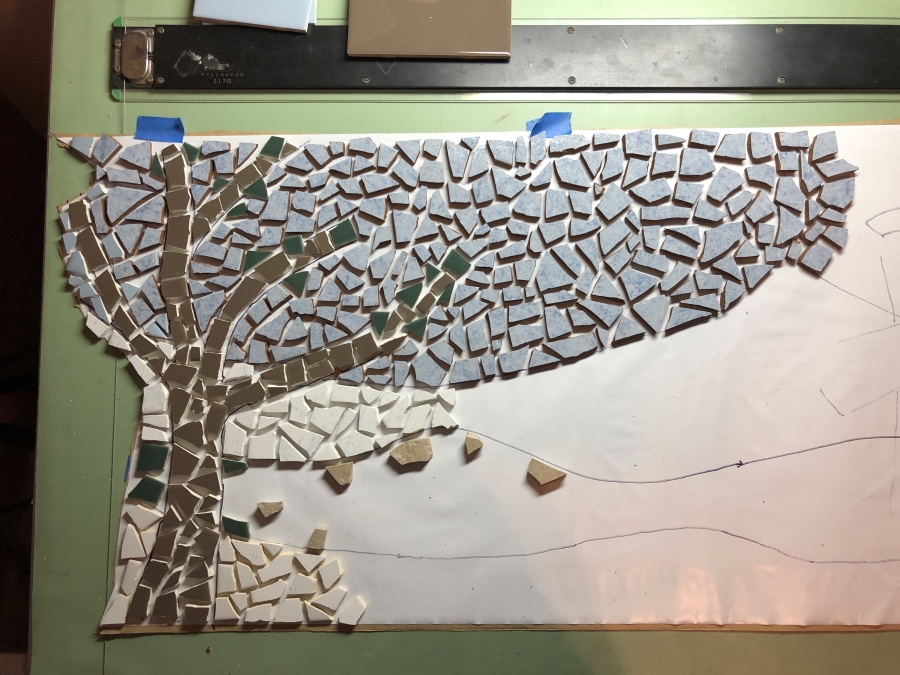
Some of my technique:
|
I draw the design on kraftpaper that I have taped to the wall. I bring this into my studio and tape a 4-foot section onto my worktable. I cover this with contact paper, taped down with the sticky side up, and transfer the design with a Sharpie. I break the tiles with a hammer and make further adjustsments with tile nippers as I place the tiles, face up, on the contact paper. The sticky paper keeps them from moving around. |
|
|
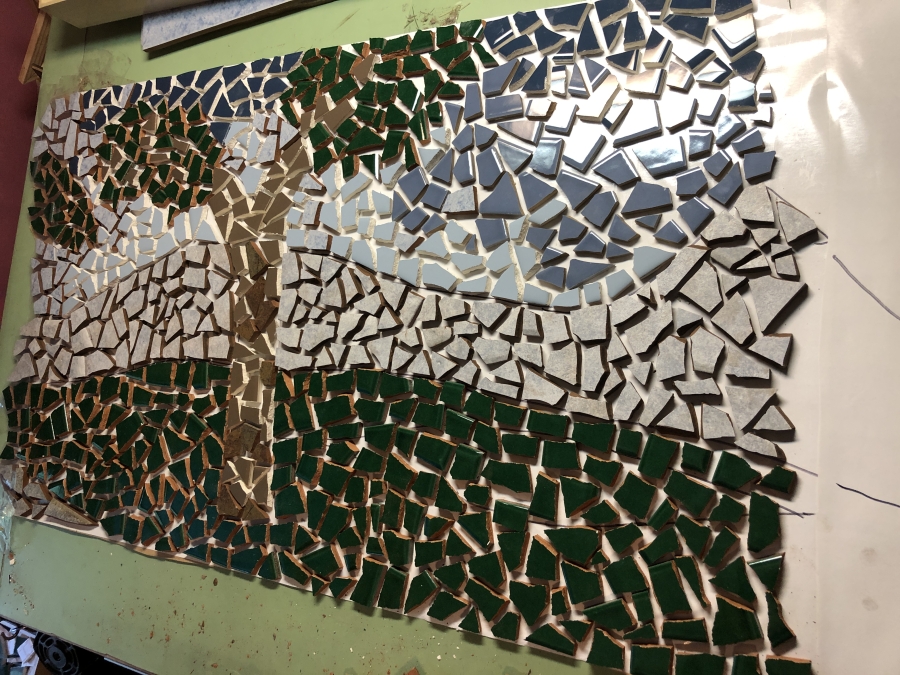
When I get a larger section done, I cover the tiles with mosaic tape (it's like a heavier version packing or library tape) and then cut this into 12-inch sections. When lifting the mosaic tape, the tiles stick to that tape and come off the contact paper. I apply thinset to the wall with a notched trowel and then bring the tape-covered tile section to the wall and press it into the thinset. |
|
|
The final step, not shown, is to apply grout to the wall which fills the gaps between the tiles. I use a black grout as I feel it allows the individual tiles to "pop." |
|
Click on an image to enlarge it.
Previous Page